Velixo NX installation
If you haven't installed Velixo NX yet, please follow the Getting started with Velixo NX guide.
Alternatively, you can view the Click-by-Click demo:
Benötigen Sie eine Anleitung auf Deutsch?
Connecting to Acumatica
Click Connection Manager in the Velixo NX menu in the Excel ribbon:

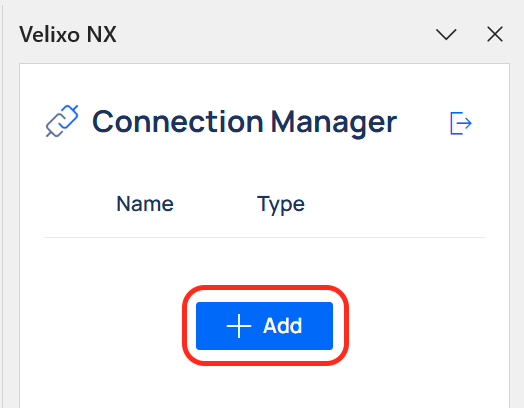
In the Connection Manager side panel that opened, click the Add button:
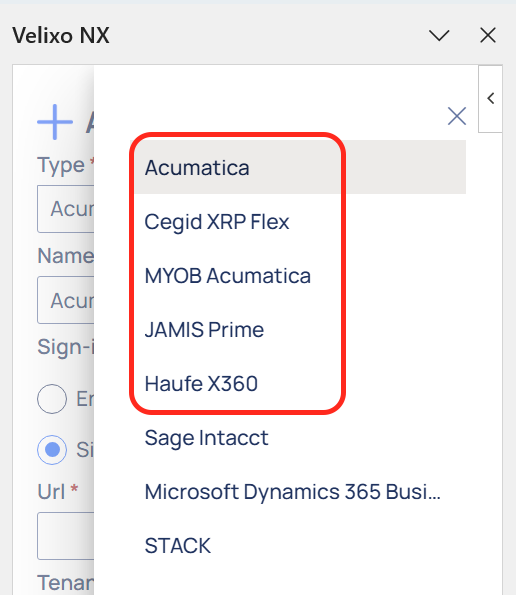
From the Type drop-down list, select your Acumatica-like ERP.
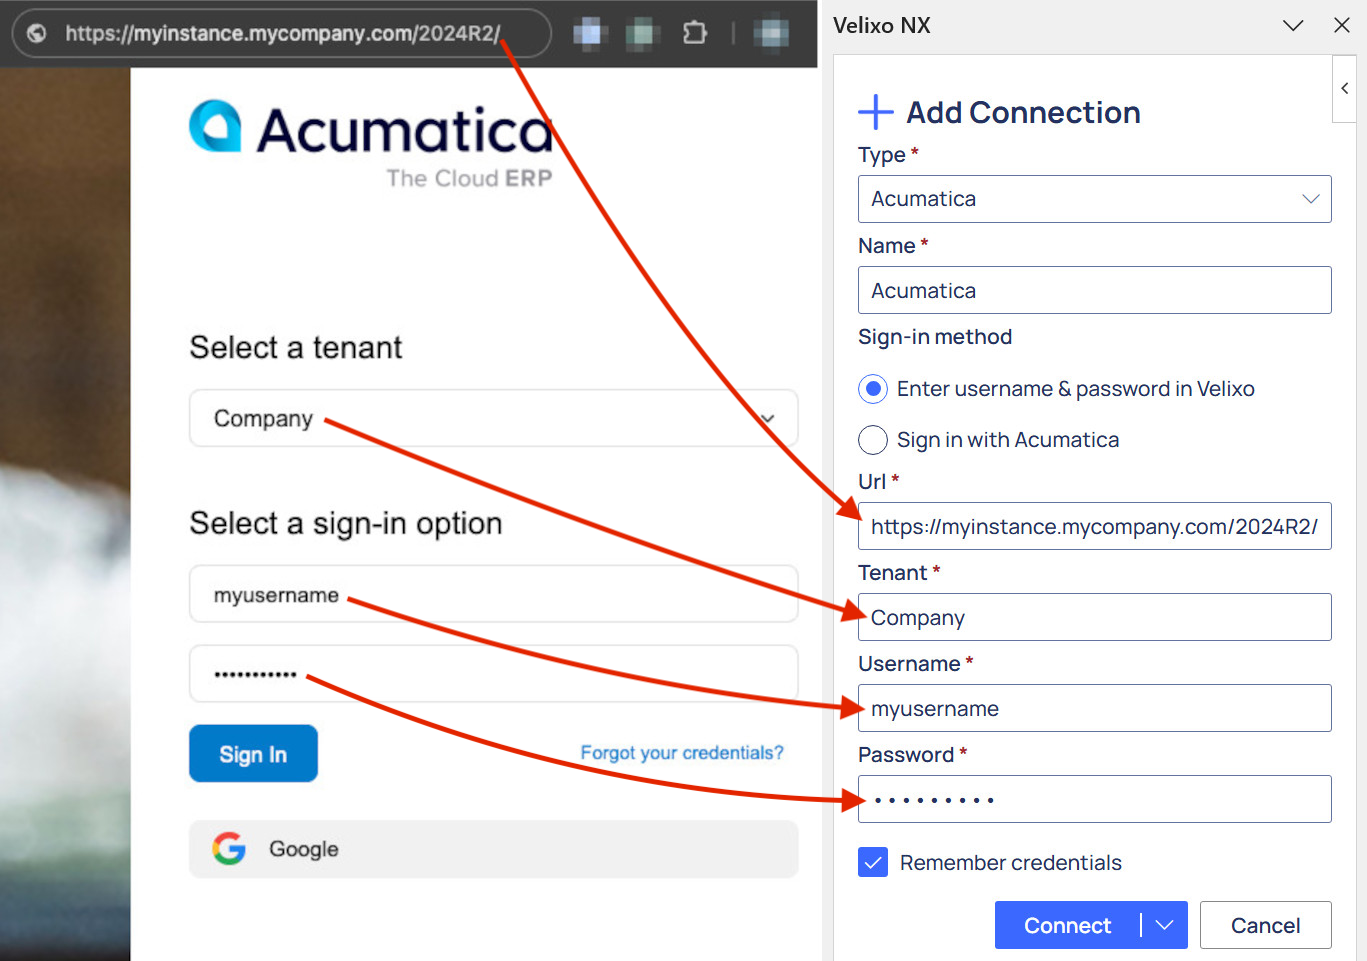
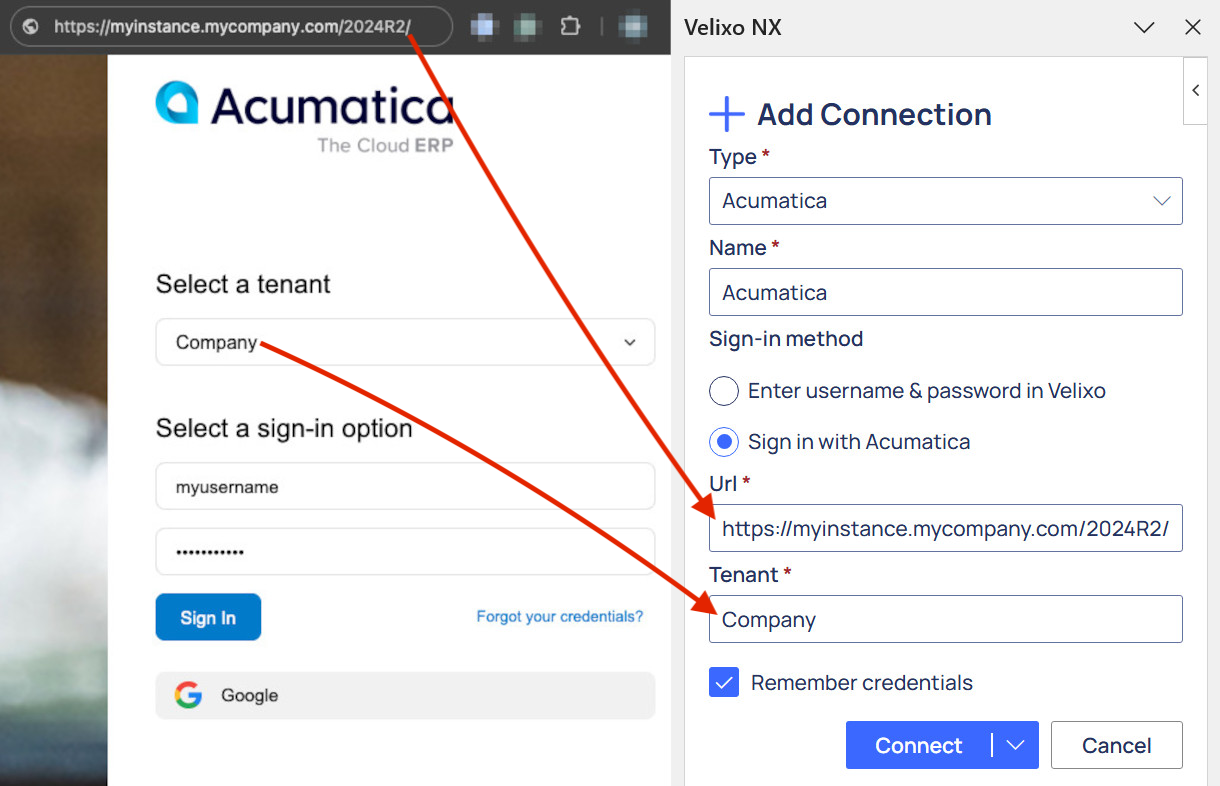
Next, depending on your administrator’s recommendations, choose one of the available sign-in options:
-
Enter username & password in Velixo – lets you provide ERP sign-in credentials directly in the Velixo interface.
-
Sign in with Acumatica (or other Acumatica-based ERP) – provide the full URL you normally use to sign in to your ERP, along with the Tenant, and you will be redirected to the Acumatica sign-in screen, where you can provide your username and password credentials or sign in using Single Sign-on as usual.
To save your credentials for future use, check the Remember credentials box.
If you check this box, your credentials are not actually saved within the spreadsheet. Rather, they are saved to your Velixo user profile, which resides in your local Microsoft Office installation and is encrypted at rest.
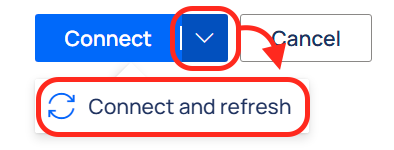
Click Connect.
To immediately refresh the data in your workbook upon connecting, click Connect and refresh from the Connect button drop-down.
Done! Once connected, the newly created connection will appear on the list in the Connection Manager panel with a green check mark next to the connection name.

Once Velixo NX has been added to your Excel 365 and you have established a connection to your ERP instance, you are ready to create your first reports.
Once you have established a connection to your ERP instance, you can create your first reports by following our Create your first Velixo report guide.
Be sure to see our other Getting Started articles for using Velixo NX with Acumatica-based ERPs as well.