
Velixo NX is our modern, cross-platform product that supports multiple ERP systems and is constantly updated with new features.
If you’re looking for our legacy, Windows-only offering, Velixo Classic, click here.
You can also learn more about the differences between Velixo NX and Velixo Classic.
Overview
To start using Velixo NX, you install the add-in in Excel, sign in, and connect the add-in to your ERP. This article walks you through each step:
-
Checking the one-time setup your ERP administrator completes
-
Installing the add-in
-
Opening the Velixo NX side panel
-
Signing in
-
Connecting to your ERP, with a predefined connection or a local connection
Before you begin
Velixo NX requires the Velixo customization project, which contains the generic inquiries, connected applications, and writeback screens that Velixo NX uses. An administrator must import and publish it. See Installing and updating the Velixo customization package.
If your organization doesn’t allow users to install Office add-ins, your IT administrator must deploy Velixo NX for you. See Controlling Velixo NX installation in your organization.
Install the add-in
Install Velixo NX with one of the following methods. Each takes a few minutes.
Install from the quick installation link
-
Click on the link: Install Velixo NX.
-
When your browser asks, allow it to open the link in Excel.
-
Follow the installation guide that opens in Excel.
Install from the Microsoft Store
This method requires access to the Microsoft Store in Excel.
-
Open Excel and create a blank workbook.
-
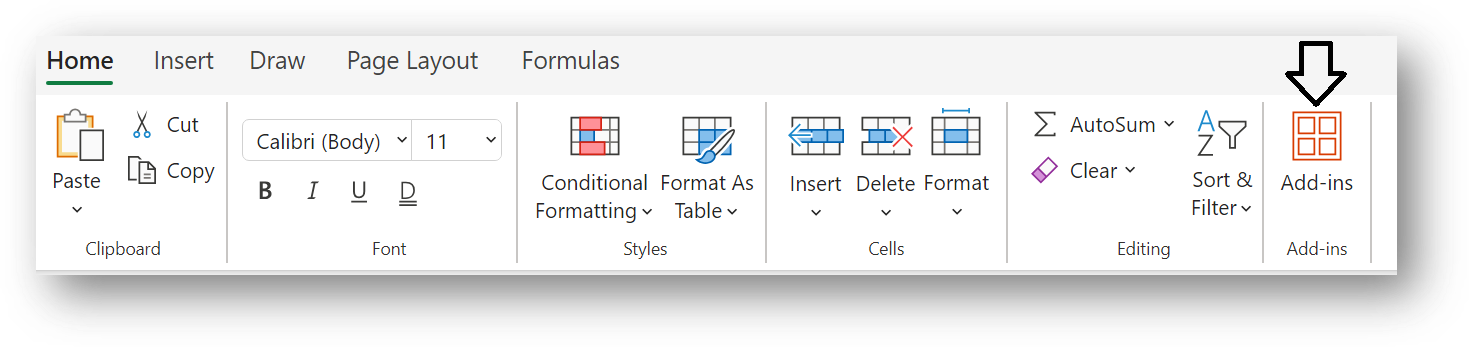
On the Home tab, select Add-ins. The button is in the same place in Excel for Windows, Excel for Mac, and Excel on the web.
-
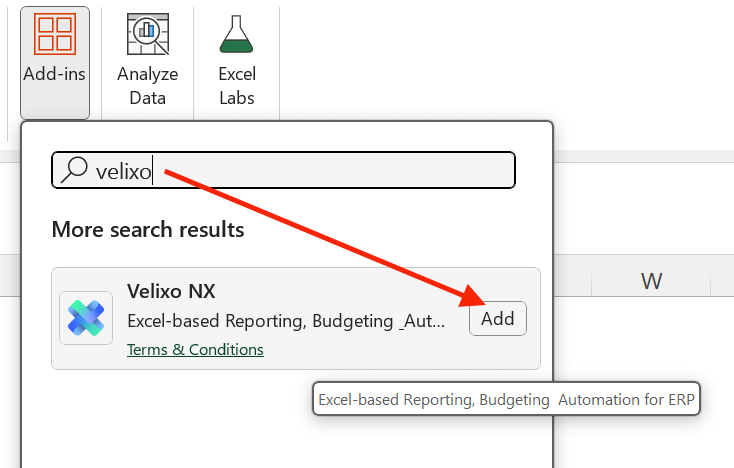
In the add-ins window, search for
Velixo.
-
Next to Velixo NX, select Add.
Install by opening a workbook that uses Velixo NX
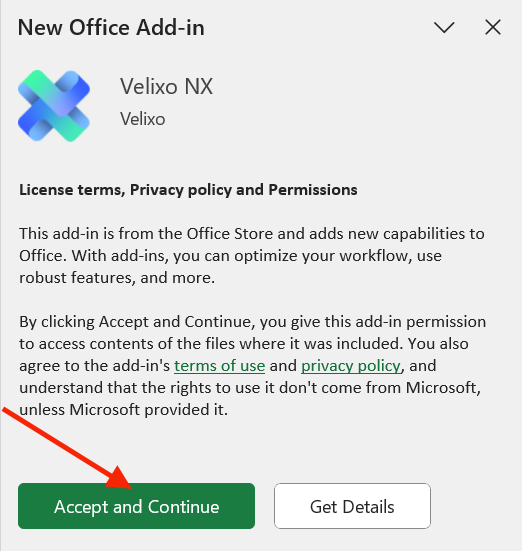
If you open a workbook that contains Velixo NX formulas and the add-in isn’t installed, Excel offers to install it. Review the agreements in the prompt and, if you agree, select Accept and Continue.
Open the Velixo NX side panel
After installation, the Velixo NX side panel usually opens on the right side of the Excel window. If it doesn’t, on the Home tab, select Velixo.

If the side panel opens but the Velixo NX ribbon tab doesn’t appear, reload the add-in: select Add-ins, then select Velixo NX under My add-ins.
Sign in
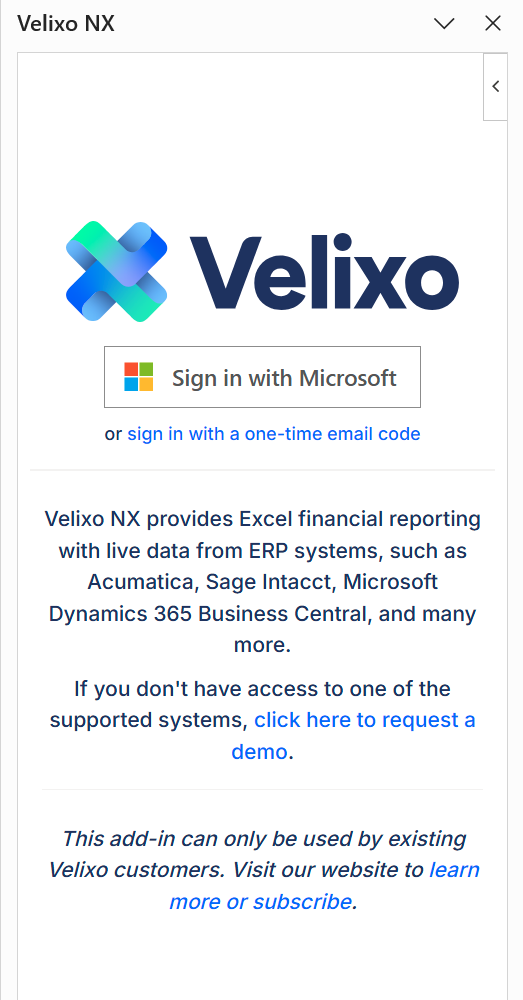
In the side panel, sign in with one of the following methods:
-
Sign in with Microsoft – sign in with your Microsoft work account.
-
or sign in with a one-time email code – Velixo sends a sign-in code to your email address. Use this method if you can’t sign in with Microsoft.
To sign in with a one-time code:
-
Select or sign in with a one-time email code.
-
In Email, enter your email address, then select Request code.
-
In Code, enter the code from the email Velixo sent you, then select Sign In.
If the code has expired, Velixo sends a new one to your email address automatically. Use the code from the latest email.
Register (first-time users)
The first time you sign in, Velixo NX may ask you to register. Enter your business email, first name, last name, and country or region. Agree to Velixo’s User License Agreement and consent to the Privacy Policy and the processing of your personal information, then select Register.
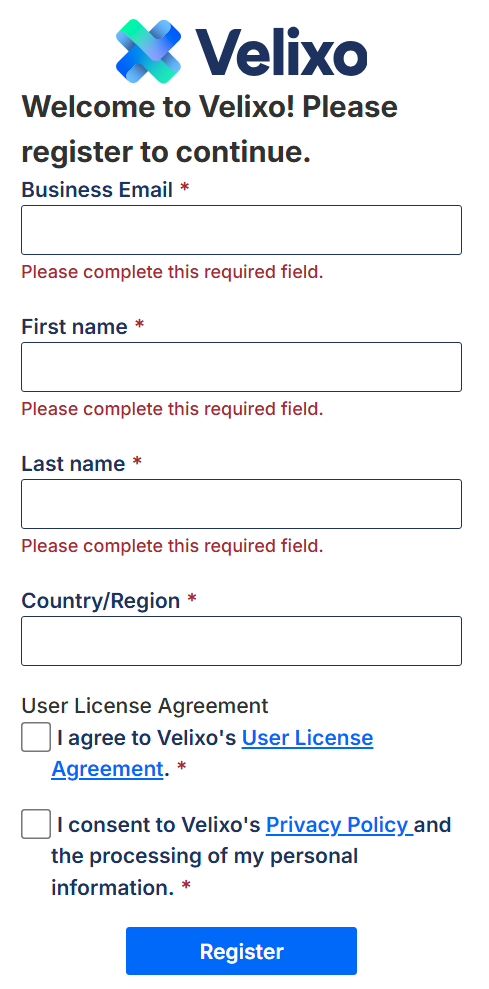
When the Thank you for registering! message appears, select Continue.
If your organization doesn’t have a Velixo license yet, you can start a free trial. See Velixo NX Free Trial.
Your Velixo account and organization
Signing in creates your Velixo account. You use the same account in the Velixo Portal, where you manage your account and predefined connections.
Velixo can add you to your company’s Velixo organization automatically when you sign in. Your organization’s predefined connections and settings then apply to you. If no predefined connections appear and you expect them, ask an Organization admin at your company to invite you.
If your company doesn’t have a Velixo organization yet, Velixo can create one when you first sign in. You then become its Owner and an Organization admin. See Managing users in your organization.
If you belong to more than one organization, you can switch between them in Velixo NX using the Connection Manager. See Connection Manager.
After you sign in, the Connection Manager opens in the side panel.
Connect to your ERP
Velixo NX reads data from your ERP through a connection. You can add two kinds of connections to a workbook:
-
Predefined connections – connections created in the Velixo Portal by you or your organization. You don’t enter connection details in the add-in.
-
Local connections – connections you create and configure yourself in the Connection Manager.
If your organization shares connections in the Velixo Portal, use a predefined connection. If you’re new to Velixo, or no connection is shared with you, create a local connection.
Use a predefined connection
Some predefined connections are added to your workbooks automatically. If the connection you need already appears in the Connection Manager, you can start using it.
To add a predefined connection to a workbook:
-
In the Connection Manager, select Add.
-
Select the Predefined tab.
-
In Select a predefined connection, select the connection.
-
Select Add.
The connection appears in the Connection Manager, and you can use its name in Velixo formulas.
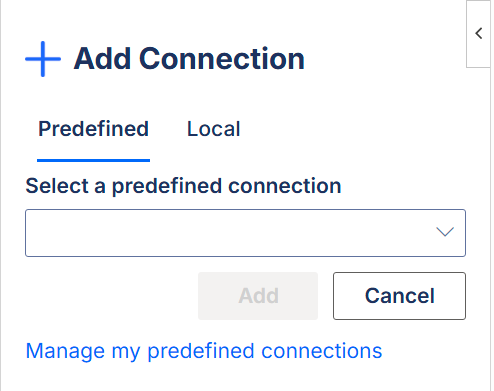
Only connections that are active for you appear in the add-in. If an Organization admin shared a connection that requires your own credentials, enter them in the Velixo Portal first. See Managing predefined connections in the Portal.
If the Add Connection panel has no Predefined tab, predefined connections aren’t enabled for you. Create a local connection instead.
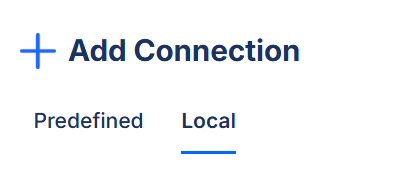
Create a local connection
The details a connection needs depend on your ERP. For the fields and sign-in methods, see the connection guide:
Connecting Velixo NX to an Acumatica-based ERP
The connection appears in the Connection Manager, and you can use its name in Velixo formulas.
Next steps
To build your first report with Velixo formulas, see the guide for your ERP:
Create your first Velixo Acumatica report
-
To manage, edit, or remove connections, and to switch organizations, see Connection Manager.
-
To create and share predefined connections for your organization, see Managing predefined connections in the Portal and Velixo Portal overview.
-
Some features, such as Report Distribution, require Velixo Tools, a background add-in for Excel on Windows. See Installing Velixo Tools.