The ERP Tenants screen within the Organization settings menu is available to Organization admins, and Tenant admins who manage multiple tenants.
For an overview of roles and permissions in Velixo Portal, refer to the general article.
Overview
Connection, admin, and user management for ERP tenants is available in the ERP tenants screen in Velixo Portal.
To access the ERP Tenants screen, select ERP Tenants in the Organization settings section of the side panel.
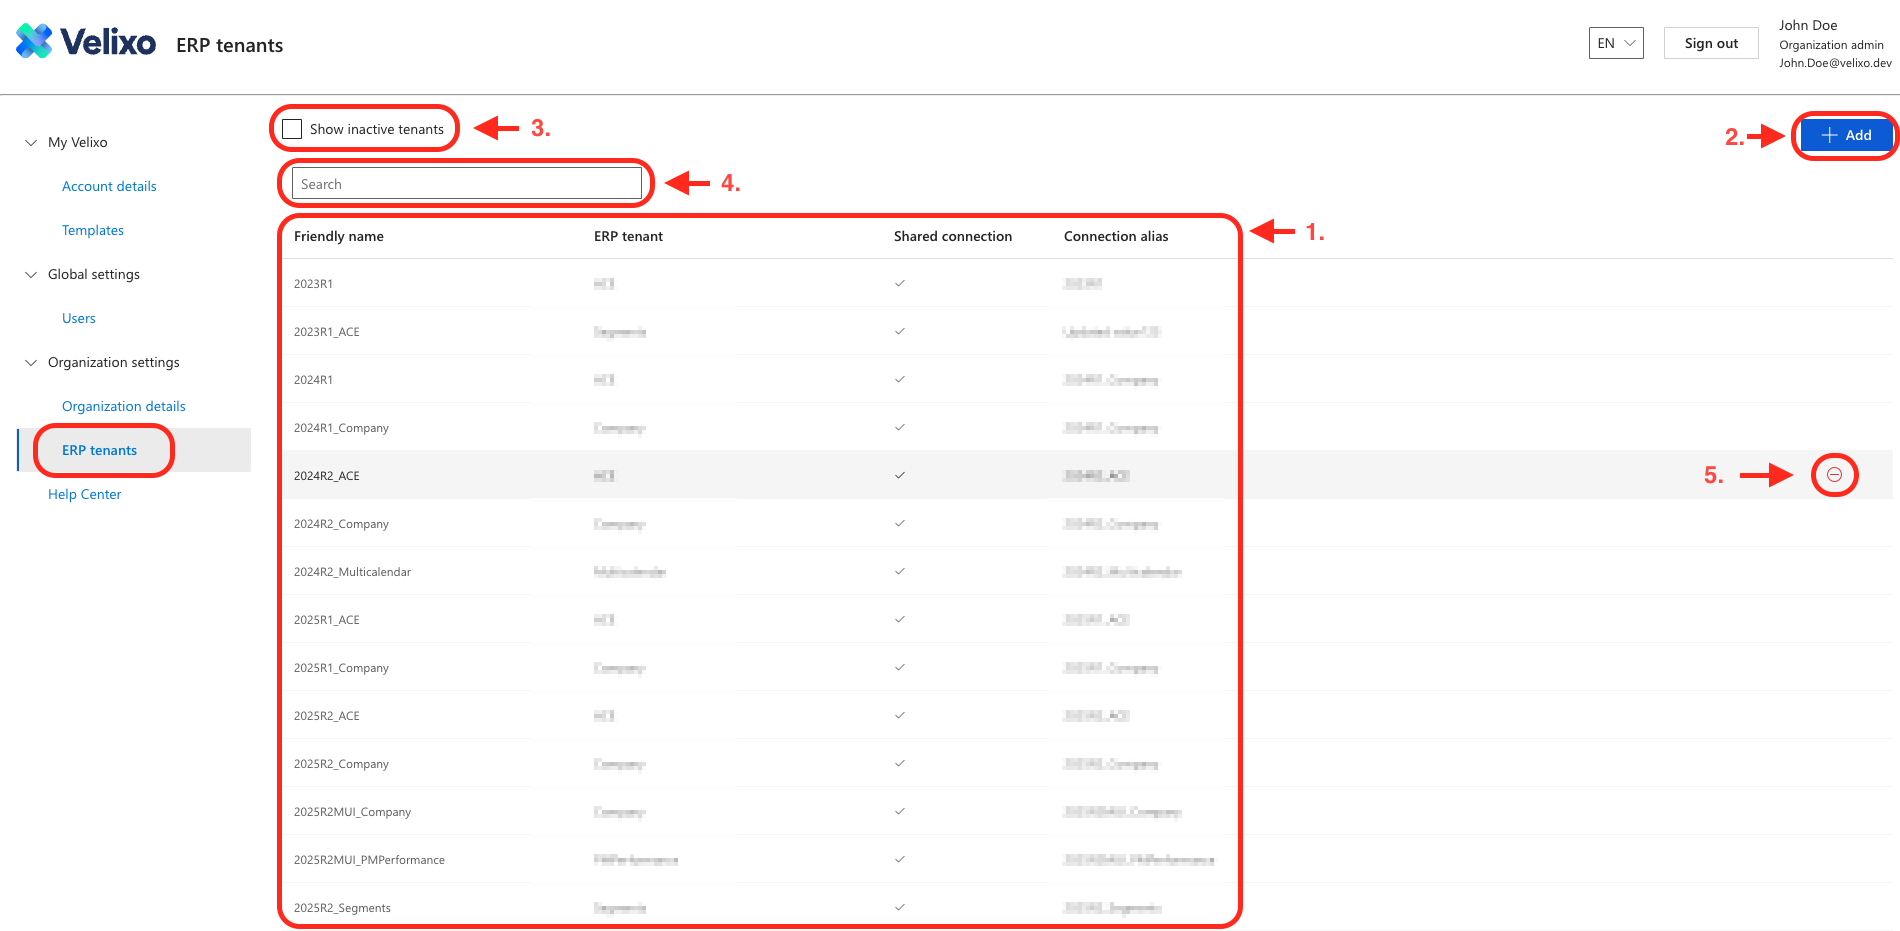
The ERP Tenants screen features:
-
A table containing all ERP tenants available to the active user, divided into four columns:
-
Friendly name - a tenant’s name as displayed in the Portal (can be edited without affecting users' Excel formulas).
-
ERP tenant - a tenant’s name, as defined in the ERP instance.
-
Shared connection - indicates whether the tenant is shareable to users as a Cloud Connection.
-
Connection alias - the name shown in Excel as a Cloud Connection that users can select (editing this name may affect users' formulas).
-
-
+ Add button - used for adding new ERP tenants.
-
Show inactive tenants toggle box - lists inactive tenants in table 1.
-
Search bar - filters all columns.
-
Delete button - used for removing existing ERP tenants.
Managing tenant connections
Adding tenants
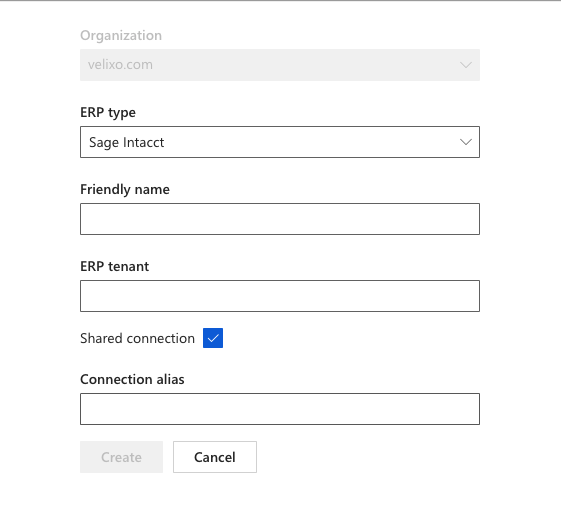
To add a new tenant, follow the steps below:
-
On the ERP tenants screen, click the + Add button.
-
Select the desired ERP type.
-
Assign a friendly, human-readable name. This name will identify the connection in Velixo Portal
-
Enter the name of the tenant.
-
Check the Shared connection box to enable the selection of the connection in the Cloud Connections list and provide a Connection alias that will be displayed on the list of cloud connections.
-
Click Create.
Editing tenants
-
On the ERP tenants screen, click on the tenant you want to edit.
-
Edit the information.
-
Click the Save changes button.
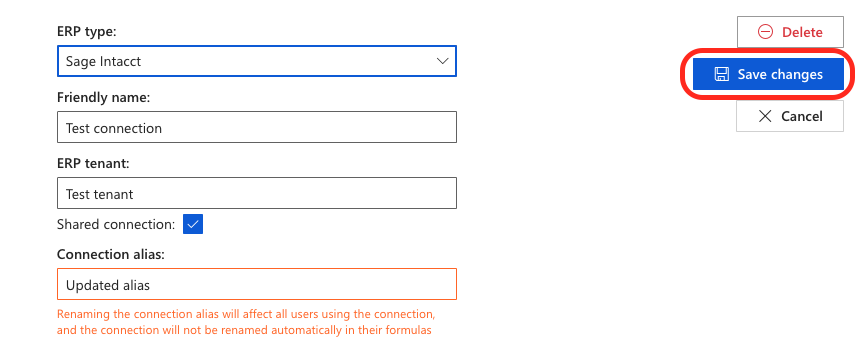
Modifying a connection alias will affect all user formulas that use the connection in the ConnectionName argument. The connection will not be renamed automatically in their formulas.
Removing tenants
-
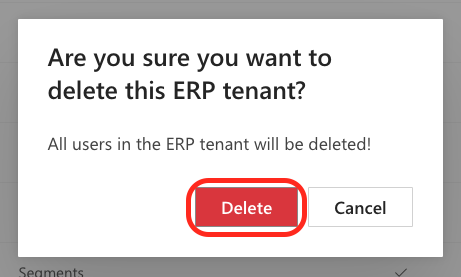
On the ERP tenants screen, hover the cursor over the tenant you want to delete.
-
Click on the Delete button.
-
If you are certain you want to delete the selected tenant, confirm by clicking Delete in the pop-up window.
Managing admins
Assign an admin to a tenant
-
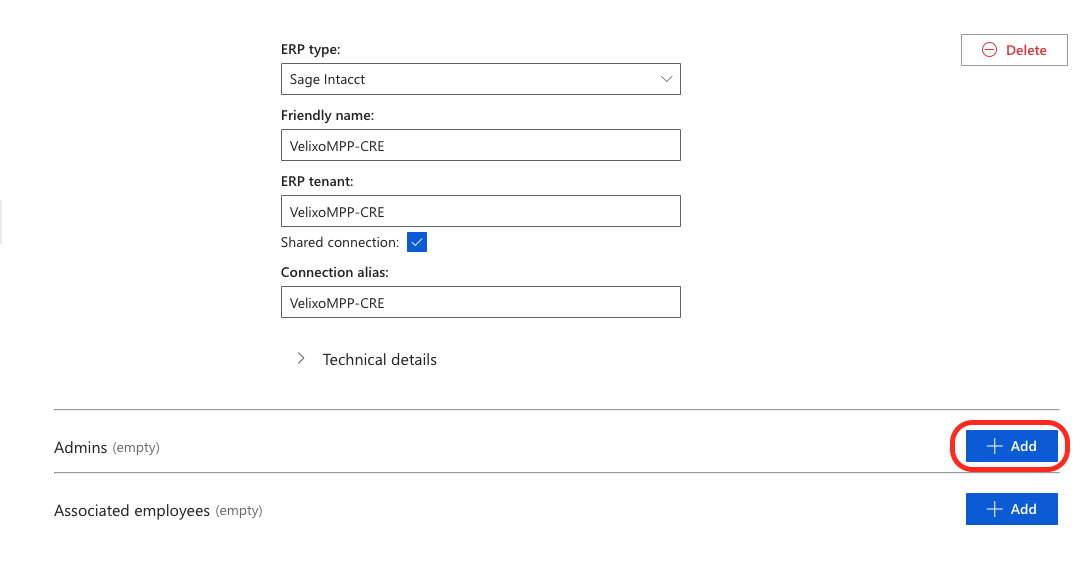
On the ERP tenants screen, click on the tenant to which you want to assign an admin.
-
Click the + Add button in the Admins section.
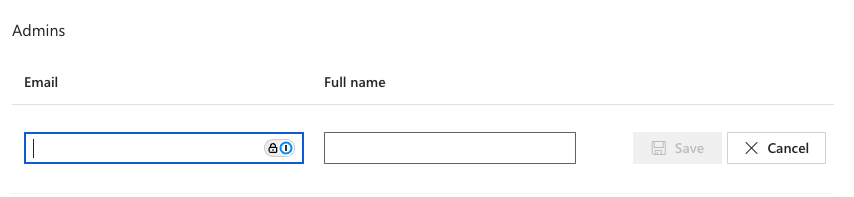
-
Provide the email and full name of the admin you want to add, and click Save.
Remove an admin from a tenant
-
In the ERP tenants screen, click on the tenant from which you want to remove an admin.
-
In the Admins section, hover over the user you wish to remove from the tenant, and click the delete button.

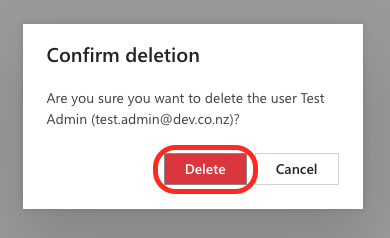
-
If you are certain you want to remove the selected admin from the tenant, confirm by clicking Delete in the pop-up window.
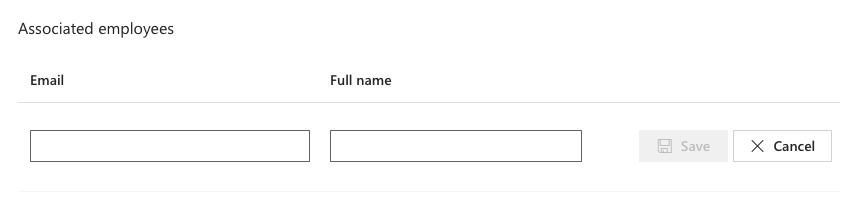
Managing employees
Assign an employee to a tenant
-
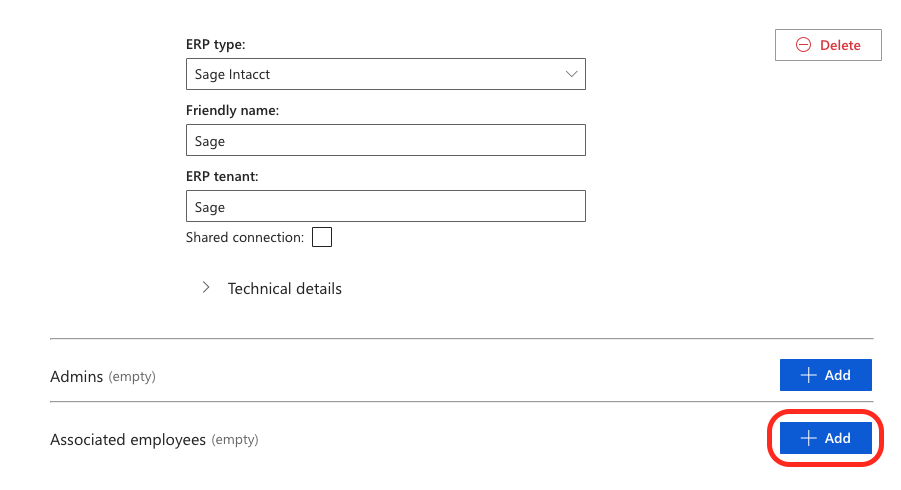
In the ERP tenants screen, click on the tenant to which you want to assign an employee.
-
Click the + Add button in the Associated employees section.
-
Provide the email and full name of the employee you want to add, and click Save.
Remove an employee from a tenant
-
In the ERP tenants screen, click on the tenant from which you want to remove an associated employee.
-
In the Associated employees section, hover over the user you wish to remove from the tenant, and click the delete button.

-
If you are certain you want to remove the association between the selected user and the tenant, confirm by clicking Delete in the pop-up window.