Purpose
Use the Journal Writeback feature to create allocations, accruals, and many other types of GL entries such as:
-
Month-end allocations of revenue and expenses
-
Accrual transactions
-
Release of restricted funds
-
Fringe calculations
-
Inter-entity and multi-currency transactions
-
Calculations, or GL entries that depend on data that is not available in your ERP
Writeback is used to create journal transactions. It cannot modify/update existing transactions.
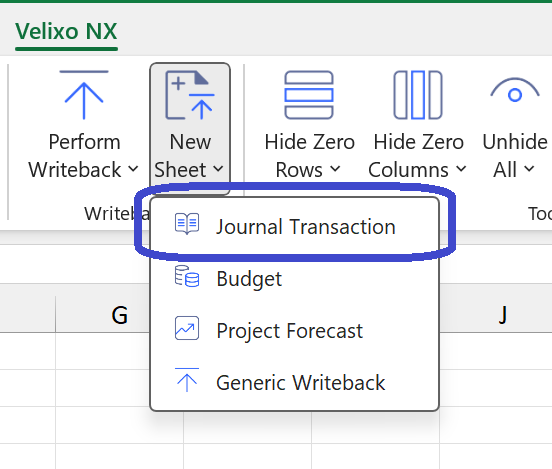
Create a Journal Transaction Worksheet
On the Velixo NX ribbon, click the New Sheet button and select Journal Transaction:
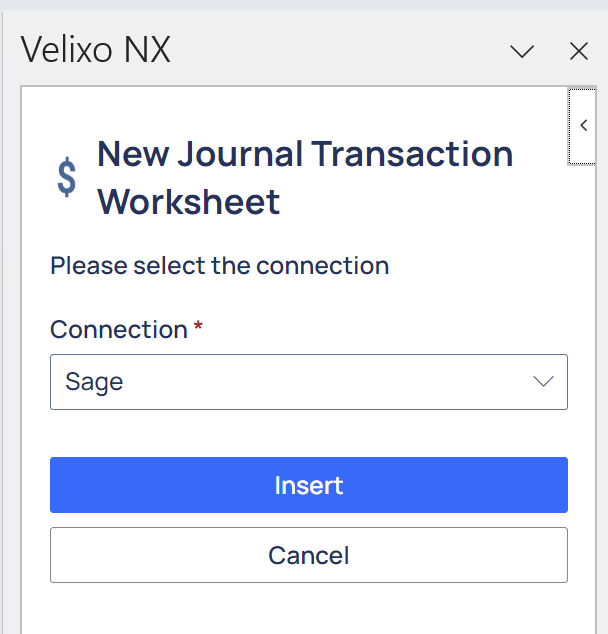
The Velixo NX side panel will be displayed to ask you to confirm the connection to use. Select the connection to which you wish to send data and then click Insert:
Then, a Journal Transaction Writeback worksheet will be created:
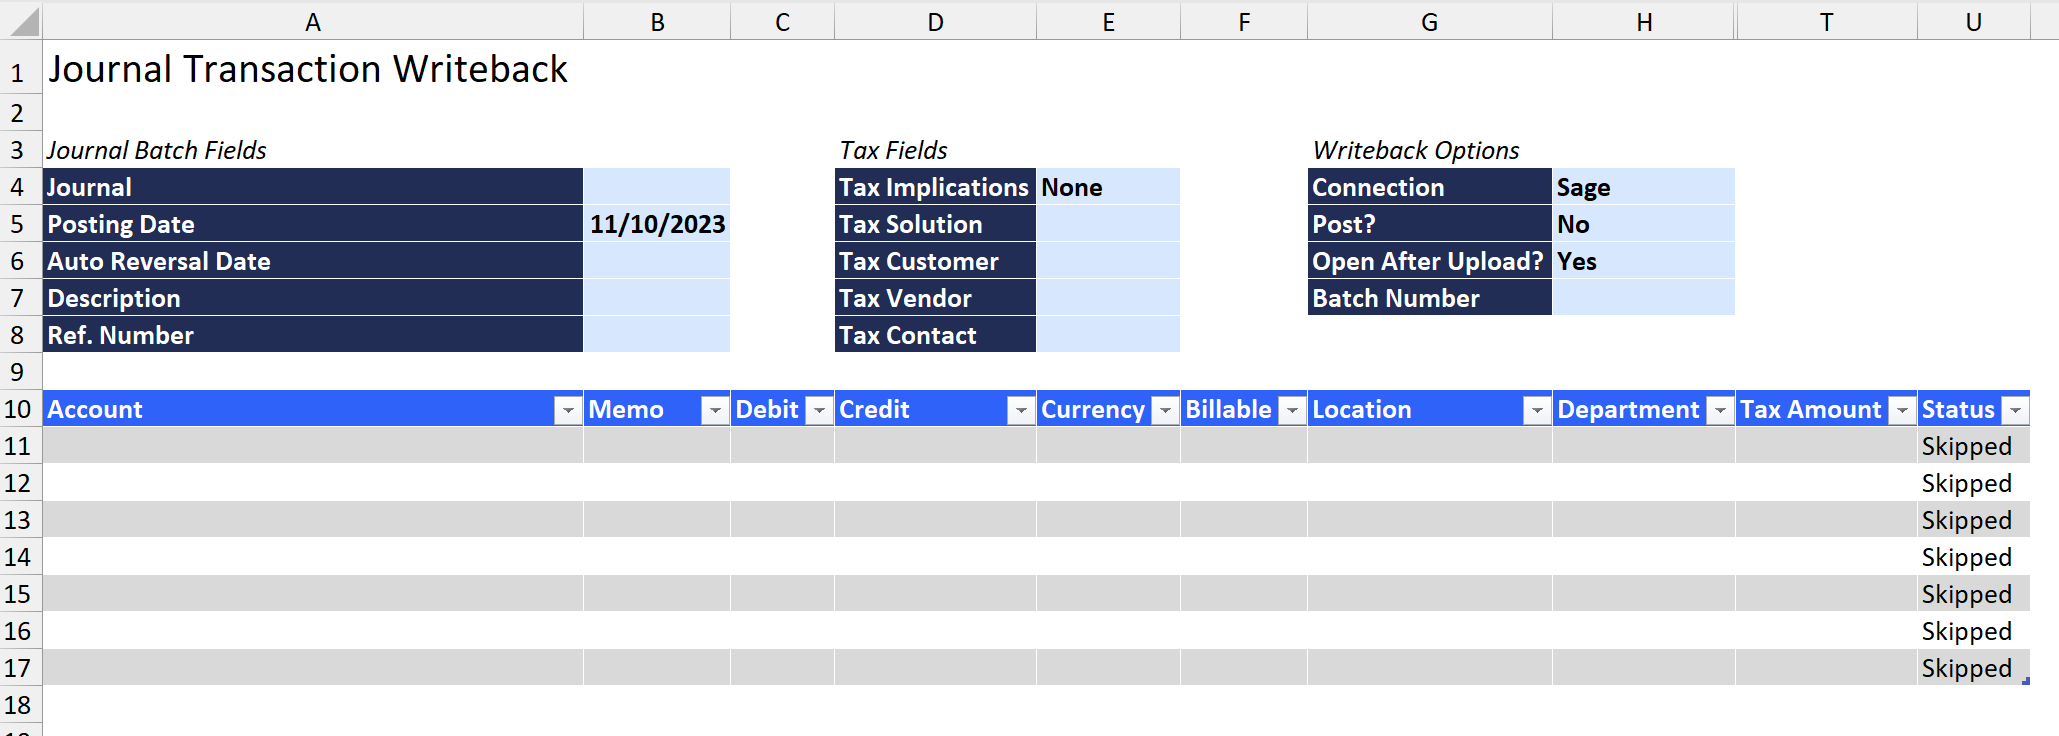
Certain fields will be pre-filled with default values. These can be changed, and you will need to fill in any other desired fields.
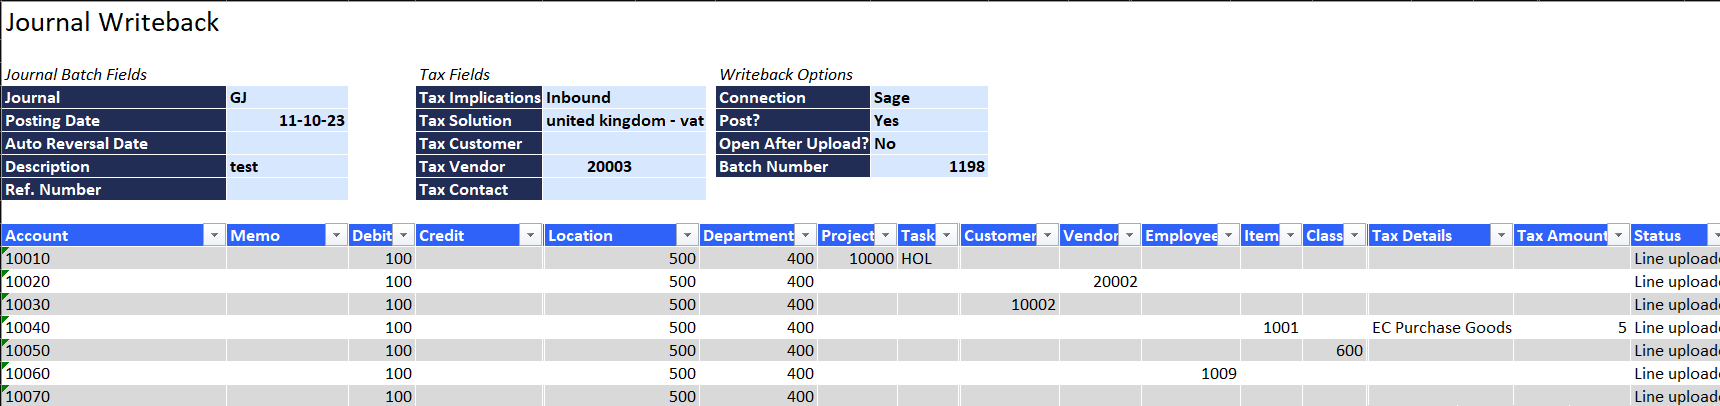
For each row in the table, enter data that is necessary for your journal entry:
The last column (Status) contains a formula which uses the SI.WRITEBACKJOURNAL function. This function maps the different cells and columns on the Journal Writeback worksheet to the Journal Entry screen within Sage Intacct.
You can modify the Journal Transaction Writeback worksheet to match your needs by adding formulas and calculations, removing columns that you don't need, and more.
Perform Writeback
To send your transaction data to your ERP, click on Perform Writeback on the Velixo NX ribbon:
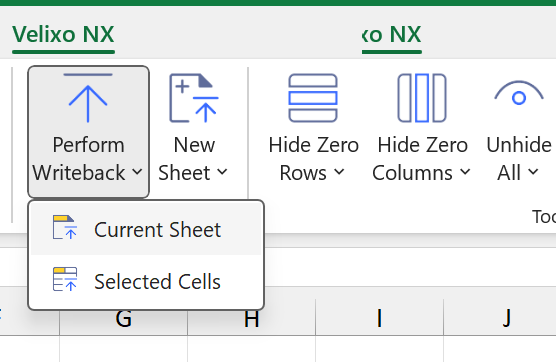
Then select one of the two options based on your specific worksheet:
-
Current Sheet: run all Writeback functions on the current worksheet
-
Selected Cells: only run the Writeback functions located in the selected cells