The Insert Chart of Accounts button can be used to quickly insert all chart of accounts from a selected connection, from the ribbon menu.
Depending on your ERP, the behavior of the Insert Chart of Accounts feature may vary. Please make sure to review the applicable ERP section of this Knowledge base portal.
How to Insert Chart of Accounts
First, select the cell where you want the insertion to start.
Click Insert Chart of Accounts from the Tools section of the Velixo NX ribbon in the Excel toolbar:

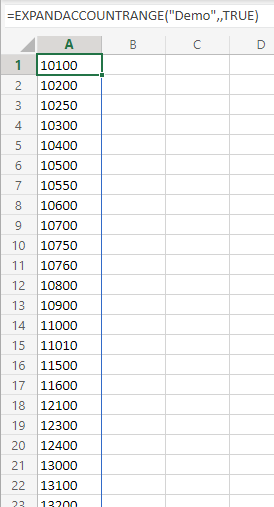
Velixo will then create a dynamic range that lists every account of your chart of accounts:
If you have multiple Connections, then in side panel, select the Connection from where the chart of accounts should be loaded (if you only have one connection defined, it will be listed by default). If you only want to include active accounts, slide the option to Include only active accounts to the right.
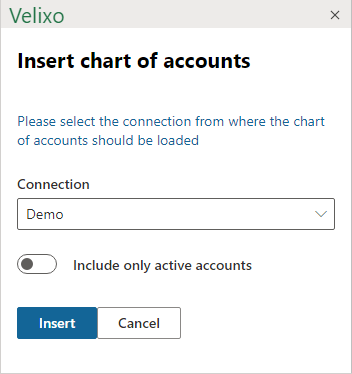
Then, click Insert