Overview
Before you start using Velixo with Microsoft Dynamics 365 Business Central, you need to install an extension within Business Central itself, which will enable Velixo to:
-
Retrieve account information with the required details
-
Access dimension sets
-
Obtain running balances by dimension set IDs, both monthly and daily
This article provides step-by-step instructions for installing, uninstalling and updating the Velixo Business Central extension.
Installation
If the Velixo for Business Central extension is not visible in the AppSource search, contact your admin.
-
Open Business Central in your browser: https://businesscentral.dynamics.com/
-
Log in if prompted.
-
Type
extensionin the search bar and navigate to the Extension Management menu.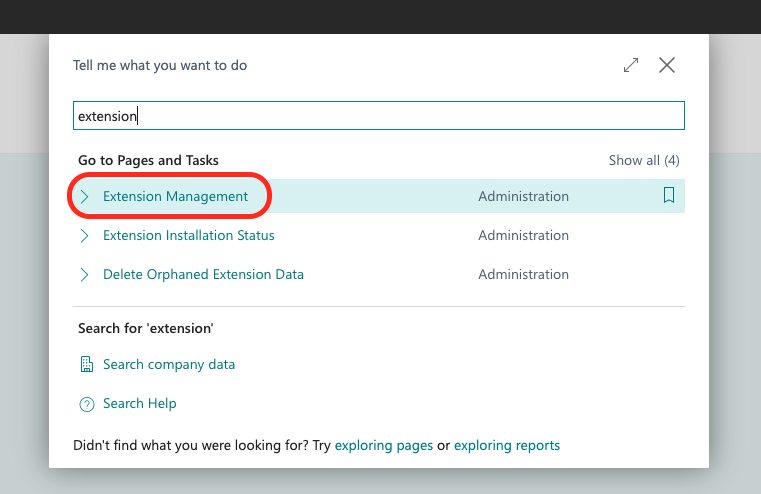
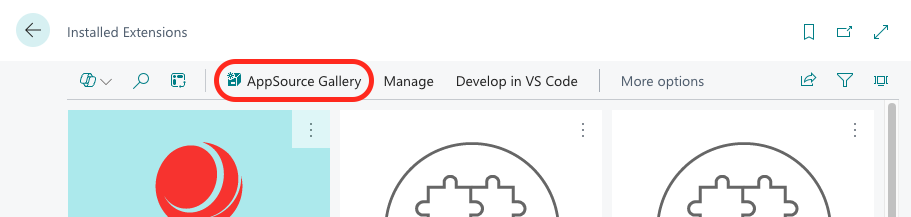
-
Go to AppSource Gallery.
-
Search for
velixoand click Velixo for Business Central on the results list.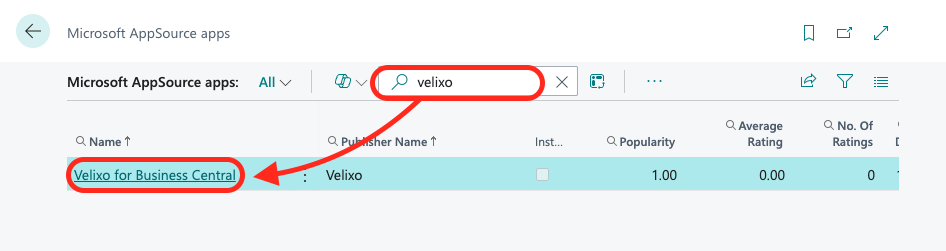
-
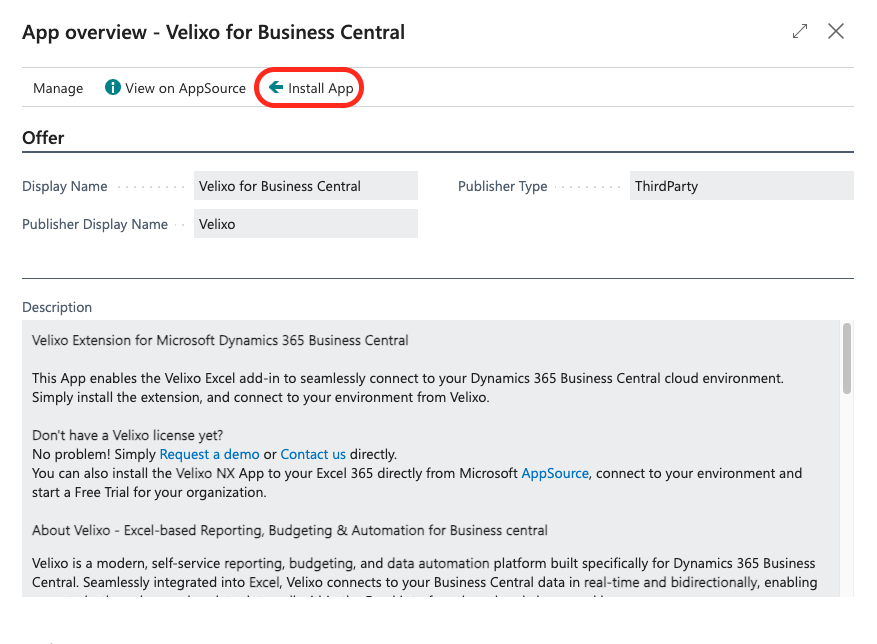
Click Install App on the card that appears.
-
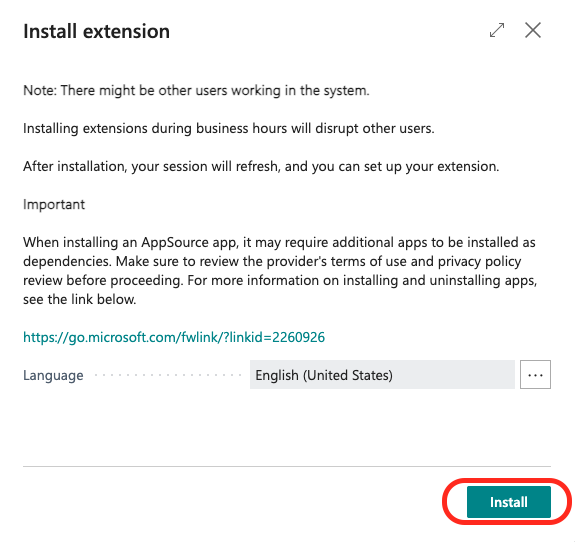
Choose your preferred language and click Install.
-
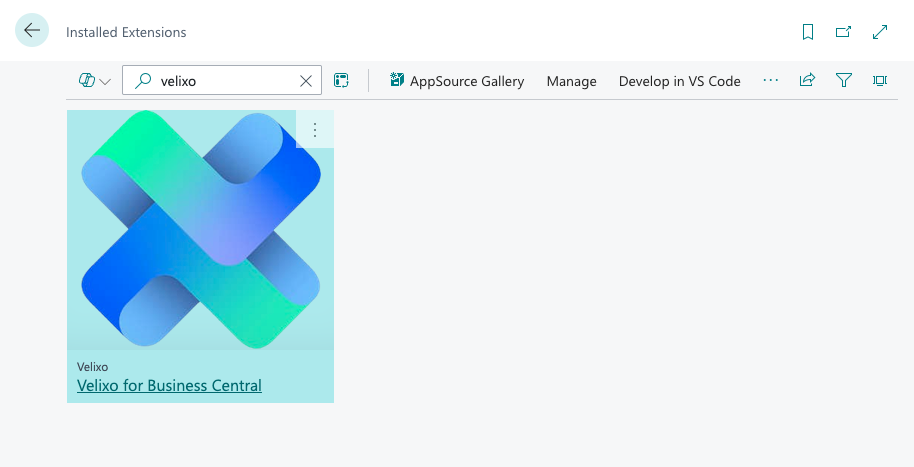
Upon successful installation, Business Central will refresh. Velixo for Business Central will then be visible in the Installed Extensions screen.
Removing the extension
-
Type
extensionin the search bar and navigate to the Extension Management menu.
-
In the search bar, type in
velixo, click the three vertical dots button on the Velixo extension tile that appeared, and click Uninstall.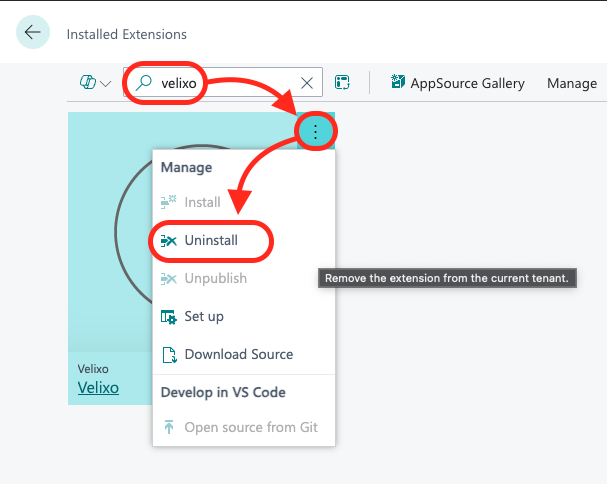
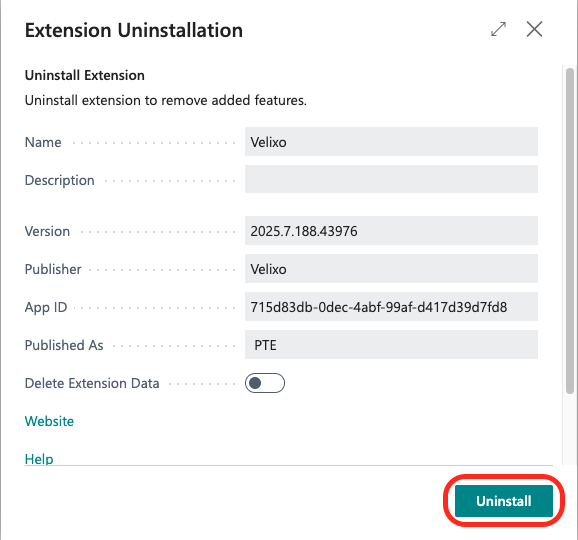
-
Click Uninstall.
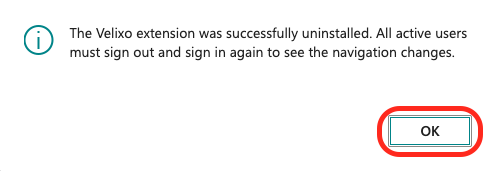
-
Click OK.
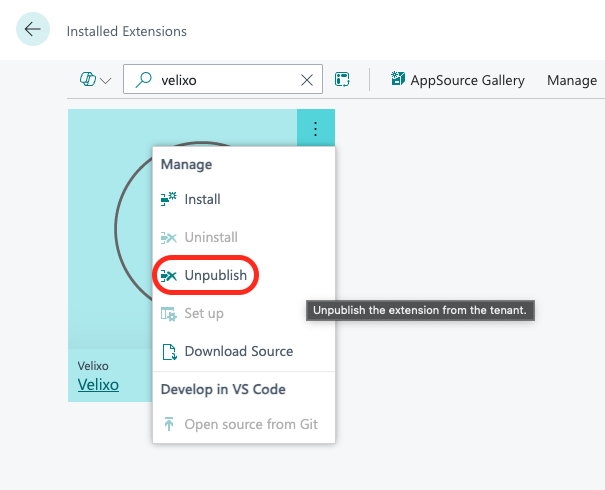
-
Click the three vertical dots button on the Velixo extension tile that appeared, and click Unpublish.
Updating the extension (admin only)
Set automatic updates (recommended)
-
Sign in to your Business Central instance.
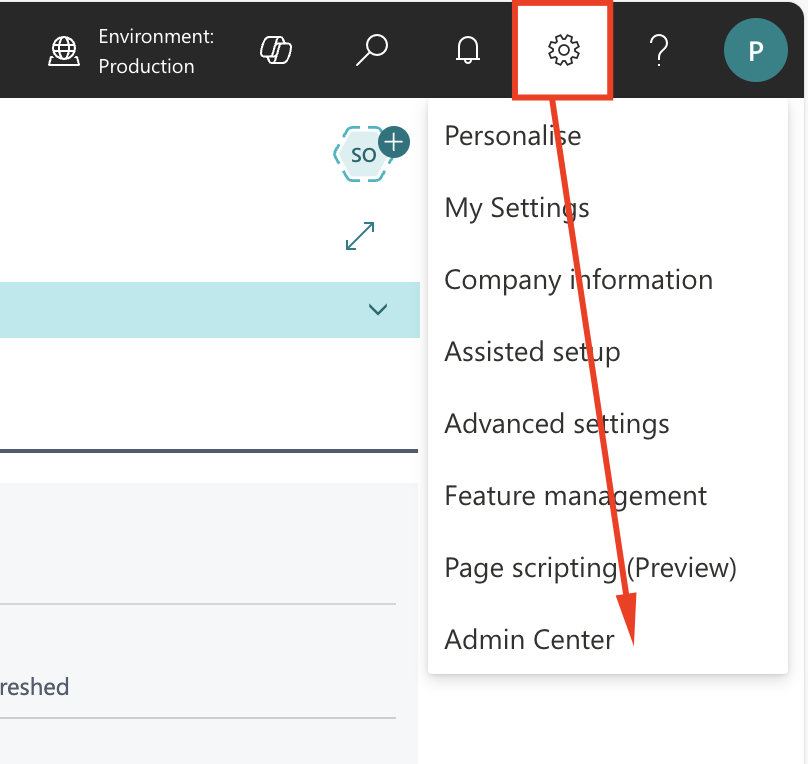
-
At the top right, click the gear icon and navigate to Admin Center (you might need to wait a little until the gear icon appears).
-
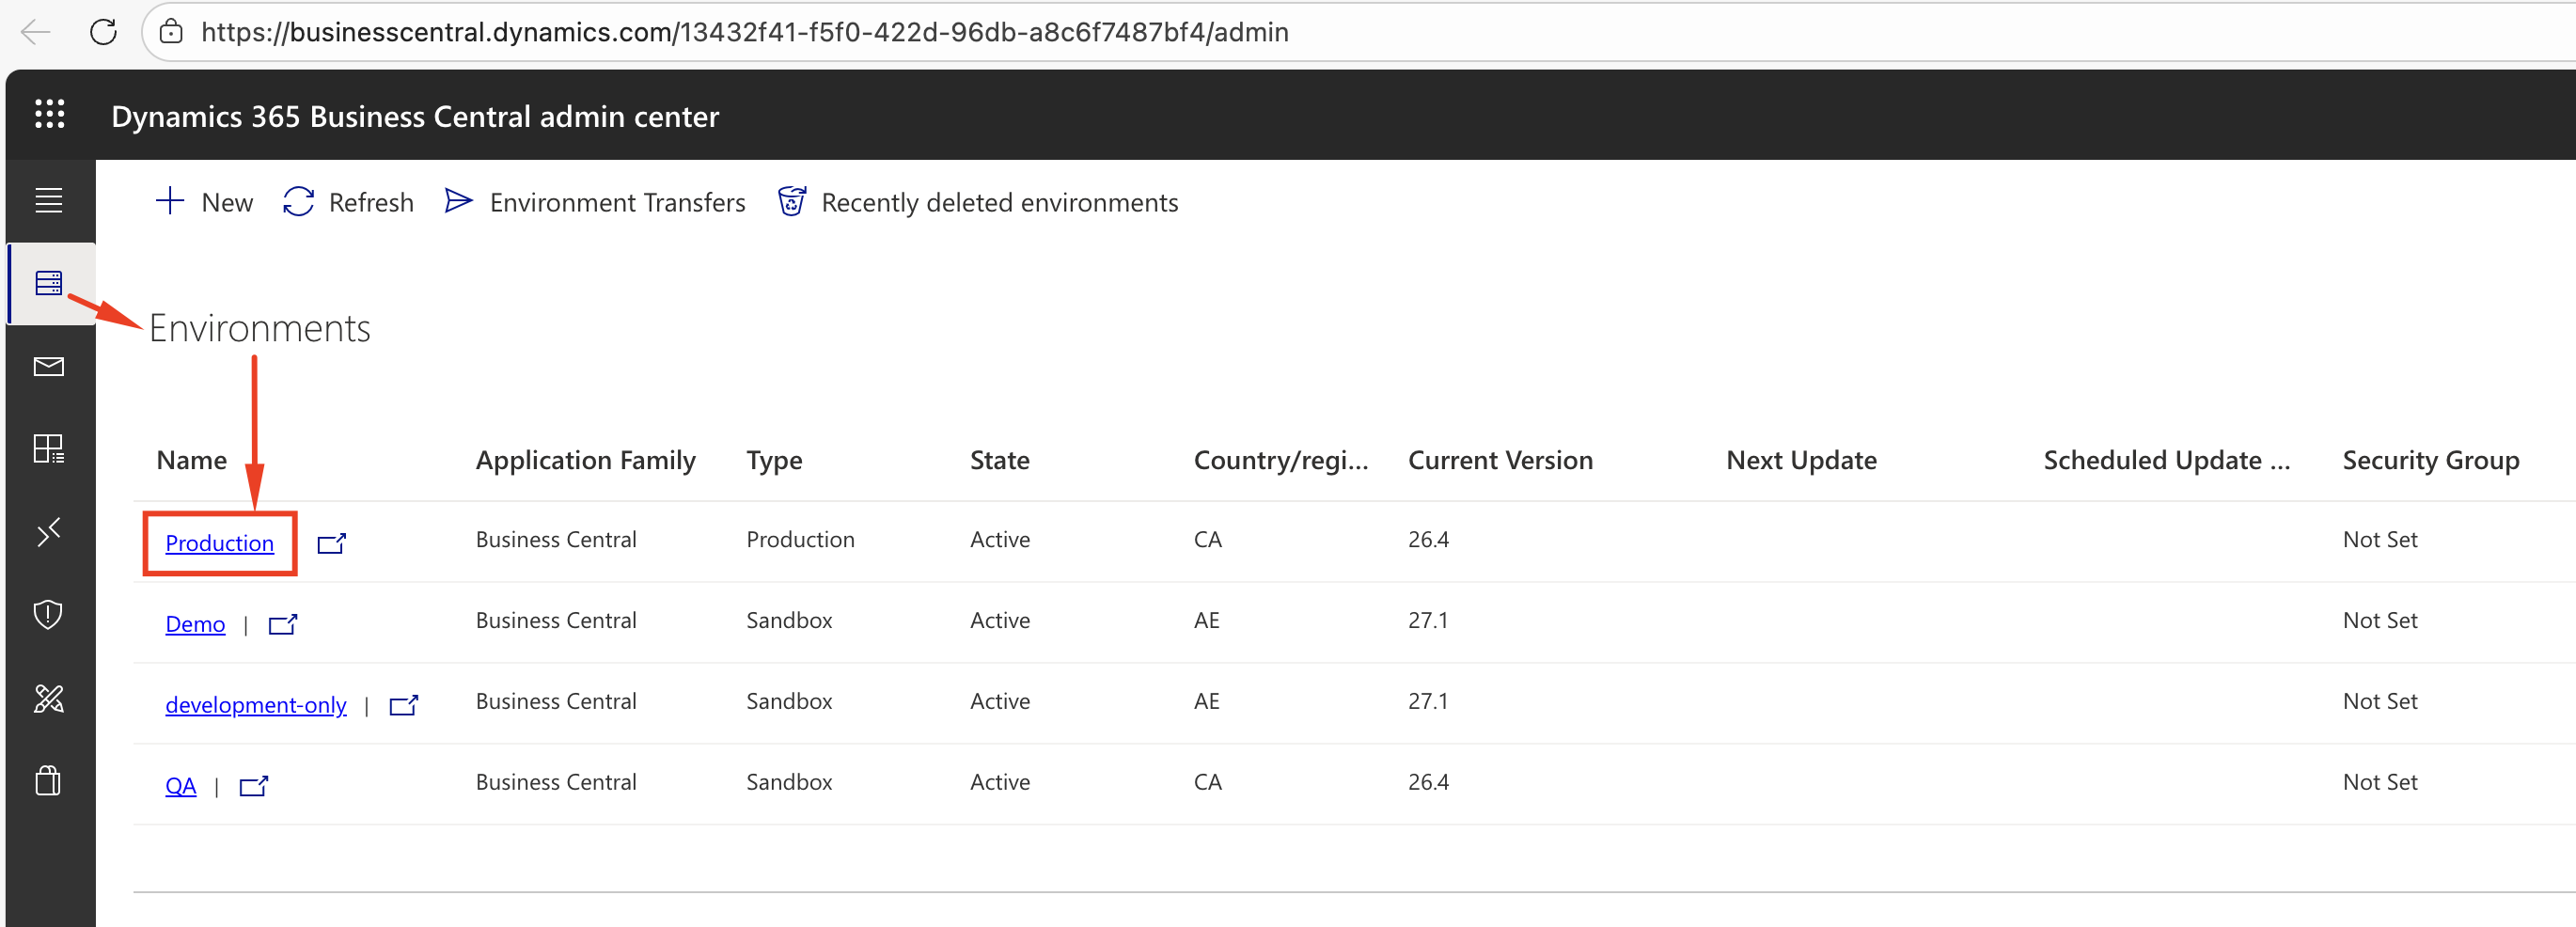
In the Admin Center, review the environment list and click on the environment for which you’re performing the update.
-
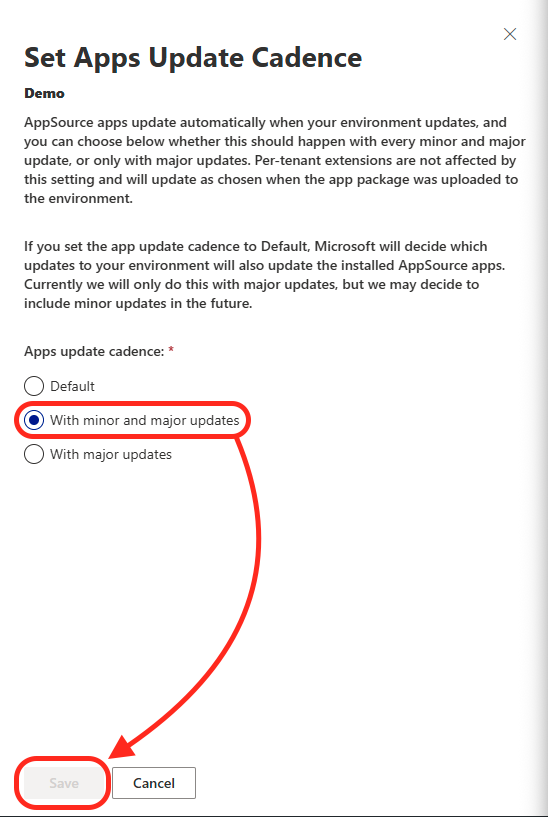
In the Update Settings box, click Modify for the Apps Update Cadence setting.

-
In the side panel that appears, select With minor and major updates and click Save.
Update manually
-
Sign in to your Business Central instance.
-
At the top right, click the gear icon and navigate to Admin Center (you might need to wait a little until the gear icon appears).
-
In the Admin Center, review the environment list and click on the environment for which you’re performing the update.
-
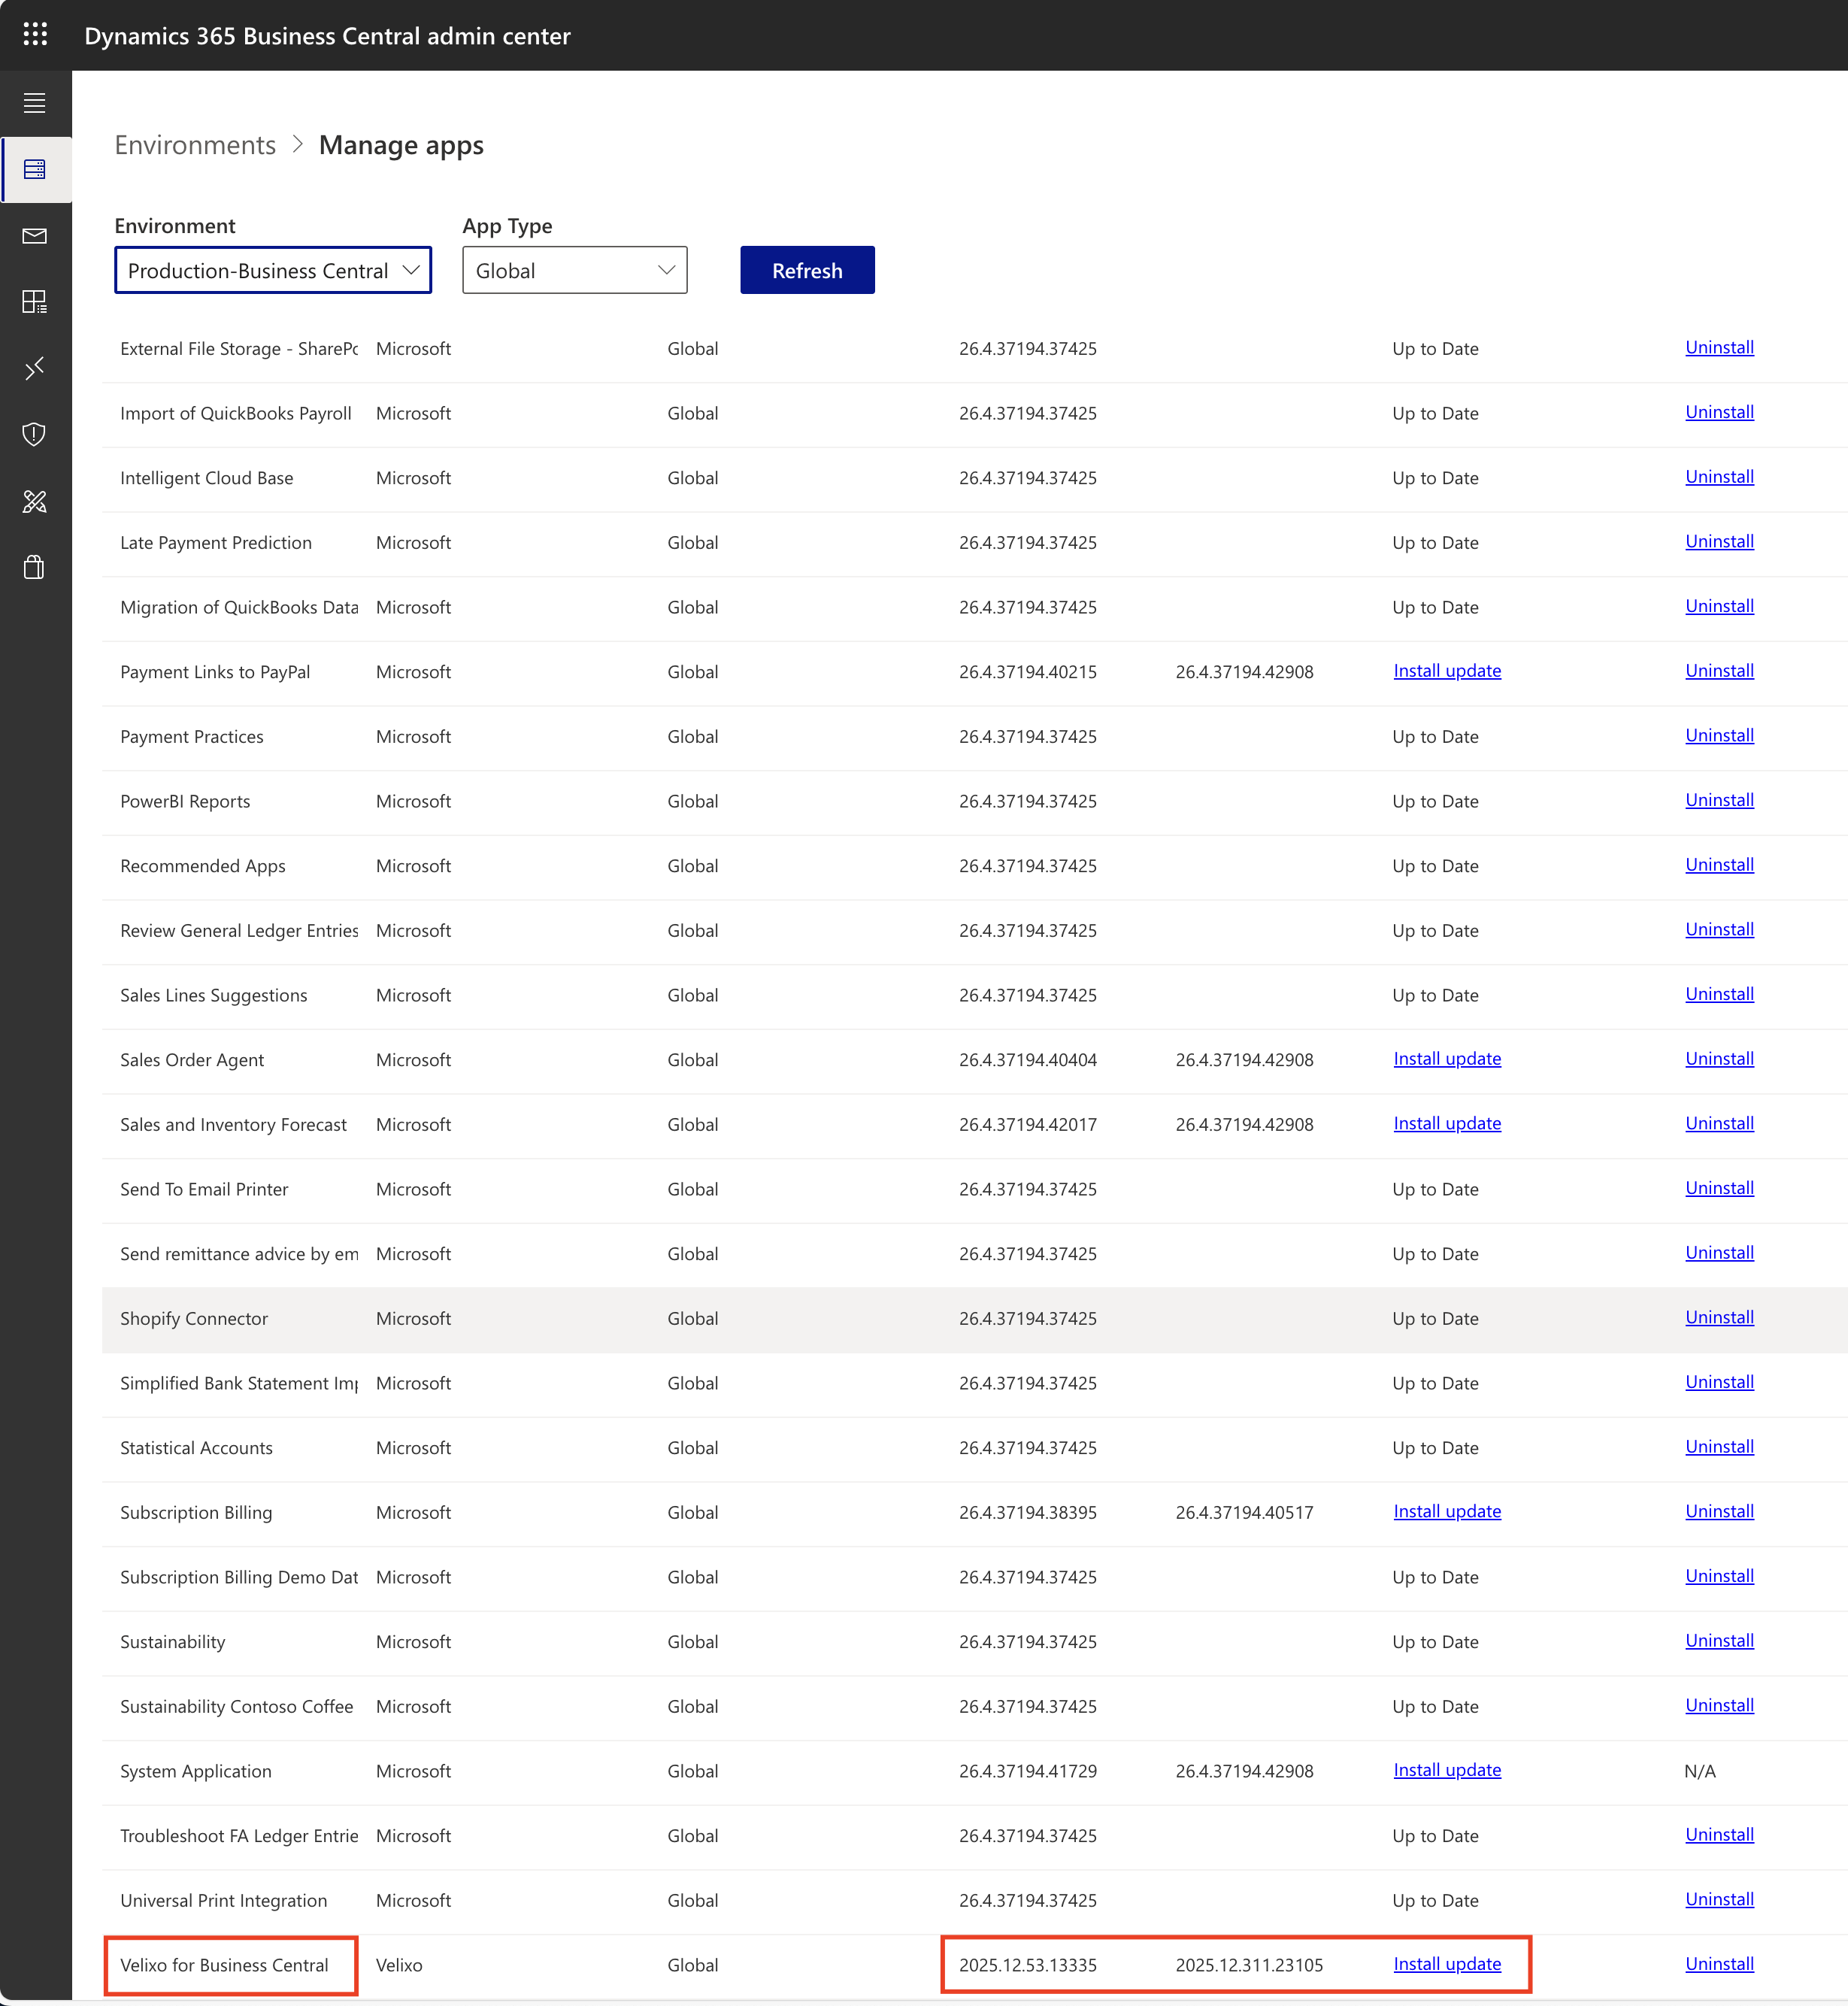
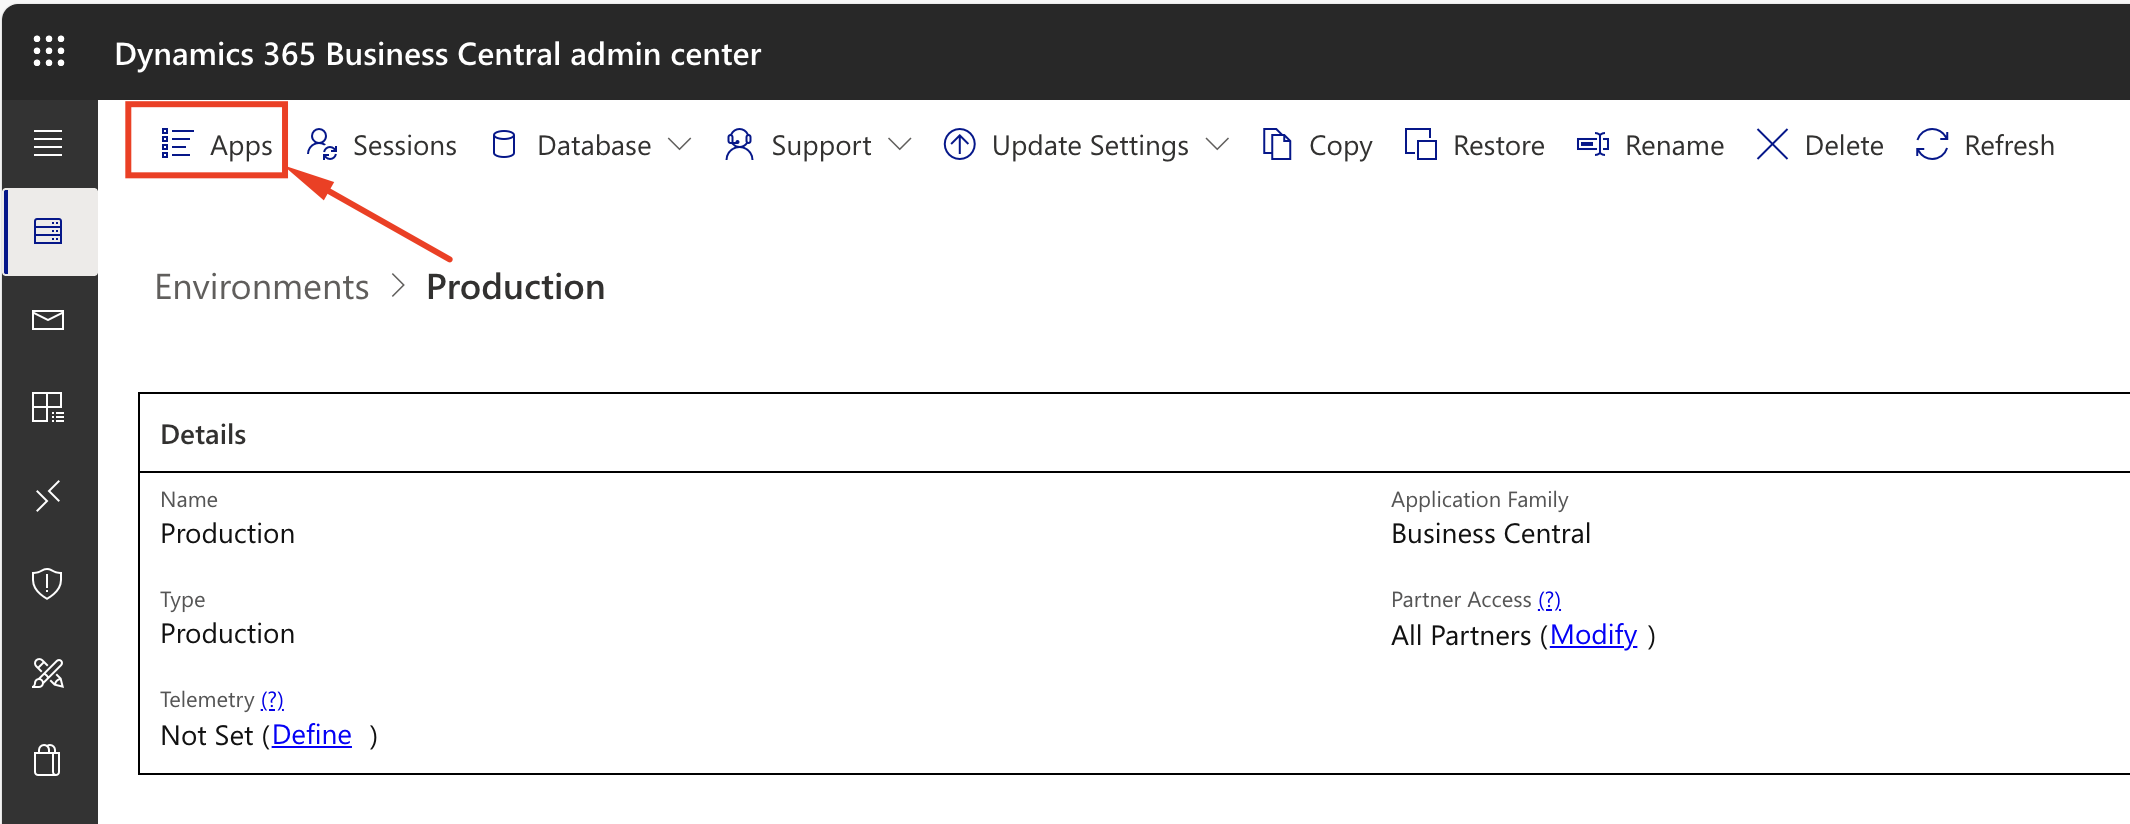
On the environment page, click on Apps:
-
Scroll down until you find the Velixo app, and click Install update (if available):