Prerequisites
If you haven't installed Velixo NX yet, please follow the Getting started with Velixo NX guide.
Make sure the Velixo Business Central extension is installed, so that you can access all of Velixo NX’s functionalities. Follow the installation guide for details.
Connecting to Business Central
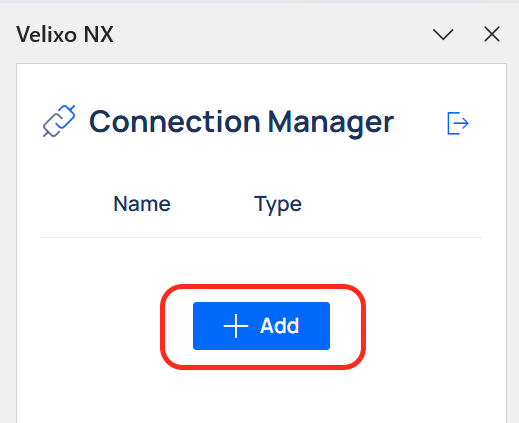
Click the Connection Manager button on the Velixo NX ribbon to open Connections tab in the side panel. Then click Add.
To set up a connection for Business Central, select Microsoft Dynamics 365 Business Central from the Type drop-down menu. Enter a unique Name for the connection (you will use this name later as you build formulas).
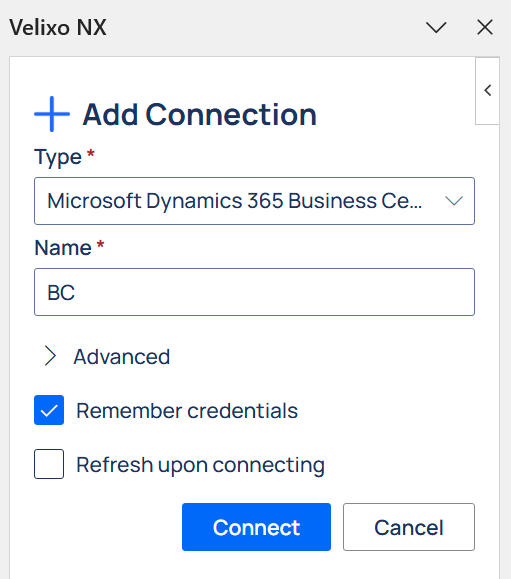
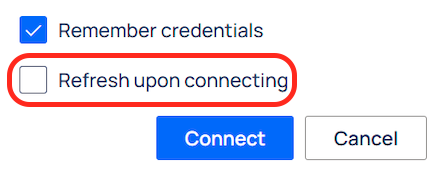
To save your credentials for future use, check the Remember credentials box.
If you check this box, your credentials are not actually saved within the spreadsheet. Rather, they are saved to your Velixo user profile, which resides in your local Microsoft Office installation and is encrypted at rest.
To immediately refresh the data in your workbook upon connecting, check the Refresh upon connecting box.
Upon clicking Connect, you will be presented with a Microsoft login screen, where you can choose the account your Business Central instance is connected to.
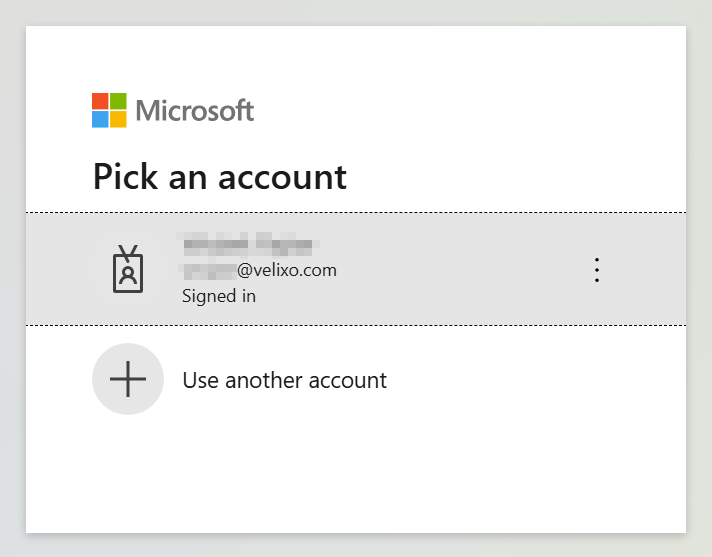
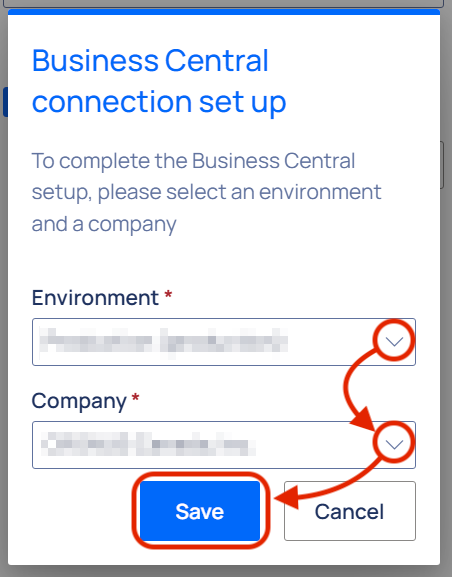
Once logged in, you will be able to choose the Environment and Company you wish to add.
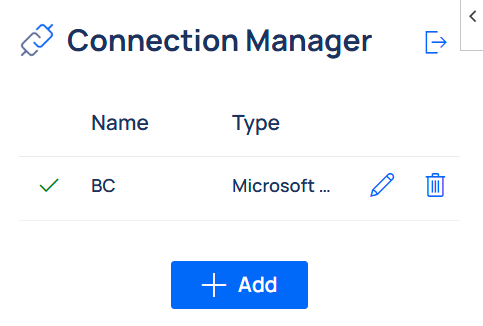
Done! Once connected, the newly created connection will appear on the list in the Connection Manager panel with a green check mark next to the connection name.
You can add multiple connections with separate Companies/Environments to a single workbook. This allows you to easily consolidate data coming from multiple sources.
Once you have established a connection to your ERP, you can create your first reports by following our Create your first Velixo report guide.
Be sure to see our other Getting Started articles for using Velixo NX with MS Dynamics 365 Business Central as well.