Overview
The Connection Manager is a panel that lets you create, edit and remove connections from your workbooks.
To open the Connection Manager, click the Connection Manager icon in the Velixo NX ribbon:

This article provides an overview of how to add, edit, and remove connections.
Adding a connection
Add a new connection by clicking the + Add button:
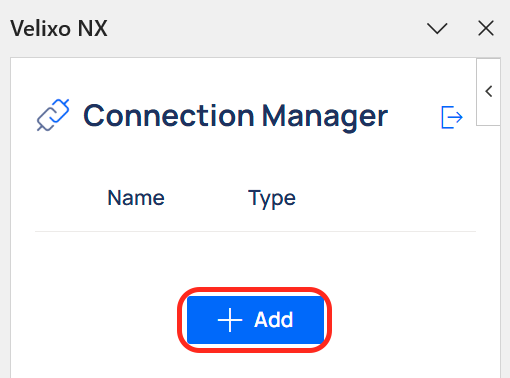
Doing so opens the Add Connection panel:
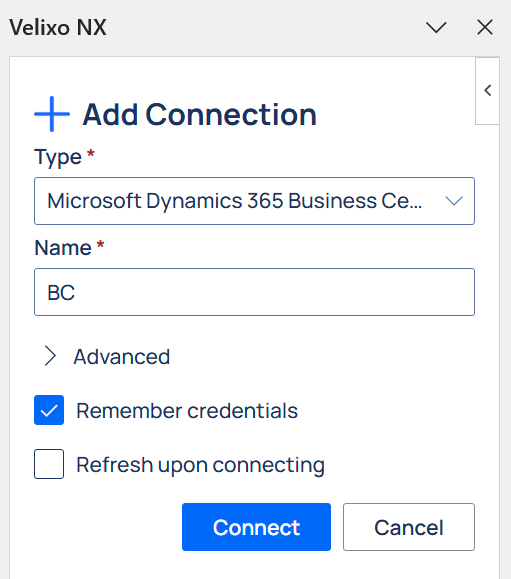
To add a connection, in the Connection dialog, you need to specify the following information:
-
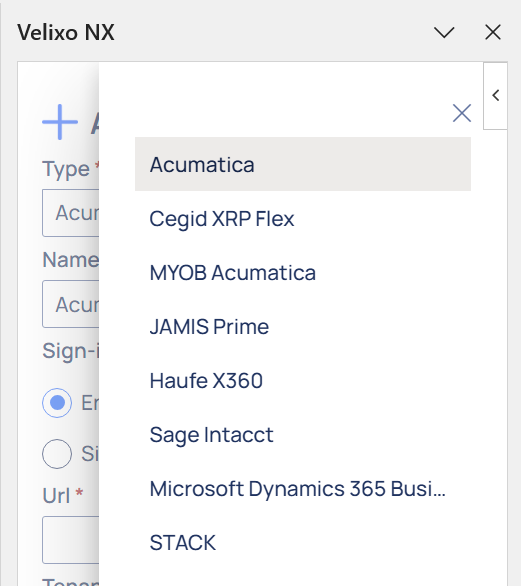
Type: this is the type of platform to which you are connecting (Acumatica, Cegid XRP Flex, Haufe x360, JAMIS Prime, MYOB Acumatica, Sage Intacct, Dynamics 365 Business Central, or STACK):
-
Name: This is the friendly name for the connection, which must be unique (case does not matter). You will use this name later when building formulas that refer to it. By default, Velixo NX will provide a name that corresponds to the type of the connection. You are welcome to keep that name or change.
-
Advanced:
-
Tenant: If connecting to a tenant other than the one associated with your Microsoft 365 account, you need to specify the tenant UUID..
-
To connect this way, access for your MS 365 account needs to be set up in advance by an organization admin.
To find the UUID, from within Business Central:
-
Sign into the Business Central environment.
-
Click the Help icon (question mark) in the top-right corner.
-
Go to Help & Support -> Report a problem.
-
Copy the Microsoft Entra Tenant ID.
-
Remember credentials: Check this box to save the password. If you decide to save your credentials for the connection, they will be saved to your Velixo Windows Registry profile on this computer and encrypted with the Windows Data Protection API (DPAPI). Saved connections are then available to use within the Connection dialogue panel.
-
Refresh upon connecting: Refreshes your workbook after the connection is established. It is checked by default when adding a first connection to the workbook or adding missing credentials to the only connection in the workbook. For your convenience, to avoid multiple redundant refreshes, it remains unchecked by default in multi-connection workbooks.
-
Connect: Click to be redirected to an SSO/login screen, and complete the process.
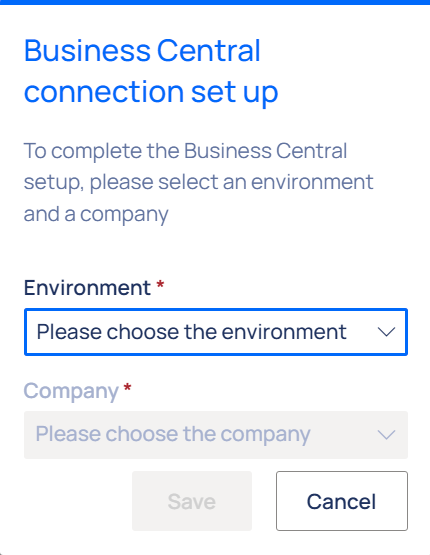
Once connected, if prompted, select the Environment and Company you wish to use and click Save.
Multiple companies per connection
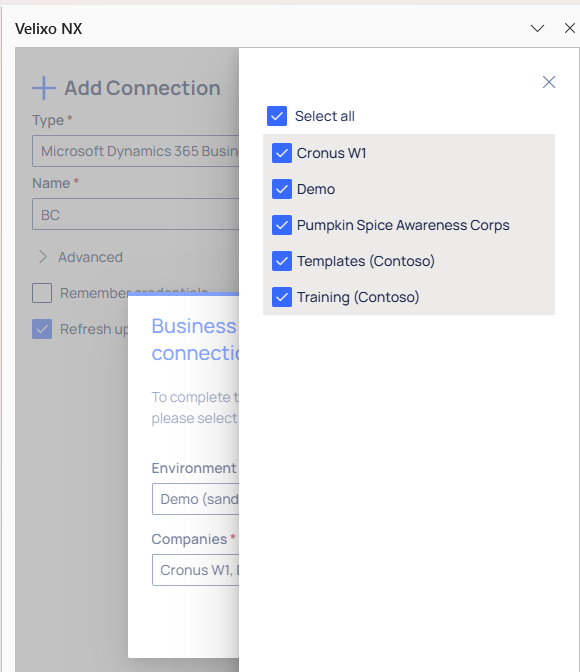
You can create a single connection that includes multiple companies within a single environment.
When selecting companies, you can choose which companies to include in a connection by checking boxes next to their names (all companies within the environment are selected by default).
A Select All checkbox is available for connections with 4 or more companies.
To target a single company within the connection using Velixo functions, use the following syntax in the ConnectionName argument: connection-name/company name (case insensitive). The example below targets the company Velixo Demo in the connection named BC.
=BC.EXPANDACCOUNTRANGE("BC/velixo demo")
For company names that contain commas ,, semicolons ; and, pipes |, replace the special characters with additional spaces.
For example, query Company, Inc. in the connection BC by providing:
=BC.EXPANDACCOUNTRANGE("BC/company inc.")
The way the results are aggregated for formulas that use multiple companies per connection depends on a particular function's default aggregation mode.
With Velixo NX, you can also query multiple connections using a single formula. To learn more, see Multiple connections per formula.
Editing a connection
Edit an existing connection by clicking the pencil icon:
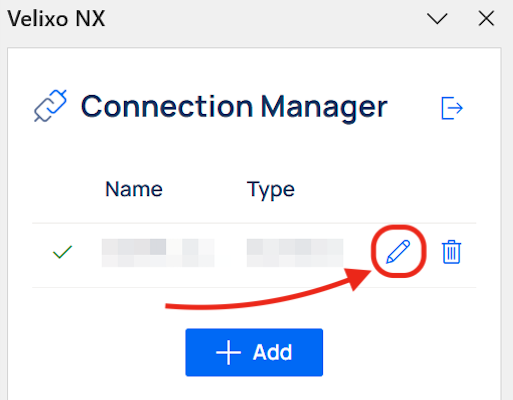
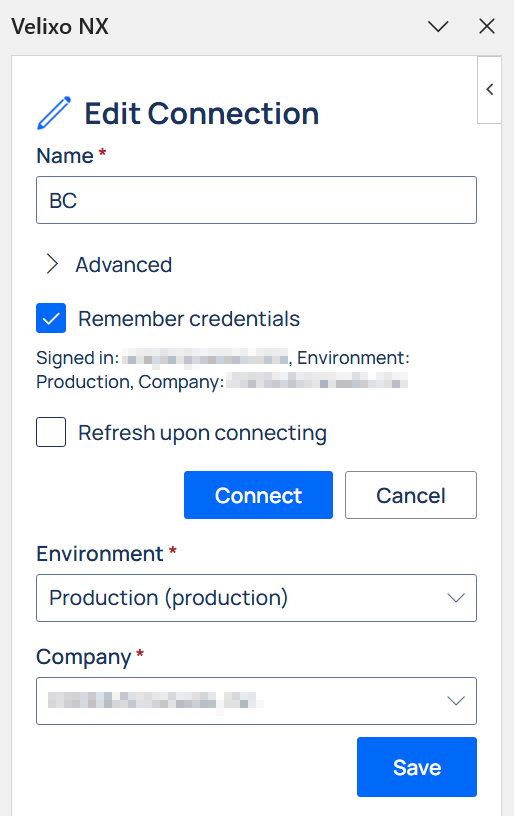
Doing so opens an Edit Connection panel, which allows you to edit information provided when creating a connection. Once edited, click Connect to connect using the updated details.
You can also switch the Environment and Company (if available for your account) and click Save to apply the changes without reestablishing the connection.
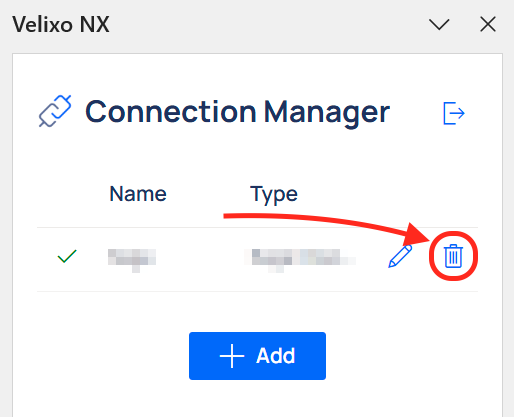
Removing connections
To remove a connection, click the Trash can icon next to its name in the Connection Manager panel.
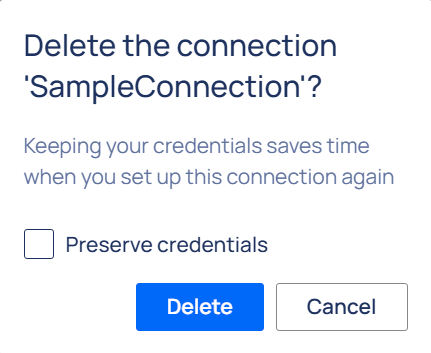
Check the Preserve credentials box to remember the credentials for future use. Click Delete to confirm.
New to Velixo?
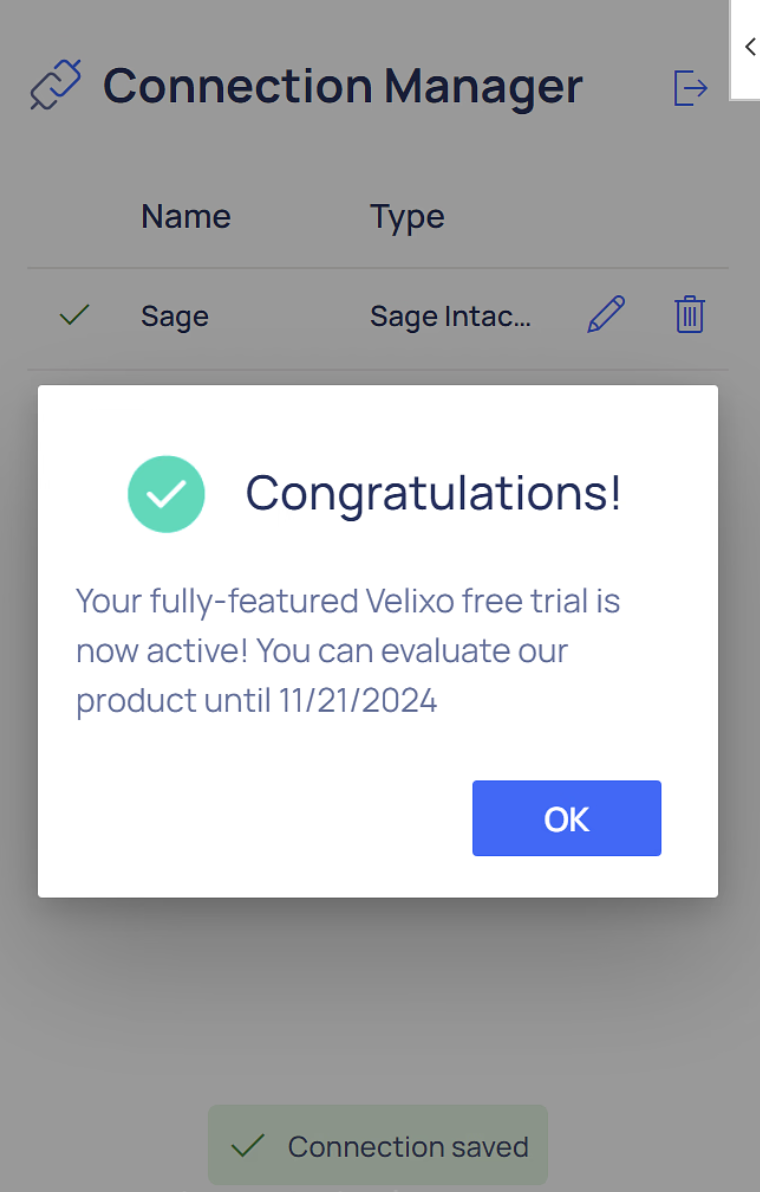
If your organization is new to Velixo NX, you can activate a 15-day free trial license automatically when you connect to your ERP instance via the Velixo NX Connection Manager.
When you attempt to connect to your ERP, you will see this message:
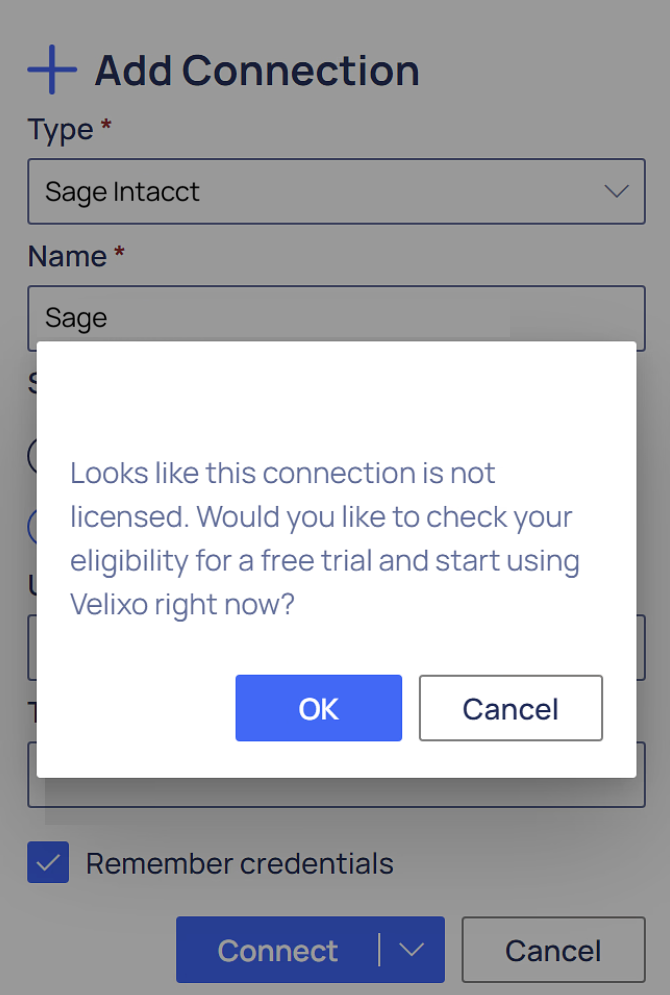
Click the OK button and then complete the registration process.
Once complete, your connection will be established, and your trial period will have begun: