Overview
The Query Builder feature is an intuitive, step-by-step visual tool for constructing query formulas to extract data from an instance of your ERP.
The resulting queries are translated to a BC.QUERY or BC.QUERYTABLE formula which returns the contents of a specified object or table, either as an Excel array or an Excel table.
Layout and usage
To open the Query side panel, select a cell where you want to place the created formula and click the Insert button in the Velixo NX ribbon and select Query (you can also select a different cell once the panel is open).
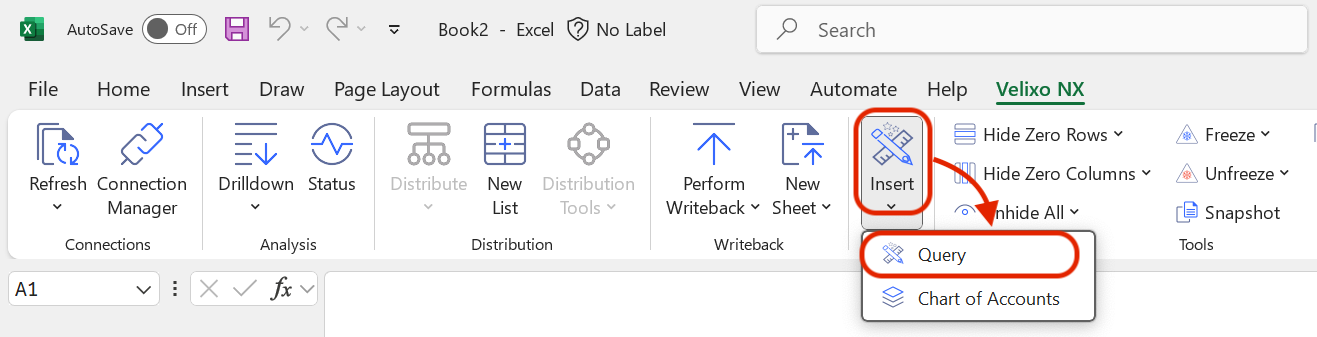
You can also use Query Builder to edit existing queries created with the tool. Select the cell containing the query you’d like to edit and click Insert → Query from the Velixo NX Excel menu.
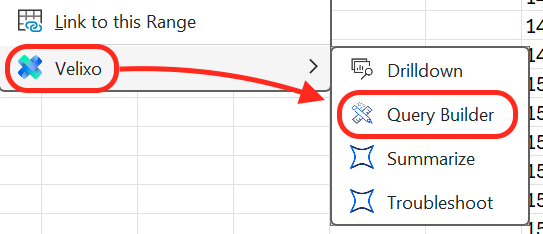
Alternatively, right-click the target cell for your query and choose Query Builder from the Velixo menu.
You can also choose the connection you want to use if multiple are available. The first active connection on the Connection Manager list will be selected by default. The drop-down field will be inactive if your workbook is only connected to a single connection. This functionality corresponds to the Connection parameter in the a BC.QUERY or BC.QUERYTABLE function.
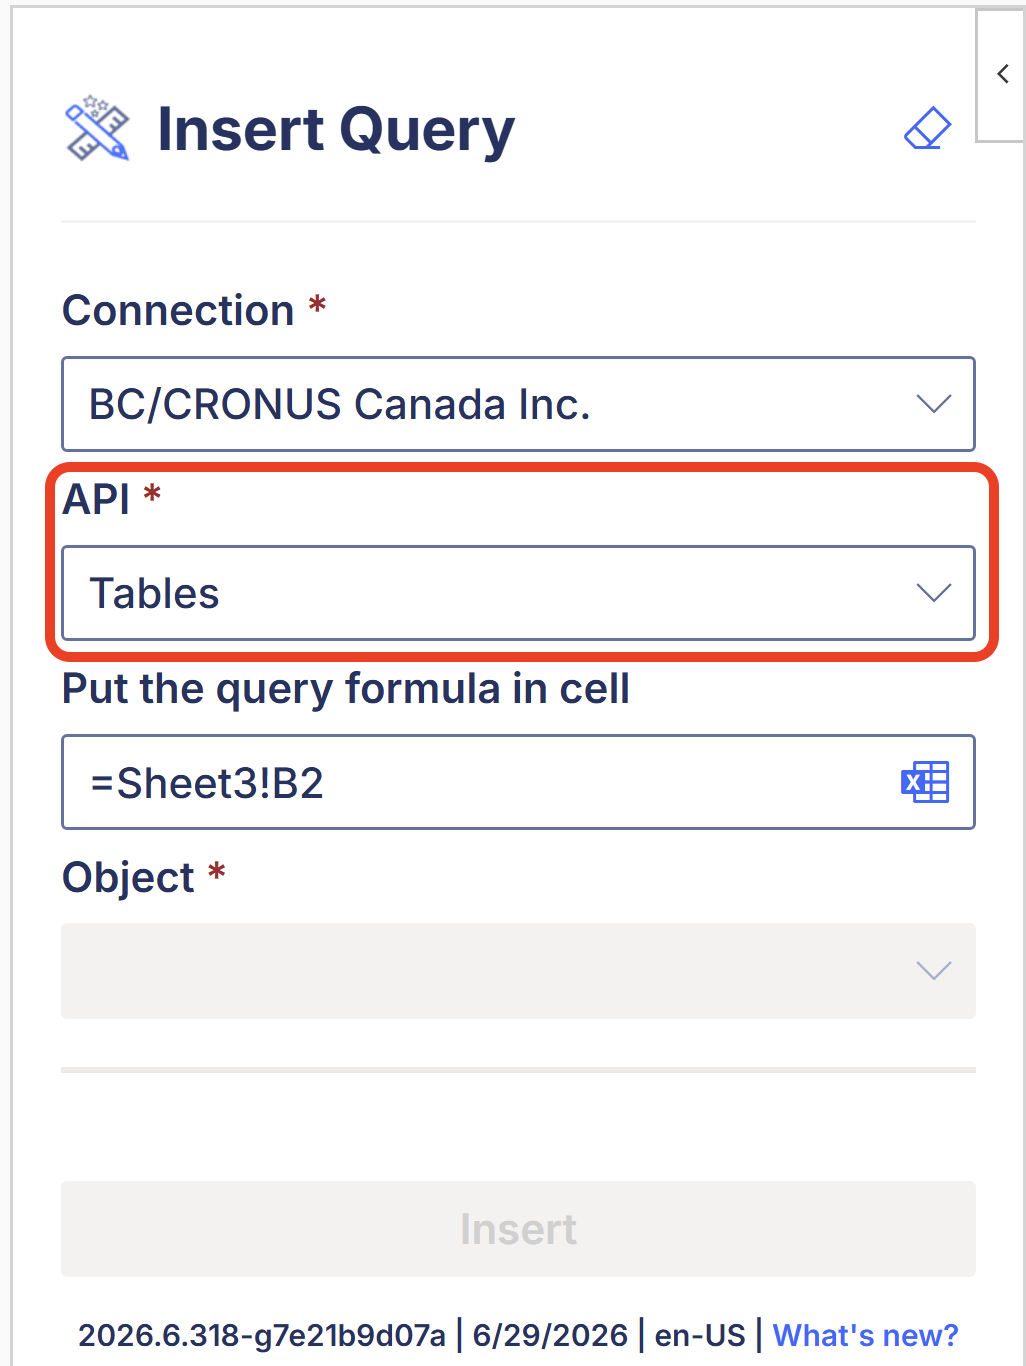
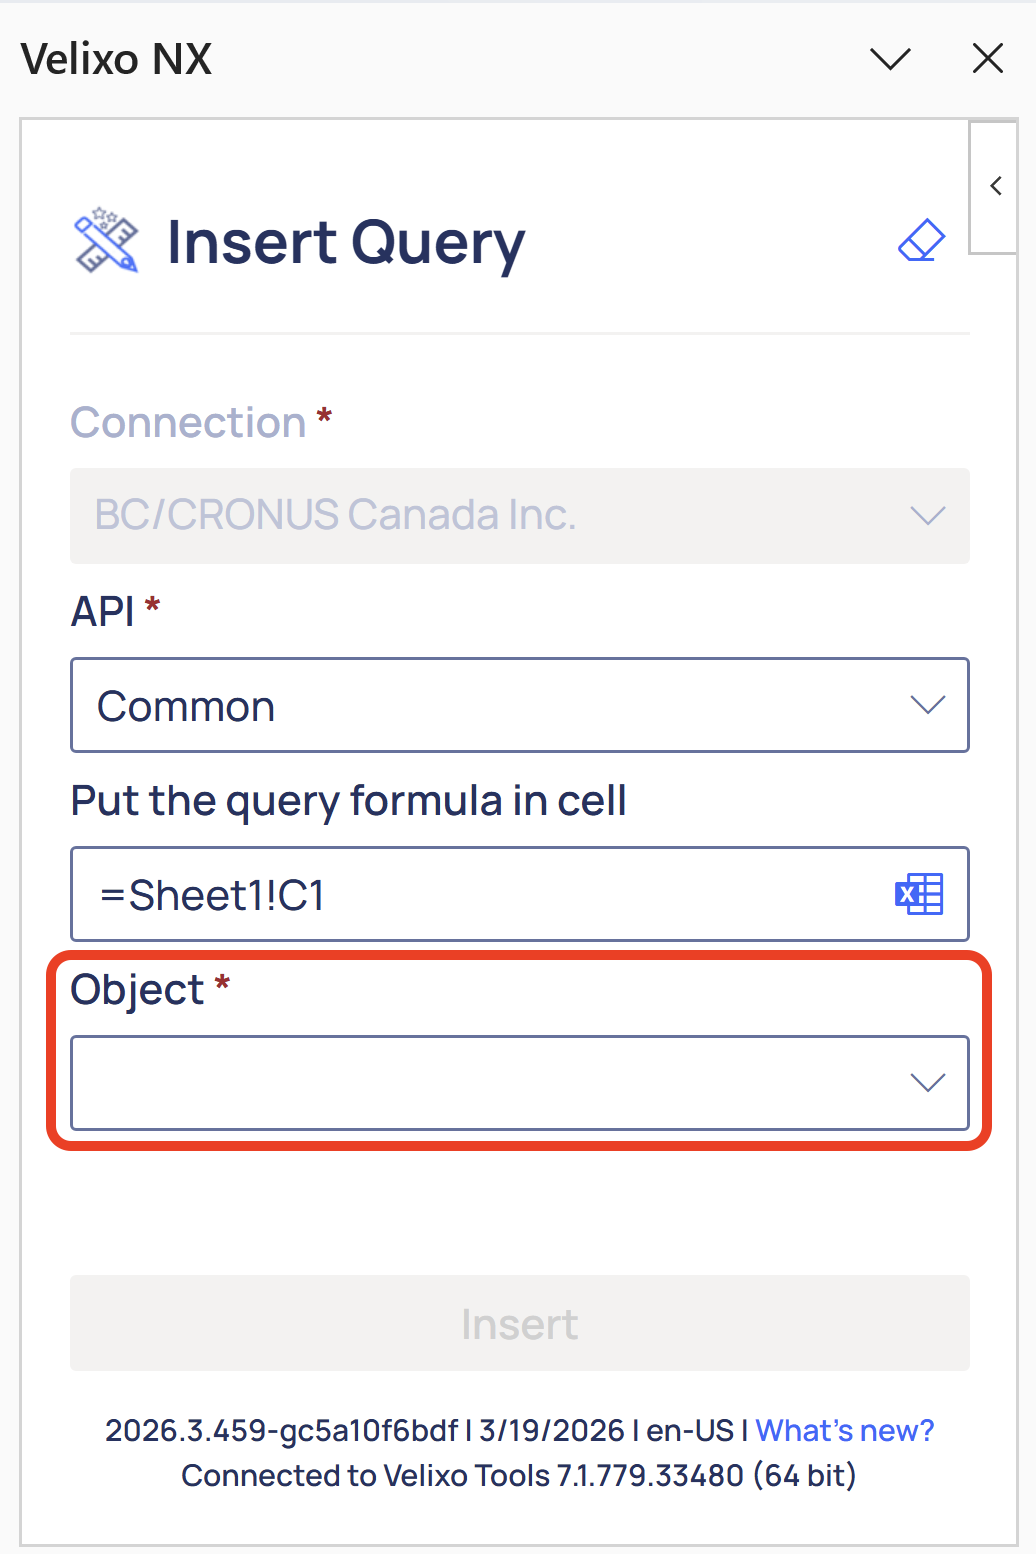
Then choose the API you want to use to communicate with Business Central. You can choose between Tables, Common, and Web Services.
To query Business Central tables, choose Tables in the API selector (selected by default).
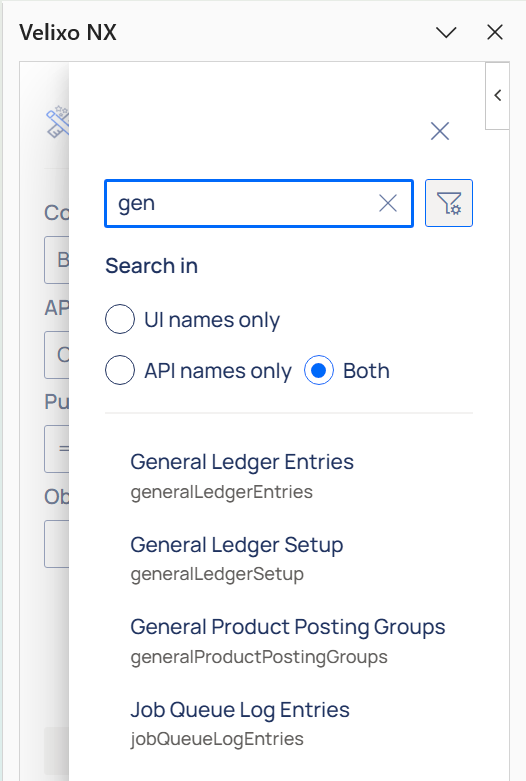
Next, choose an object from which you want to retrieve data from the list in the pop-up panel. You can also use the search bar to look for available objects.
Click the Filter button to choose to search by UI names, API names or both.
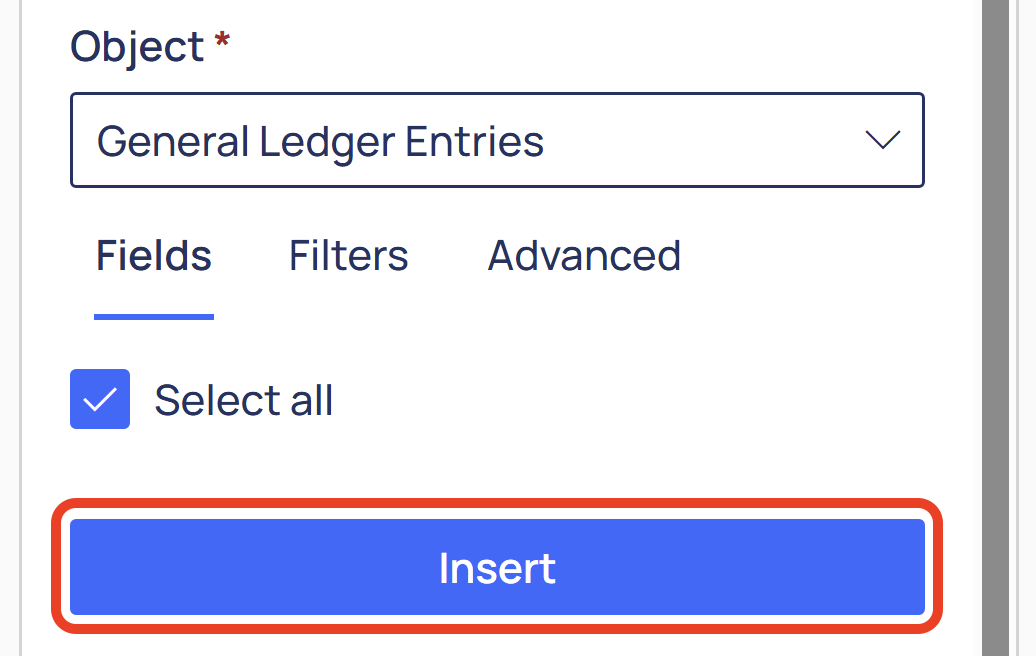
Then, you can insert the query into your workbook using the Insert button or customize your query using the adjustments in the Fields, Filters, and Advanced tabs described below.
Fields
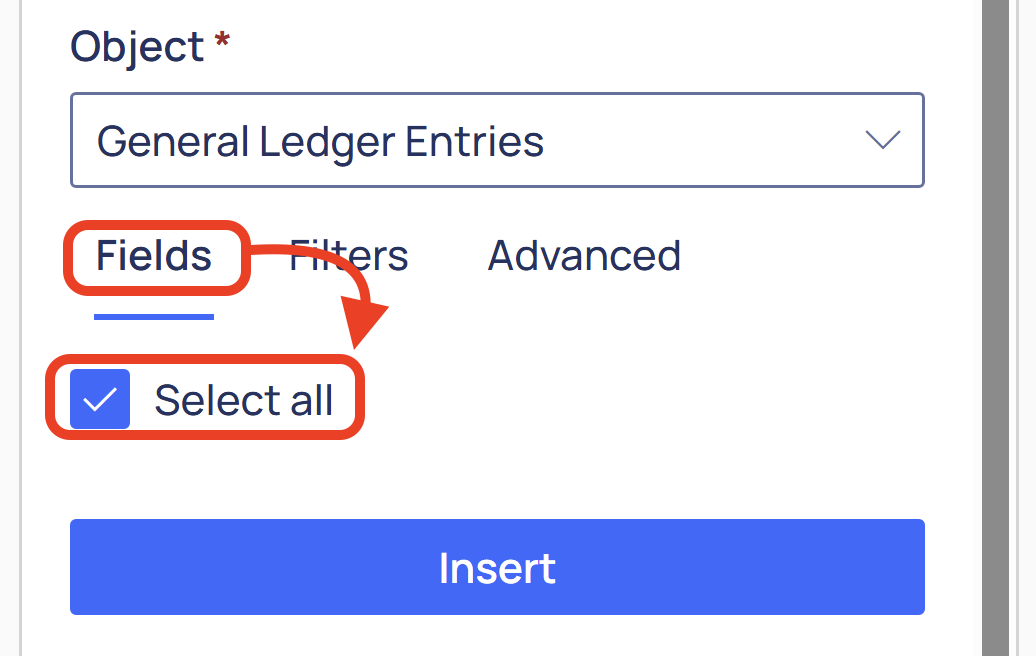
The Fields tab enables you to include individual fields in the results of your query. This functionality corresponds to the Select parameter in the a BC.QUERY or BC.QUERYTABLE function.
The available fields differ depending on the selected object. All available fields are selected by default. To select individual fields, uncheck the Select all checkbox and check the fields you wish to include from the list in the pop-out panel. The list contains available fields for the selected object as well as related objects.

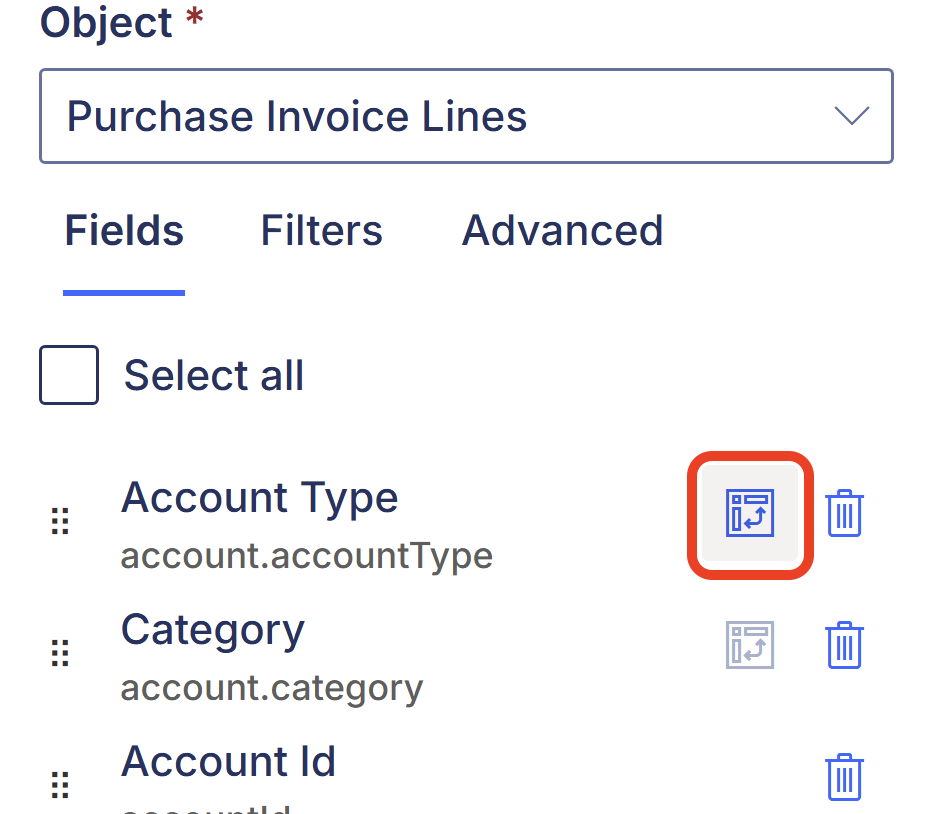
The list
When choosing fields, use the chevron icon to expand the list of nested objects and their available fields. These objects are then available for use with the unpivot option in the
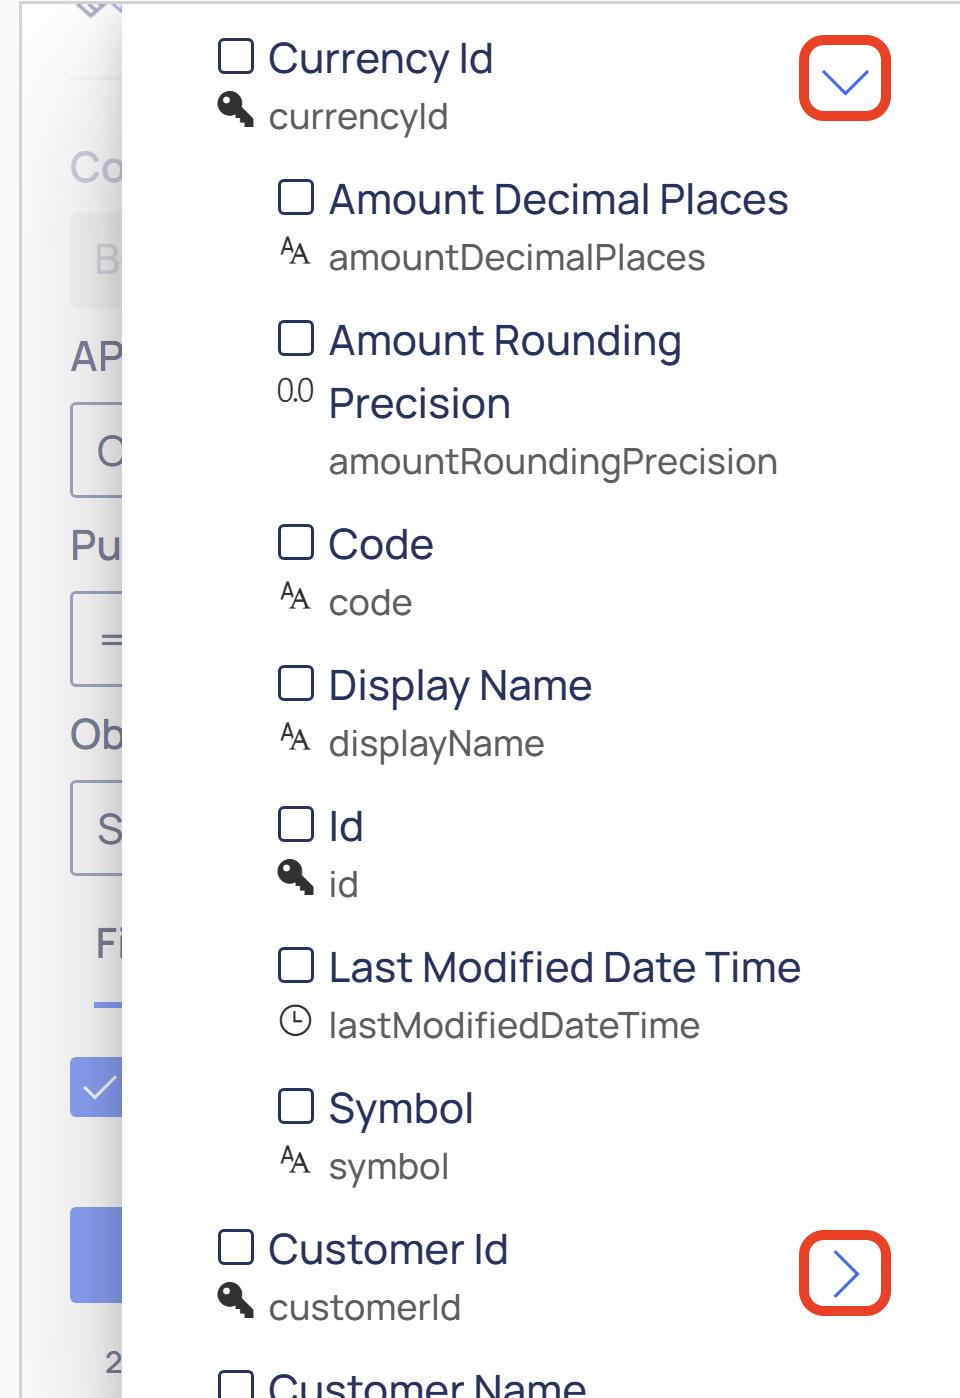
Selected nested objects are then available for use with the Unpivot option in the fields list. This option is equivalent to using unpivot in BC.QUERY and BC.QUERYTABLE functions.
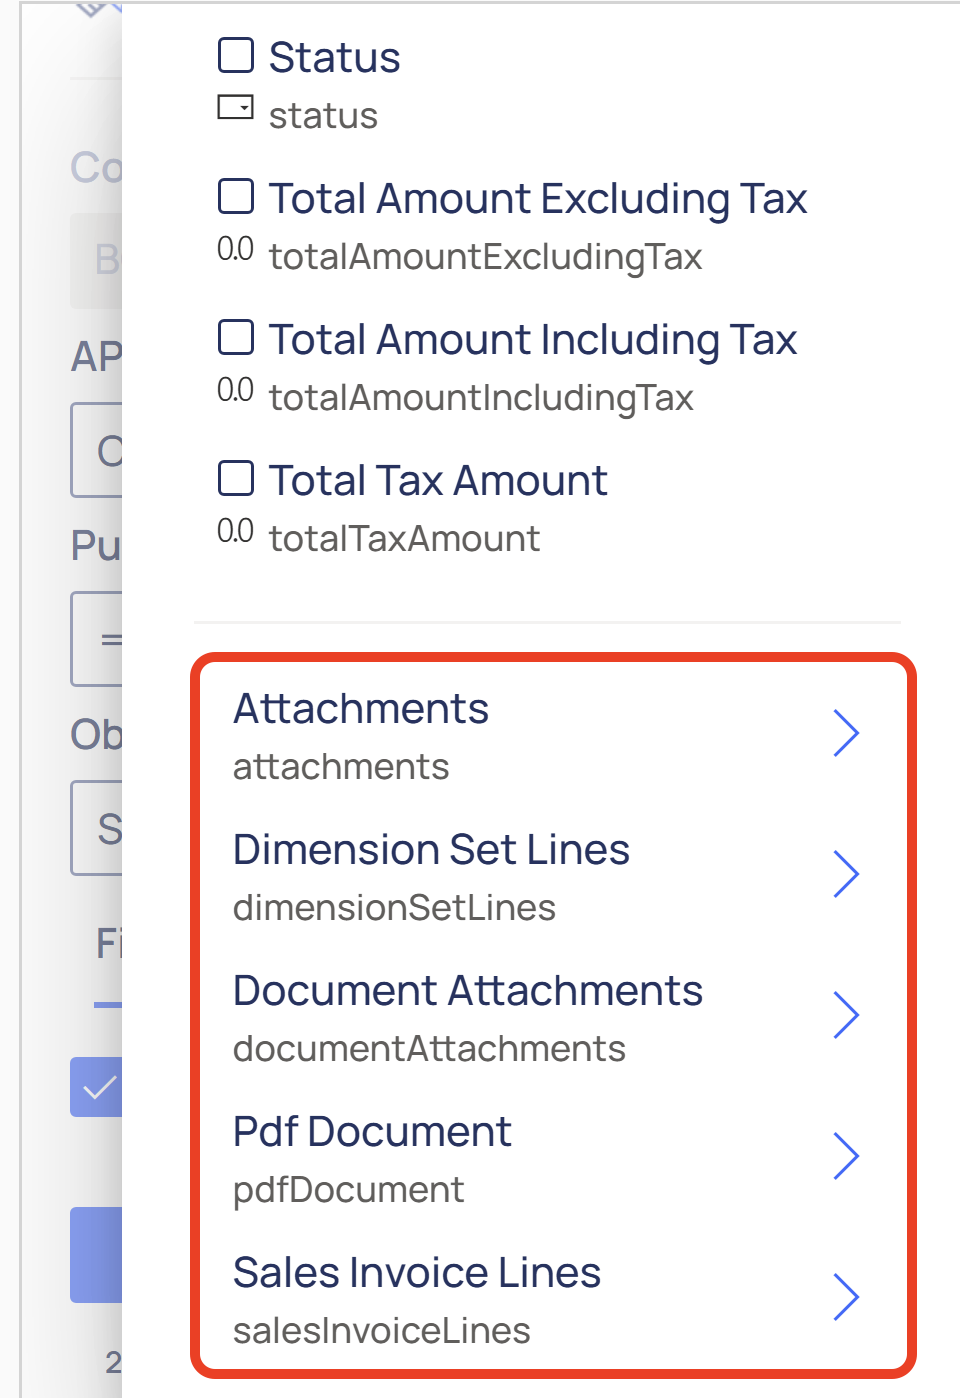
Related objects and their fields are available at the bottom of the list.
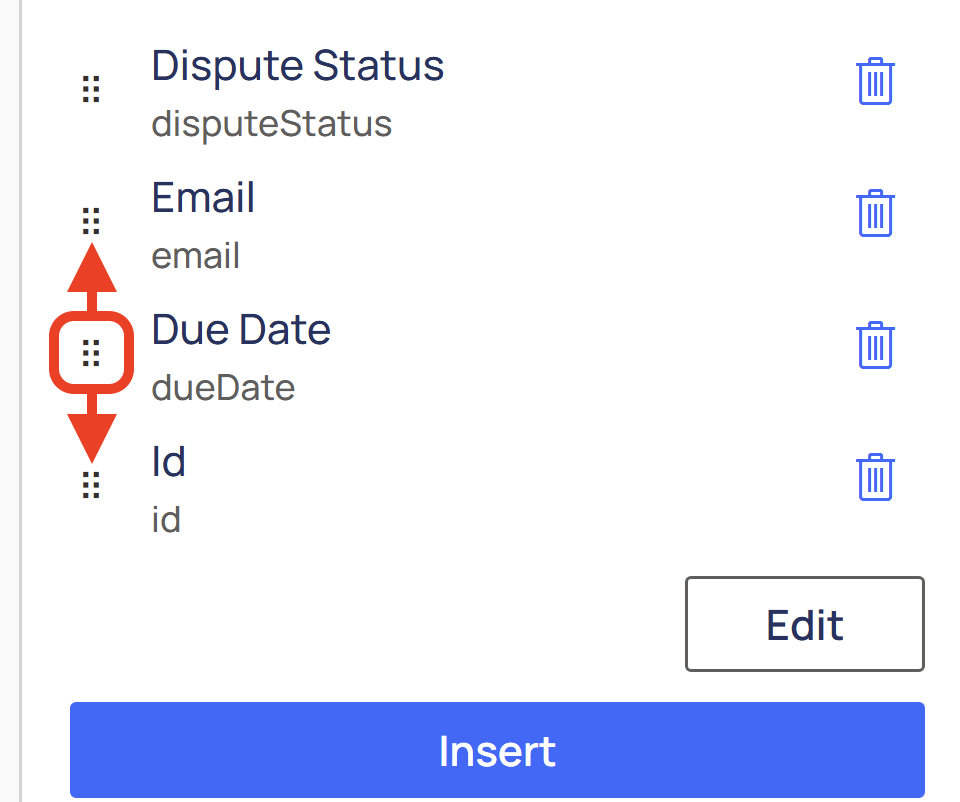
You can then drag the selected fields to achieve the desired column order.
Filters
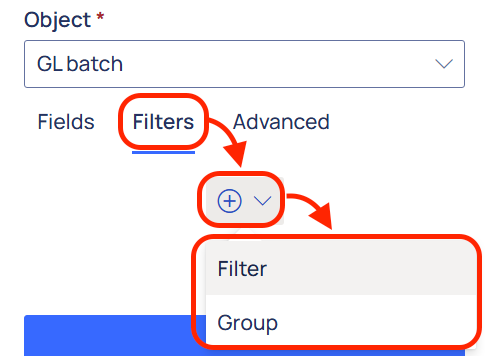
The Filters tab lets you create filters for your selected fields, arrange filters into groups, and determine AND/OR relationships between filters and filter groups. This functionality corresponds to the Filter parameter in the a BC.QUERY or BC.QUERYTABLE function. You can use values, cell and array references, as well as named items for filtering.
The → join syntax, filter groups, and OR relationships are not available when querying Business Central tables.
Advanced
This tab contains the following options related to the layout of the query results:
-
Return query result - choose whether the results are returned As a spill range or In an Excel Table. The latter also lets you select the target address for your Excel table
-
Excel table address - select the address where the top left cell of the Excel table will be placed
-
Order query result - choose fields used for sorting the results in ascending (ASC) or descending (DESC) order
-
Show column headers - toggle to include column headers.
-
Case insensitive toggle - checked by default
-
Limit - declare the number of records to be displayed
-
Offset - declare the number of records to be skipped, starting with the first record. This is useful for paging with extensive results or skipping a number of top results.
-
Split Column headers - Writes the list of selected columns into the cell you specify and makes the main QUERY formula use that cell instead of inlining the full columns expression. Use this when your selected fields make the query formula very long, or you prefer to keep the columns list in a separate “helper” cell for easier maintenance.
-
Split Filter expression - Writes a filter formula into the cell you specify and makes the main formula use that cell as its
Filterargument. Use this when your filter is complex/long, or you want to manage filter logic separately from the main query formula.