Overview
When defining a Velixo Distribution List to create a copy of the file, we need to specify the path where we want to save the copy.

Since this path can sometimes get rather long, Velixo provides a method to navigate to the desired folder and insert the name automatically.
Step-by-Step
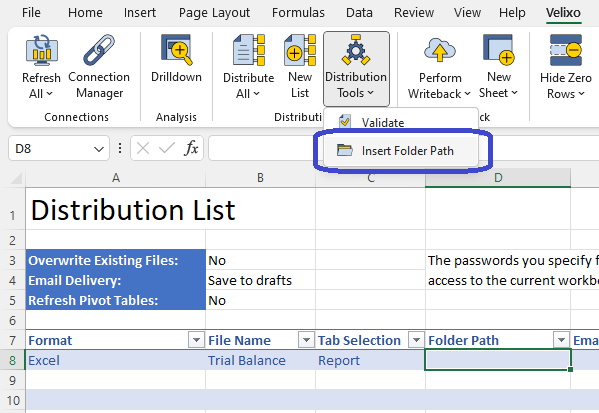
Once we have started our Distribution List, we can select the Folder Path cell, go to the Velixo ribbon, click the pulldown arrow on the Distribution Tools button, and select Insert Folder Path:
We will be prompted to navigate to correct folder:
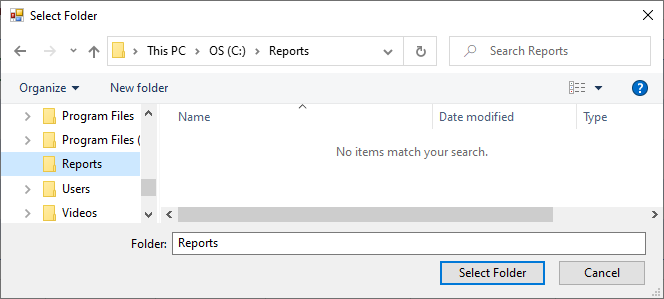
Once we click the Select Folder button, the path will be placed in the active cell:
