
Instructions in this article require the Organization admin role.
Overview
The Organization settings page shows your organization's details and the settings that apply to everyone in it. The page always shows the organization currently selected in the organization selector.
This article covers:
-
opening Organization settings,
-
updating your organization's details,
-
reviewing technical details,
-
managing admins and users,
-
managing features and options.
Open Organization settings
-
Select your name in the top-right corner of the Portal.
-
Select Organization settings.
Employees do not see Organization settings in this menu.
Update your organization's details
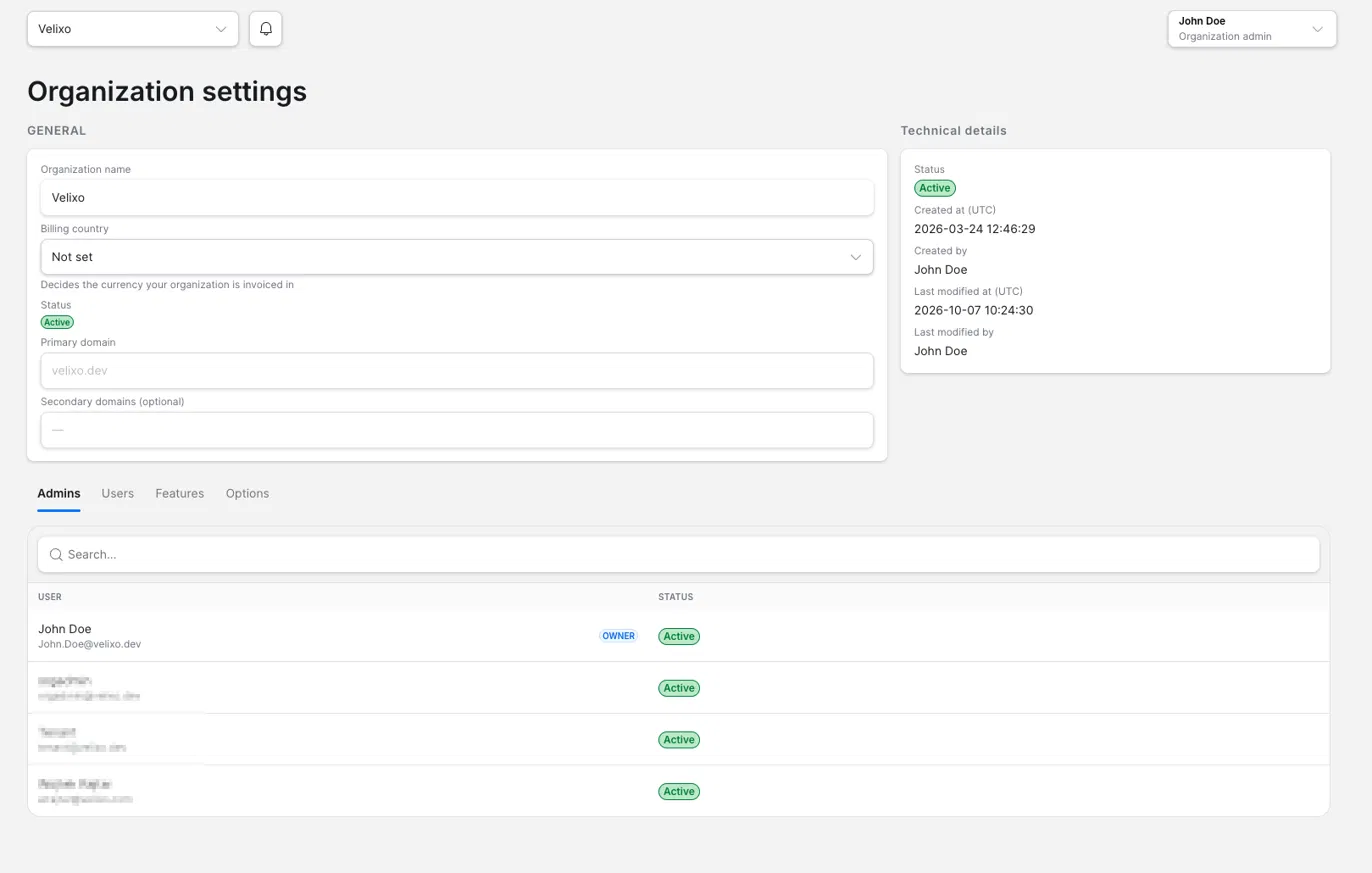
The General section contains:
-
Organization name – the name shown in the organization selector and across the Portal. You can change it.
-
Primary domain – the main email domain of your organization. You cannot change it in the Portal. To change it, contact your Customer Success Manager.
-
Secondary domains (optional) (coming soon) – additional email domains that belong to your organization. You cannot add them yet.
After you change your organization's details, select Save in the top-right corner of the page to keep your changes, or Cancel to discard them.
Review technical details
The Technical details panel shows:
-
Status – whether the organization is active.
-
Created at (UTC) and Created by – when and by whom the organization was created.
-
Last modified at (UTC) and Last modified by – when and by whom the organization was last changed.
Manage admins and users
Below the General section, two tabs list the people in your organization:
-
Admins – the Organization admins, with their email address and status. The Owner is marked Owner. If you are the Owner, the
...menu next to another admin includes Transfer ownership. -
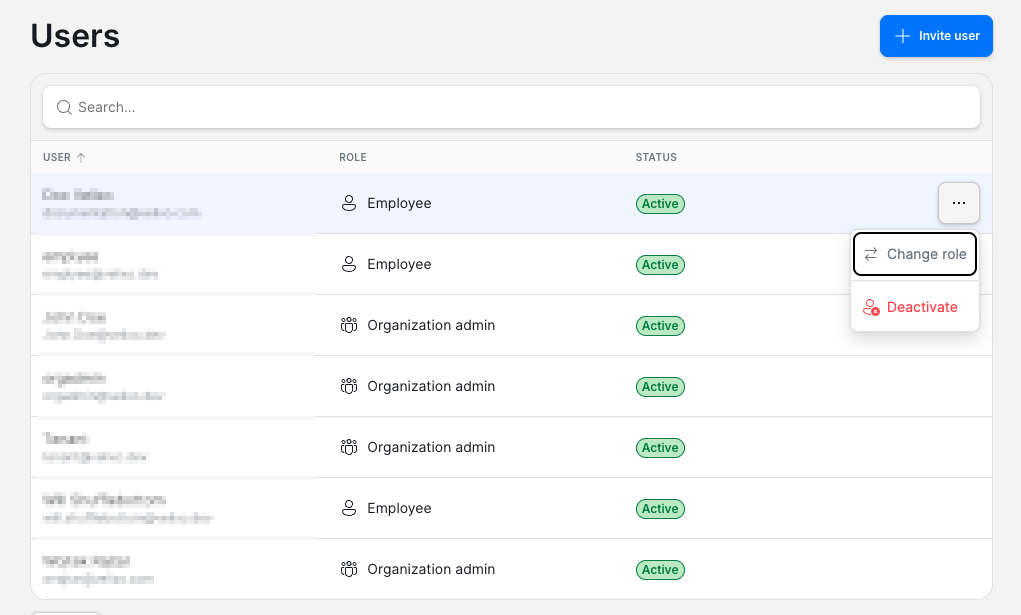
Users – works the same way as the Users page: you can invite users, show inactive users, and use the same
...menu actions, such as Change role and Deactivate.
For step-by-step instructions, including inviting users and transferring ownership, see Managing users in your organization.
Manage features and options
The Features and Options tabs set defaults for everyone in your organization:
-
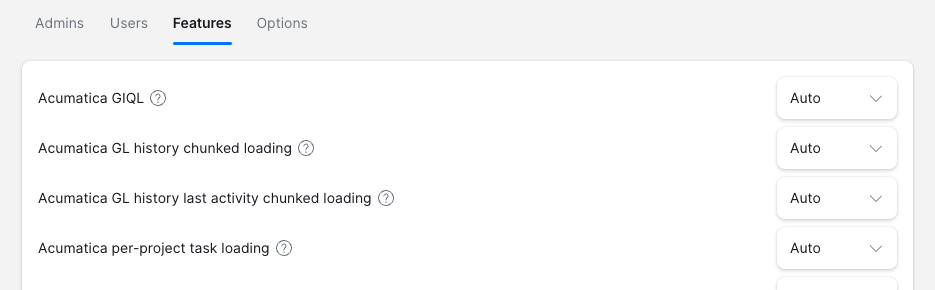
Features – Velixo features you can turn on or off for your organization. Auto applies the default setting. A member's personal feature setting overrides the organization setting, unless Velixo has locked the feature. Organization admins cannot lock features.
-
Options – organization defaults for Velixo workbook options. You can also enforce a value so that members cannot change it and it applies in every workbook. See Managing workbook options in the Portal.
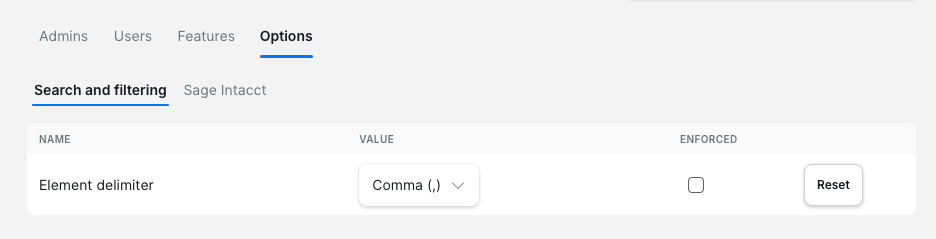
Changes on these tabs save automatically; there are no Save or Cancel buttons. On the Options tab, to go back to the inherited value for an option, select Reset on its row. A Changes saved confirmation appears in the bottom-right corner.