Overview
The Velixo writeback features allow you to send data from Excel to your ERP system.
The Universal Writeback (Generic Writeback in Velixo Classic) feature provides you with the ability to send data to any ERP screen for which there is an active, pre-defined Import Scenario.
There are times when it would be convenient to be able to gather and use certain pieces of data that were automatically generated by the ERP system during the writeback process.
This can be accomplished with the WRITEBACK function's Output arguments.
Acumatica Example
Performing the Writeback
Let's consider that we are performing a Writeback to Acumatica's Bills and Adjustments page (screen AP301000) using an Import Scenario named Velixo Import Bill.
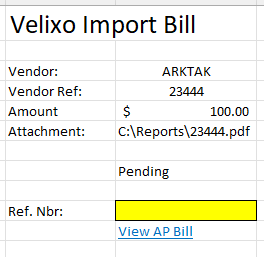
Here is a simple Writeback worksheet with the information we want to send to Acumatica and the WRITEBACK function to accomplish that:
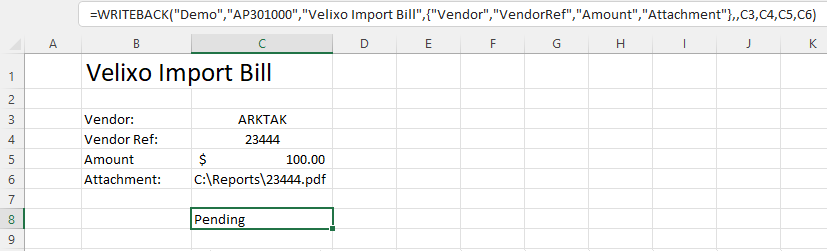
We will be sending data for the Vendor, Vendor Reference, and Amount fields, and attaching a file to the record.
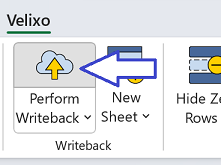
After clicking on Perform Writeback, the data will be sent to Acumatica
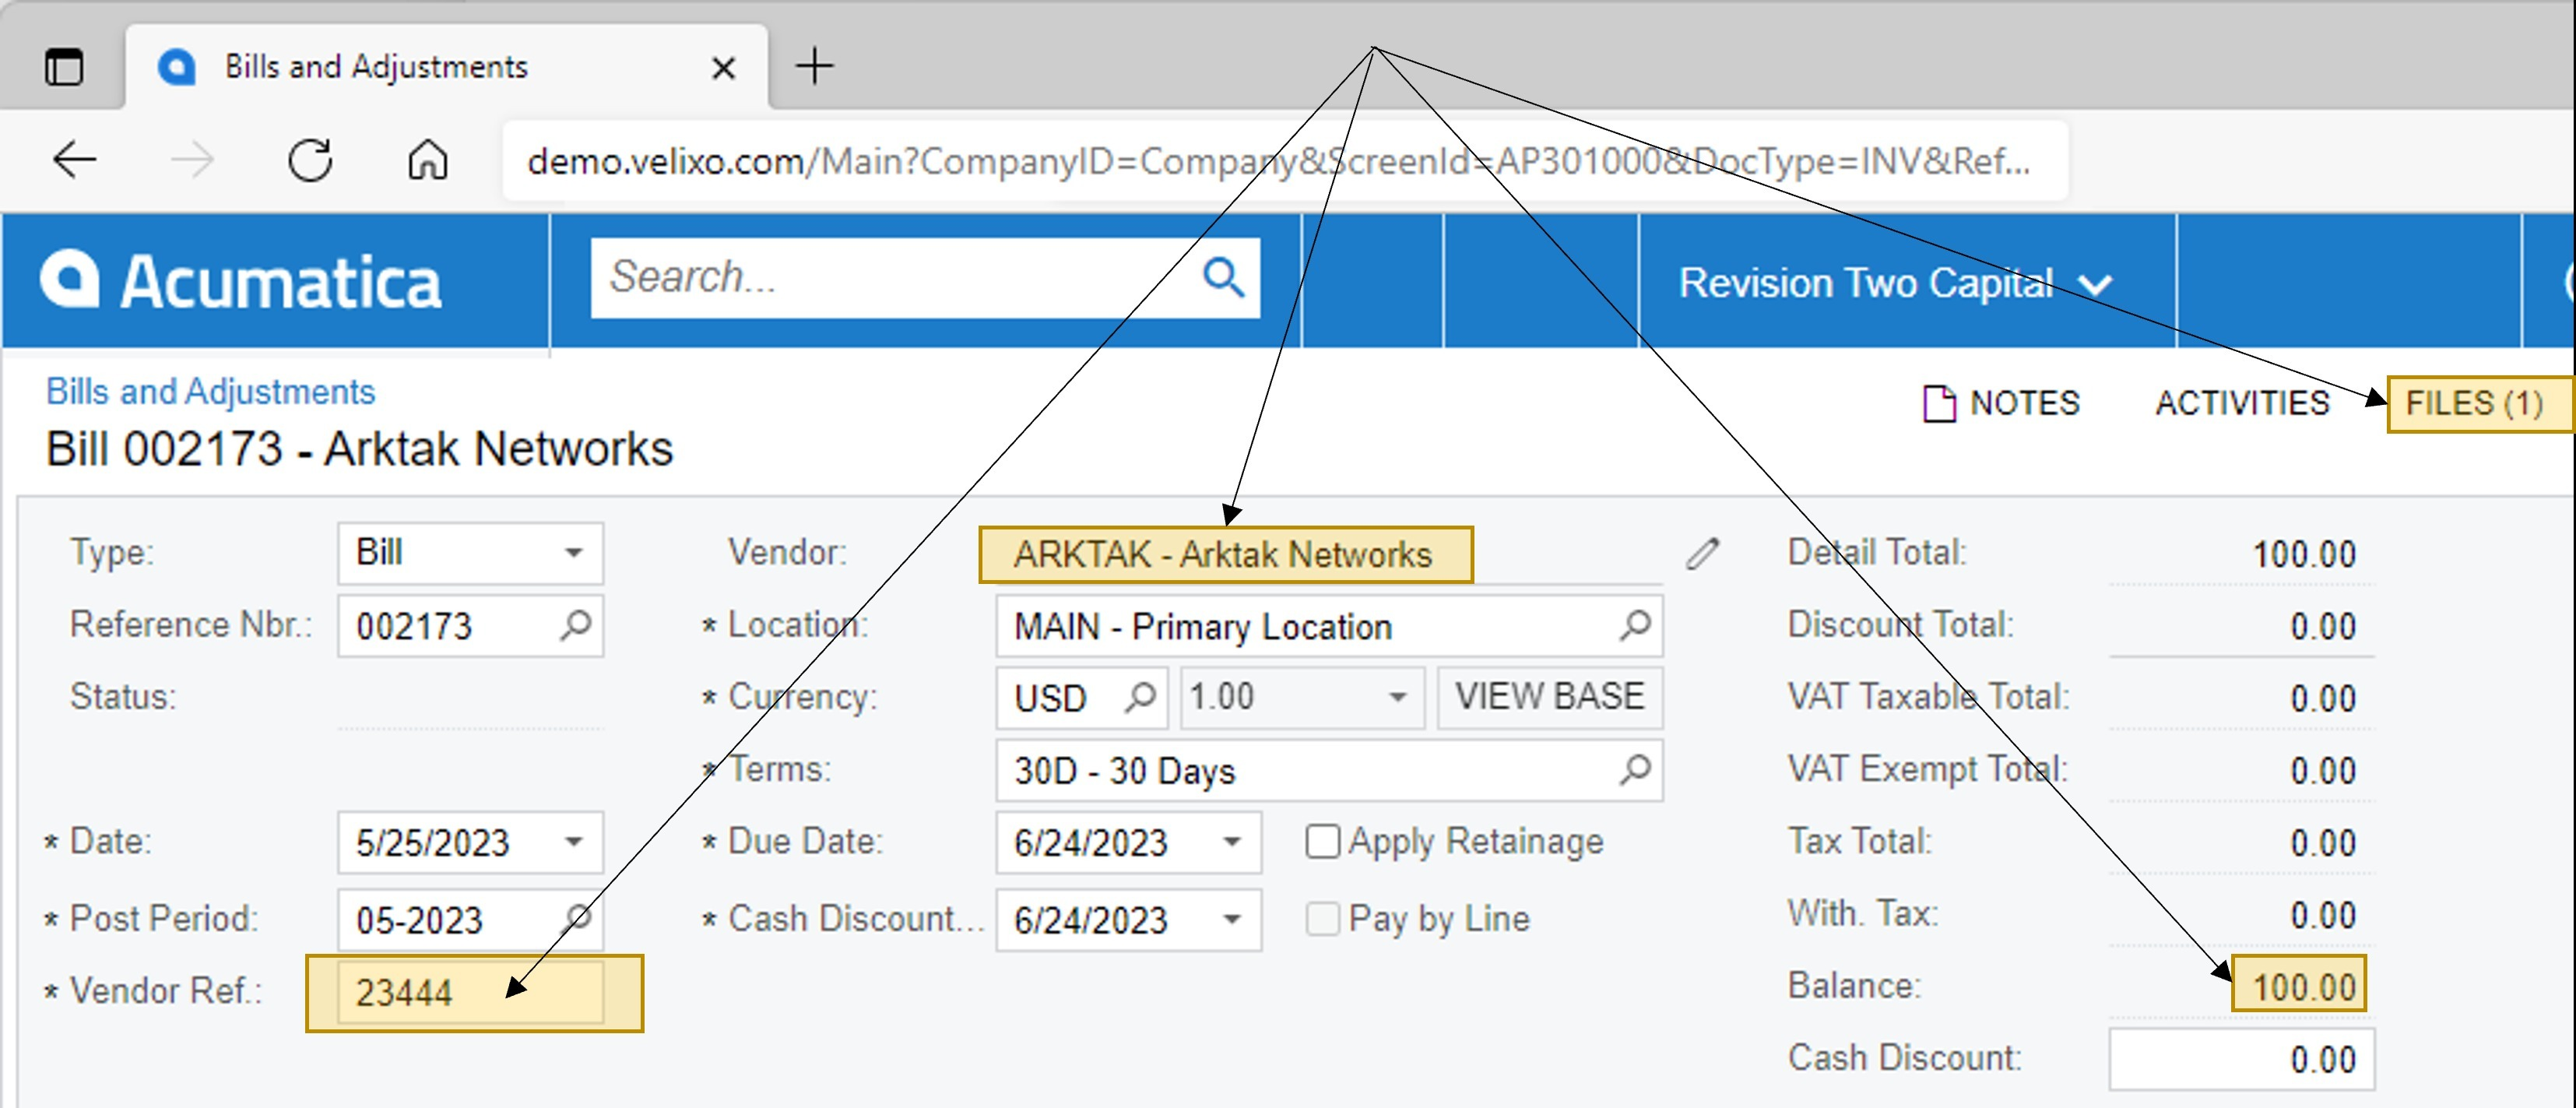
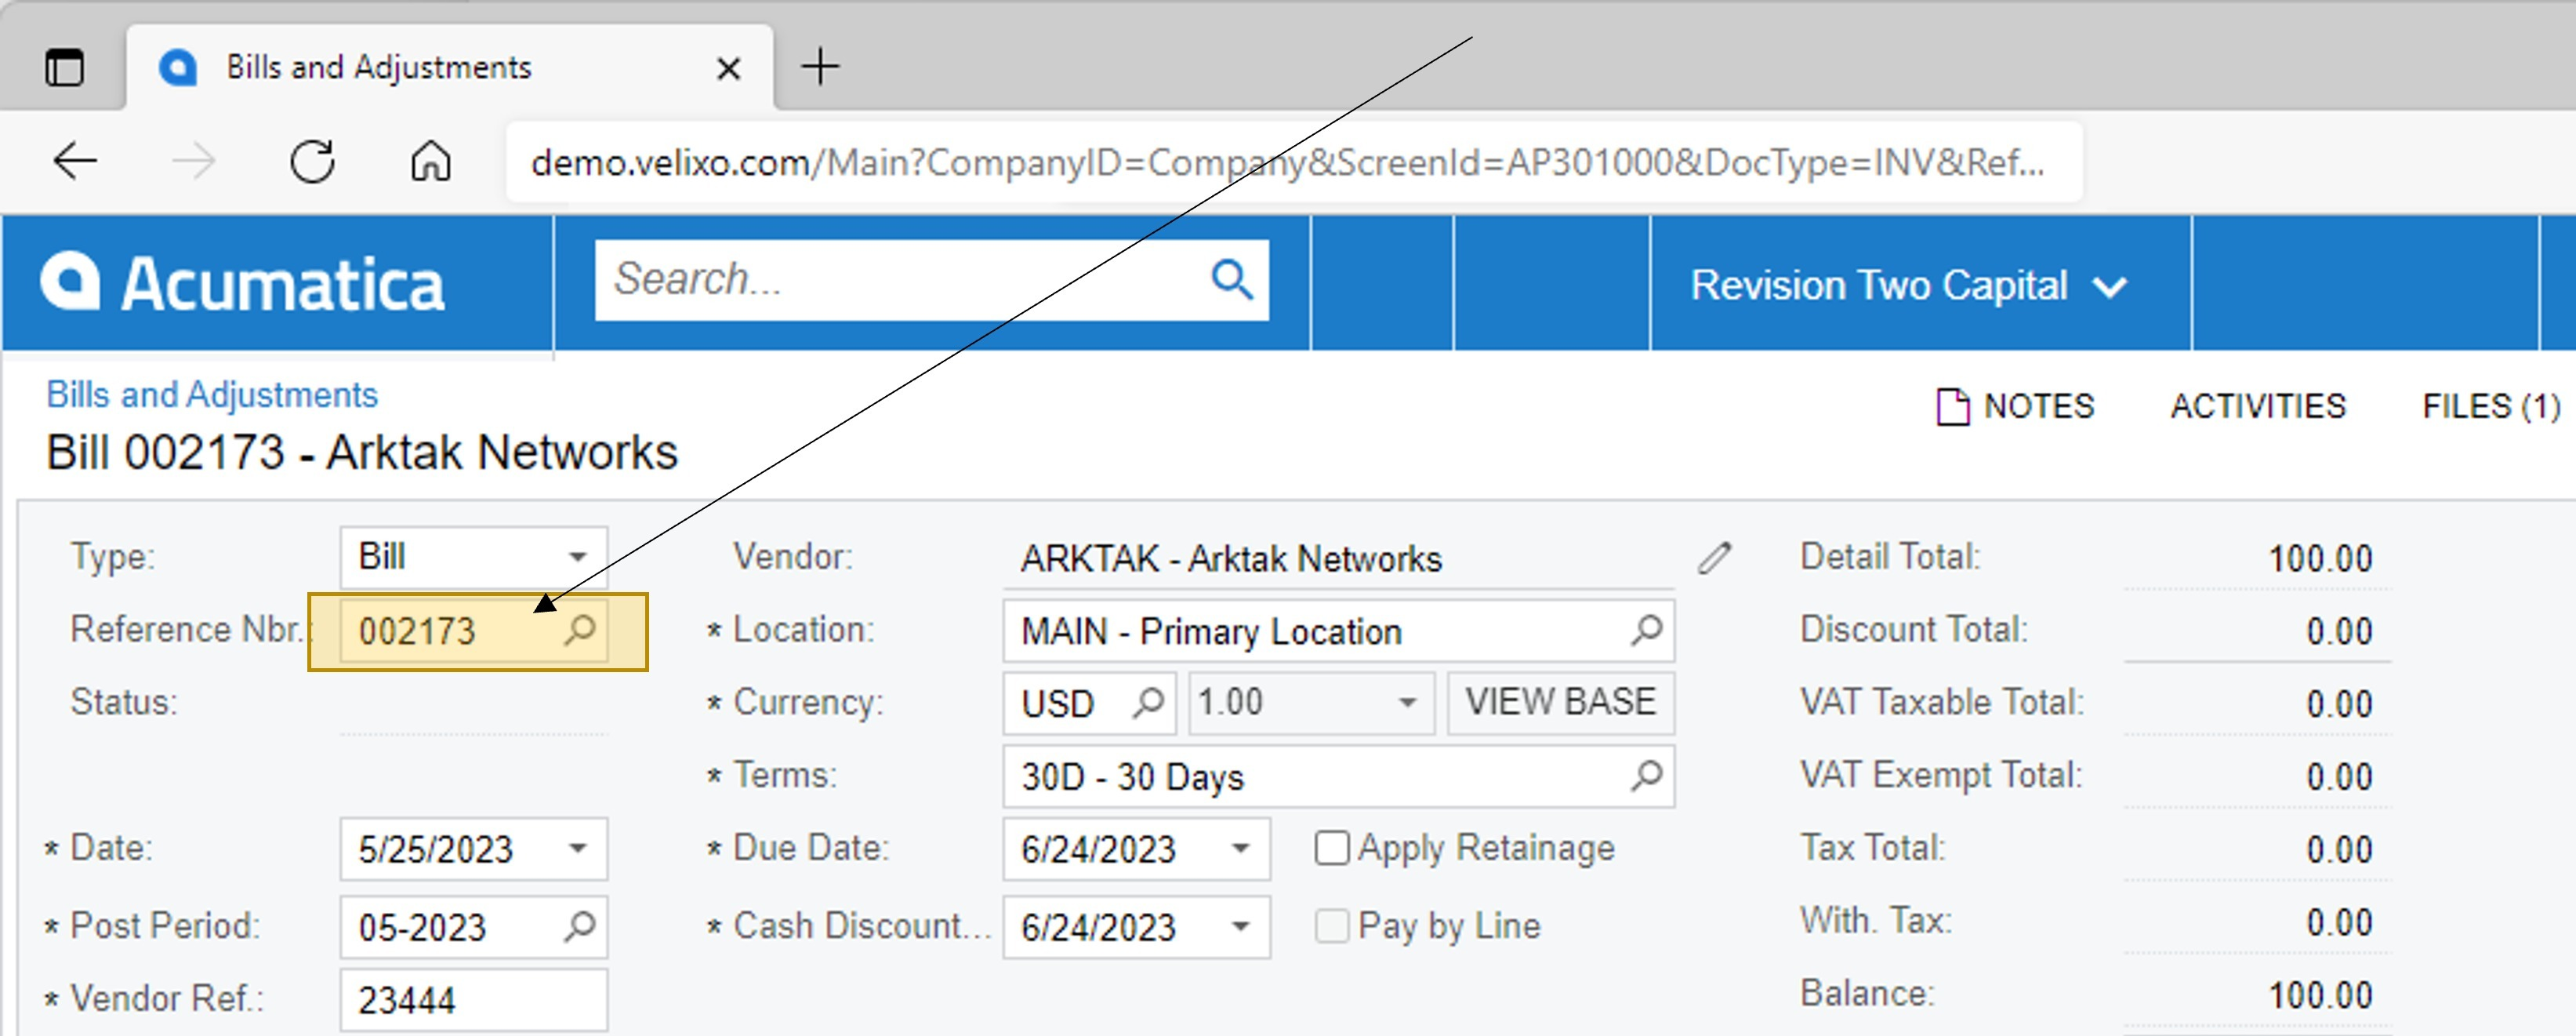
However, there is nothing in our report that tells us the Reference Nbr that was established for this record.
We would have to log in to Acumatica, navigate to the Bills and Adjustments screen and find our new transaction. There, we would see that this transaction has Reference Nbr. 002173:
Displaying Output Information
Let's look at how we can automatically bring that information into our report.
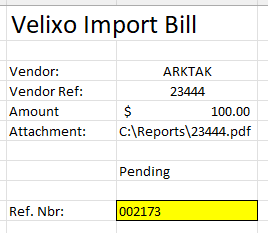
We start by adding a space to hold our new information:
Next, we need to update our WRITEBACK function by specifying that we want to retrieve data from the resulting transaction and place it in that highlighted cell.
The internal name of that field is RefNbr...
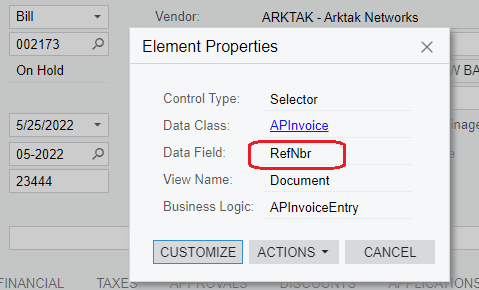
... and we are going to use that name prefaced with the $ symbol to tell the WRITEBACK function that the new information is being brought in *from* Acumatica rather than being sent to Acumatica.
Here we have added $RefNbr to our field list, and we have added a reference to cell C10 (the highlighted cell):
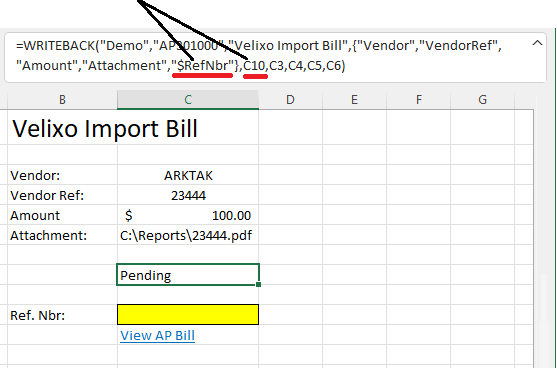
This directs the Writeback feature - once the Writeback has been accomplished - to retrieve the value for the RefNbr field and place it in cell C10.
Results
Now when we perform the writeback, we get the required information in our report: