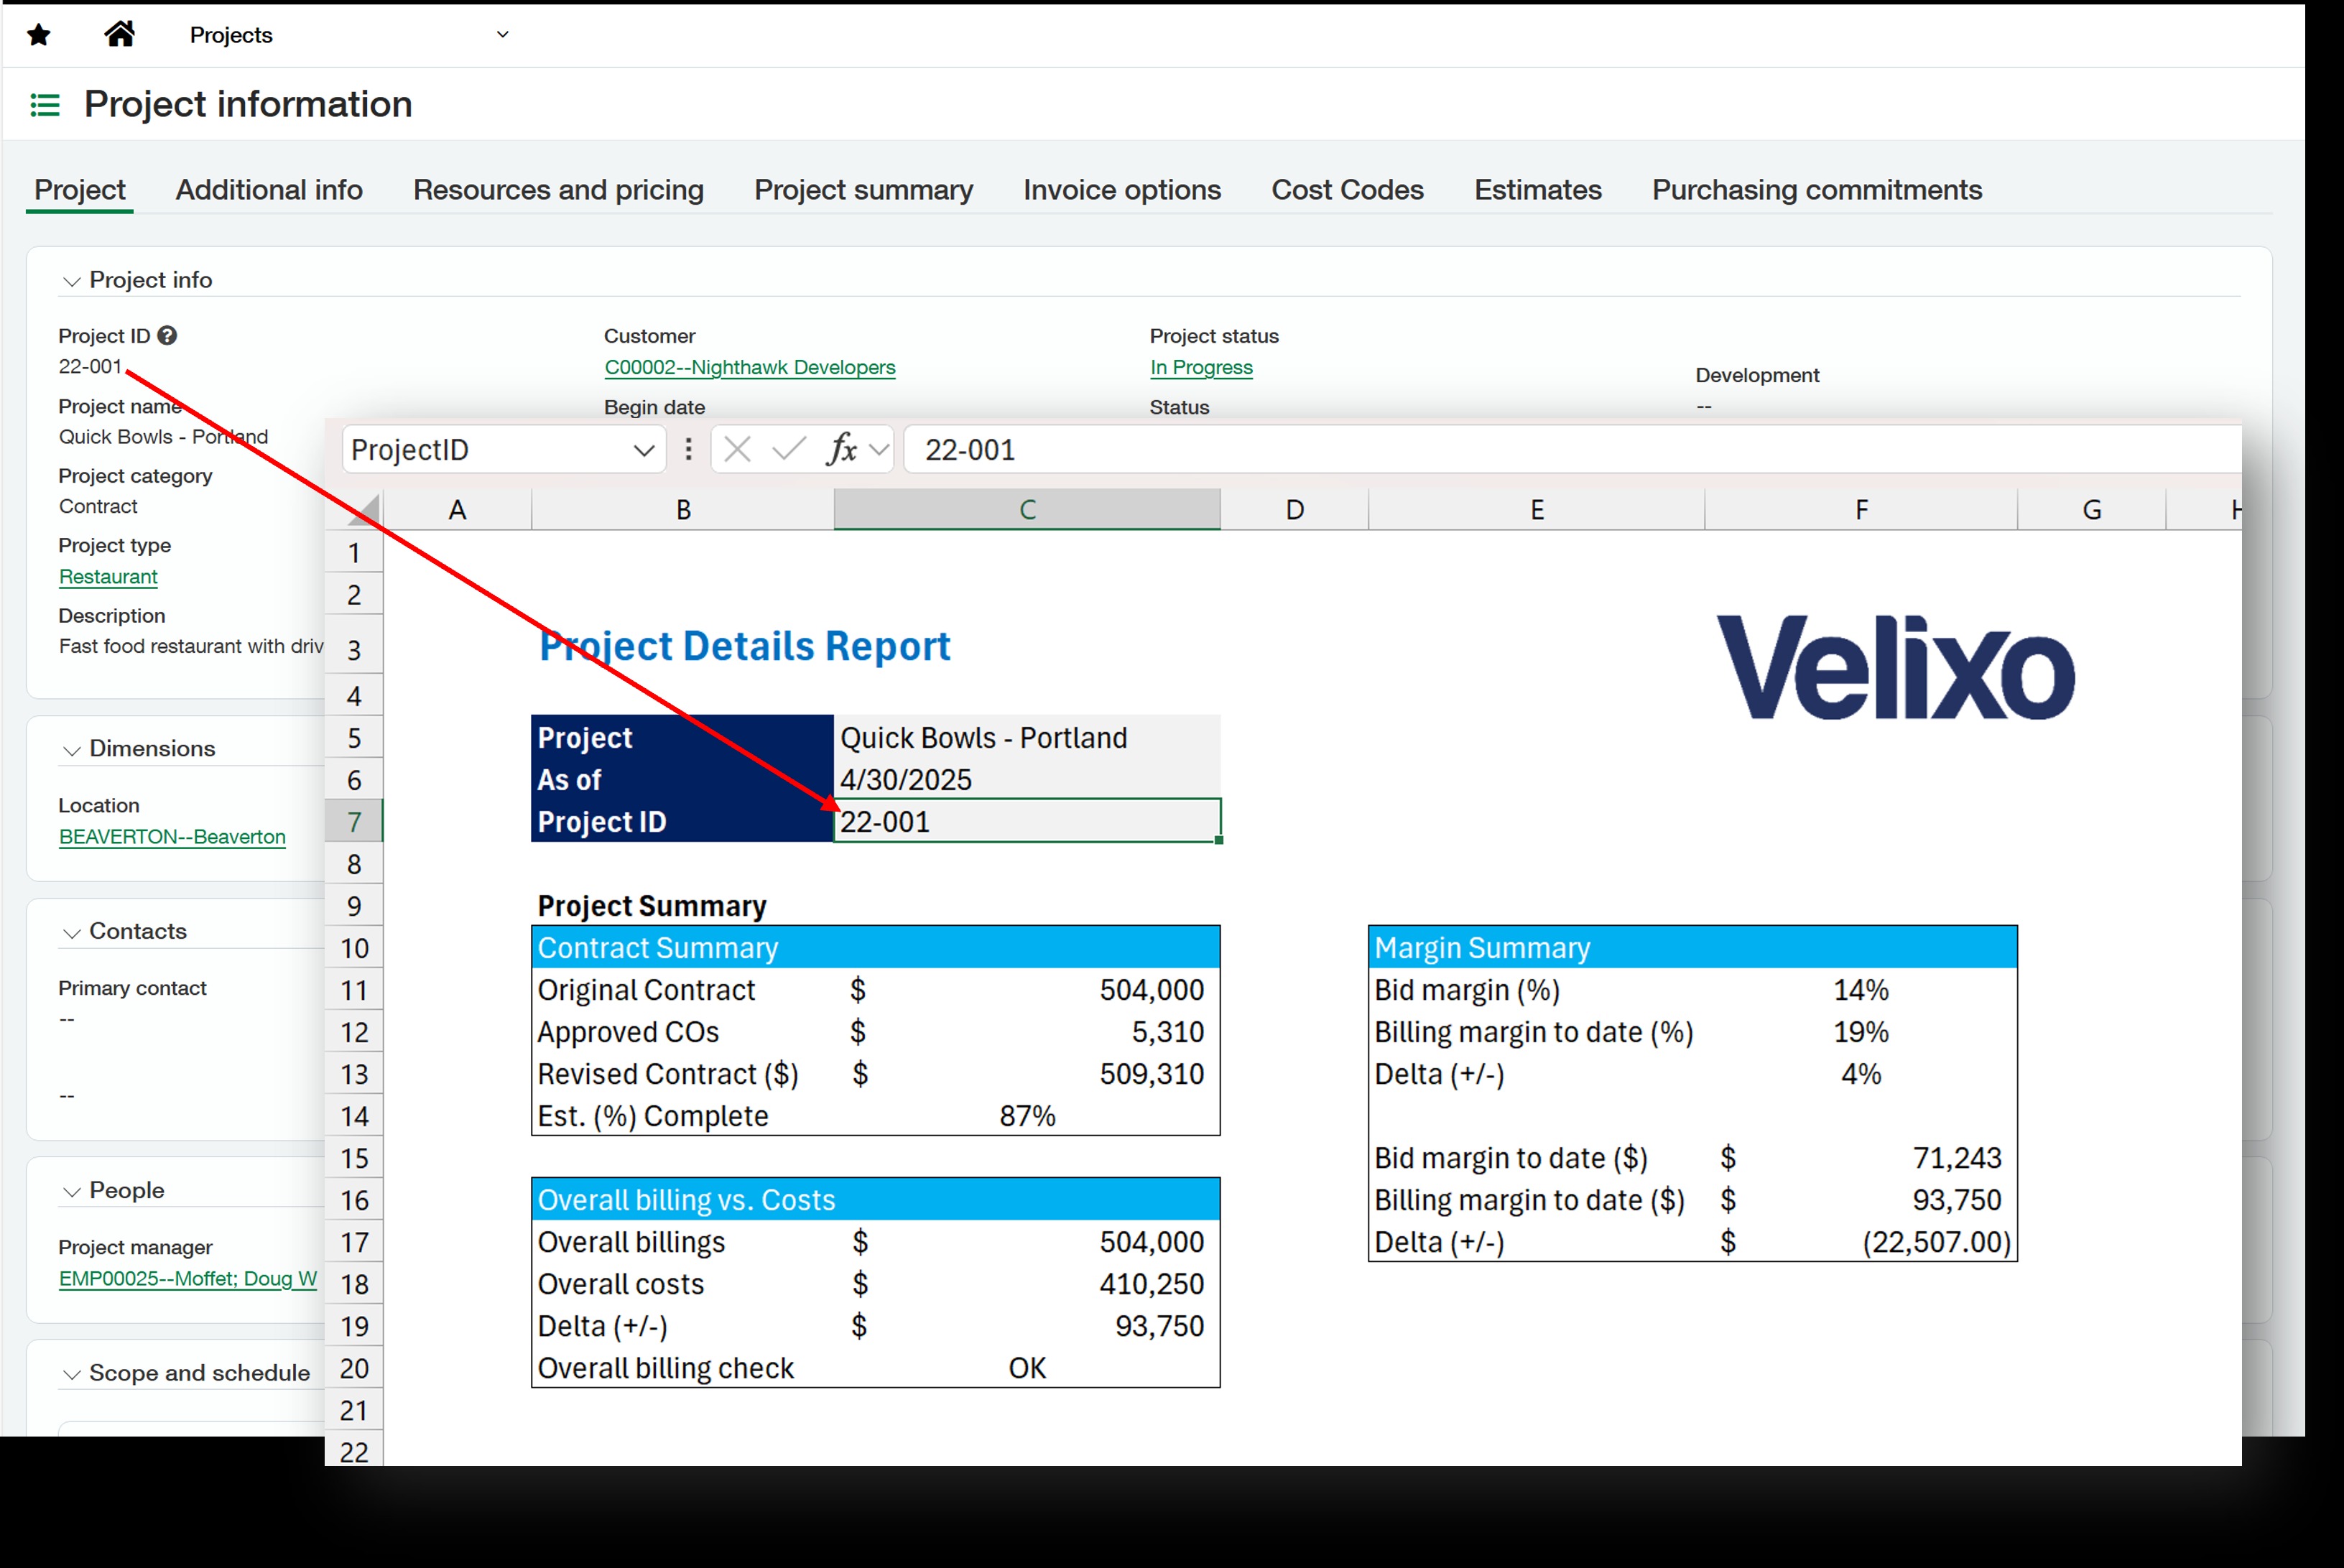
Open a Velixo report from Sage Intacct
This article describes how to use Sage Intacct Smart Links to open a Velixo report from within Sage Intacct.
To learn how to open a Velixo report from a link in an Excel workbook, see Open a Velixo report from a link in an Excel workbook.
As a requirement for using Sage Intacct Smart Links with Velixo NX, you need to have Velixo Tools installed.
Overview
You can use Sage Intacct's Smart Link feature to open a Velixo report saved in SharePoint.
To demonstrate, we'll open a pre-defined Velixo Job Summary Report using a link on the Sage Intacct Project Information page:
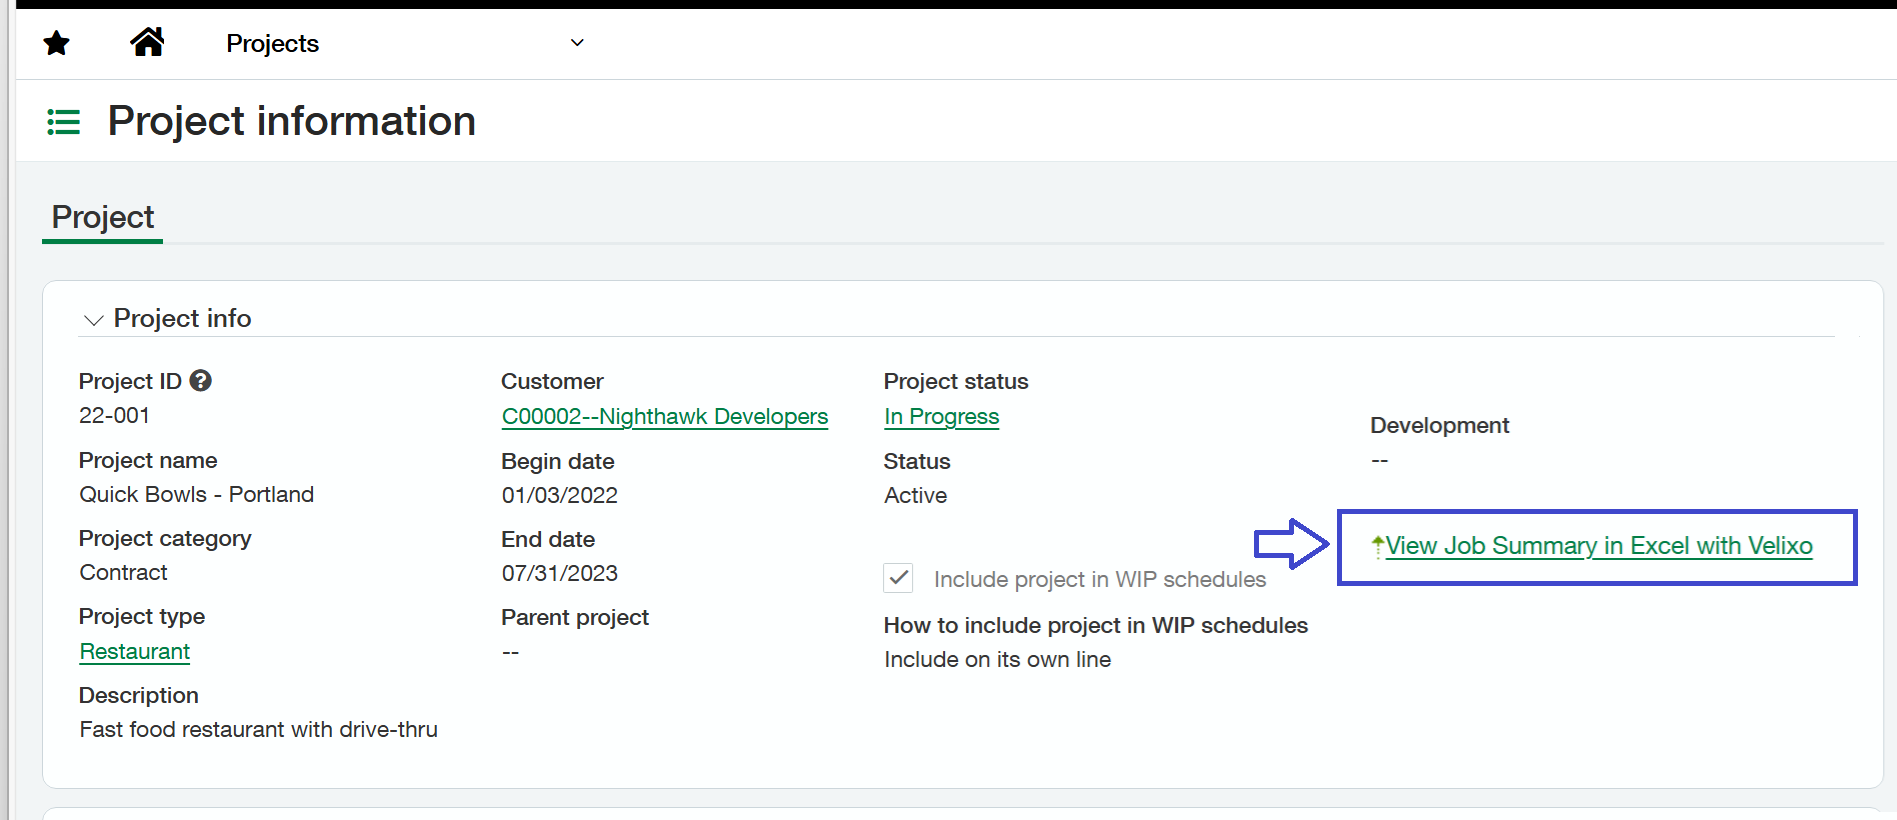
The report will be opened with the same Project ID as currently displayed within Intacct.
Step-by-step Example
1 - Create a parameter for the Project ID
We need a dedicated cell in the Excel report, that we will later link to its corresponding Project ID in Sage Intacct. The report will be updated based on the Project ID provided by this value.
In the Excel workbook, we will assign a workbook-scoped named range called ‘ProjectID’ to that cell:
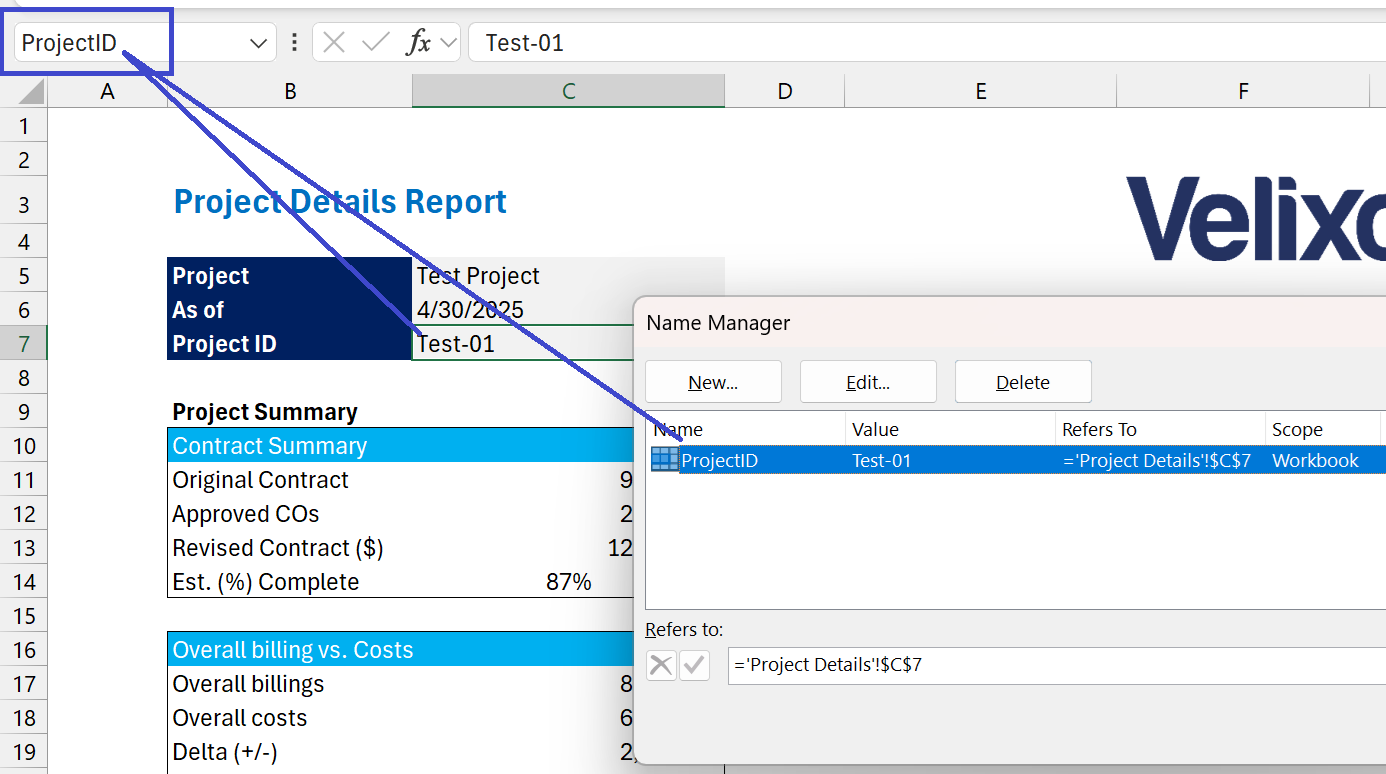
(this is where the Project ID will be placed when we open the report)
In our example, this report resides on the Project Details worksheet within the workbook:

2 - Find the SharePoint path where the report is saved
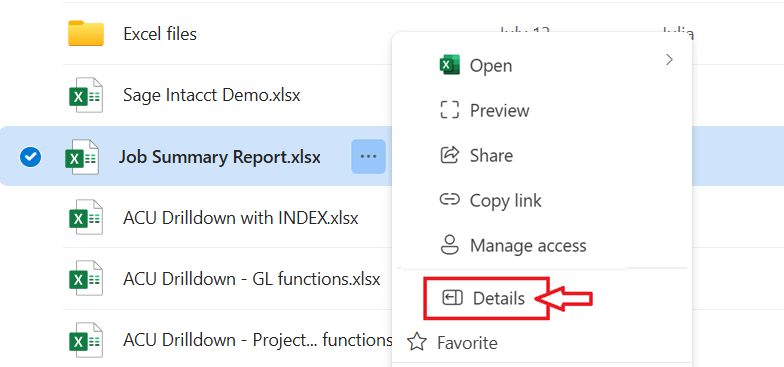
Within SharePoint, we can navigate to the workbook we want to use, select it, and click the 3-dot icon:
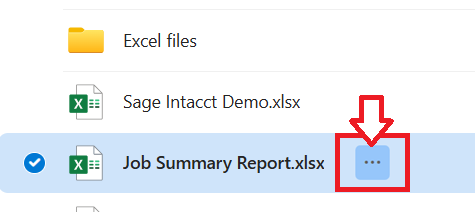
From the displayed menu, we will select Details:
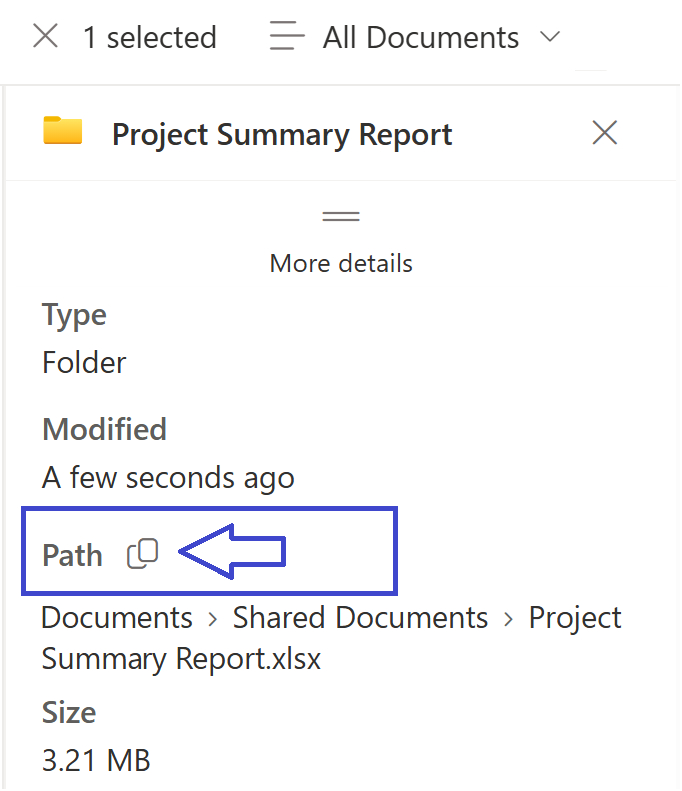
In the right side panel, we can scroll down to the Path section and click on the icon to copy the path:
3 - Configure a new Smart Link within Sage Intacct
Following the instructions provided in the Sage Intacct Help documentation, we'll configure a new Smart Link.
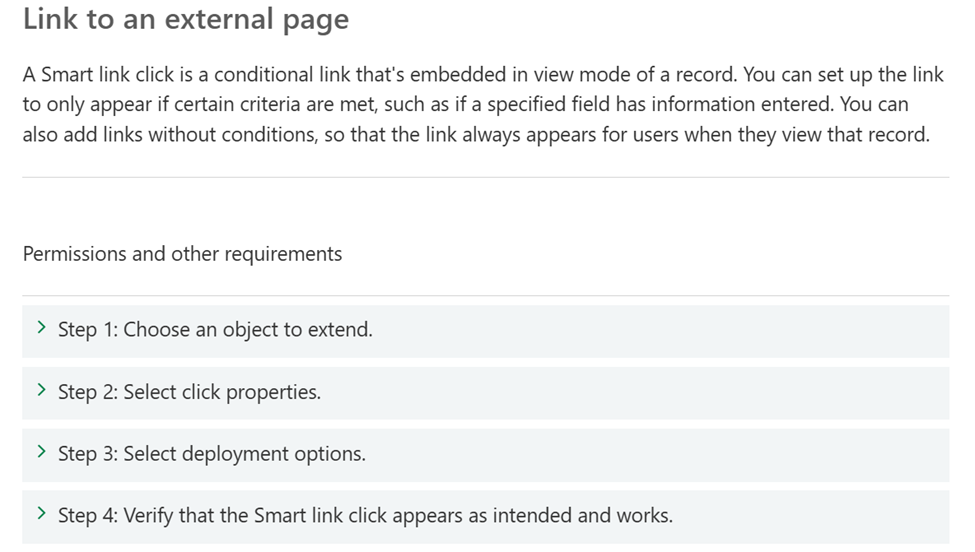
Choose an object to extend
Within Sage Intacct, we'll navigate to Platform Services → Object customization → Smart link clicks, then select Add.
For this example, the Sage Intacct object we want to work with is the Project object:
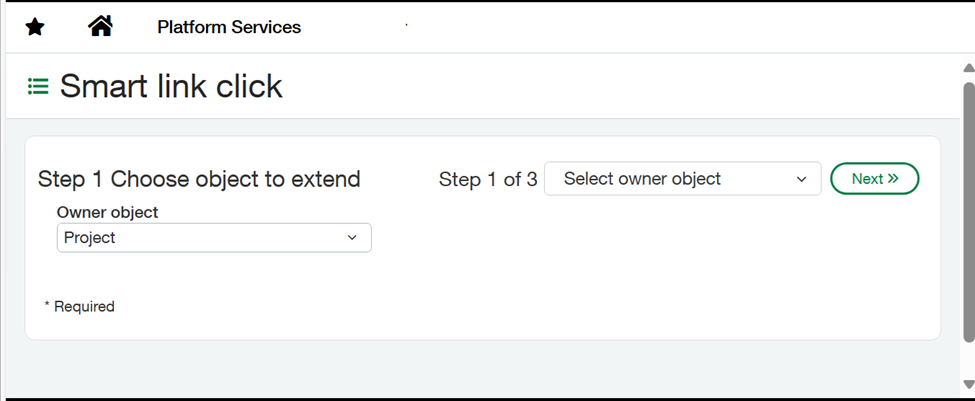
and then click Next.
Select the click properties
In the Target field on the Select click properties form, we insert a Smart Link containing the path we copied in Step 2.
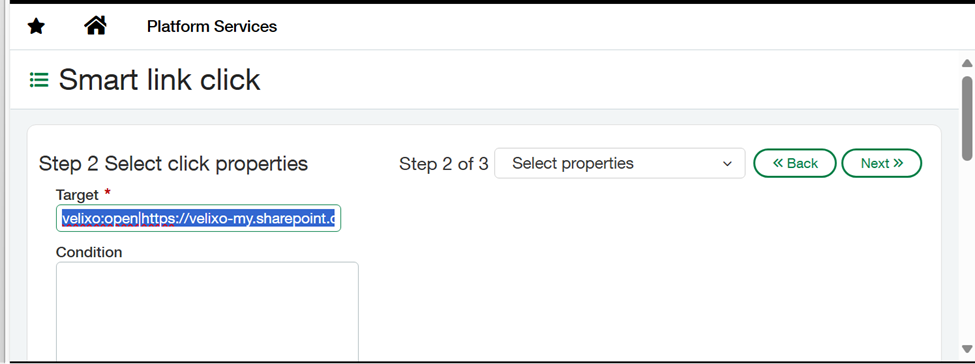
The format for that Smart Link is:
velixo:open|https://my.sharepoint.com/Shared%20Documents/Project%20Summary%20Report.xlsx|ProjectID={!PROJECT.PROJECTID!}|Sheet=Project Details
Where:
velixo:open | This code is used to access the Velixo Tool responsible for opening the workbook. |
https://my.sharepoint.com/ | This is the path we copied in step 2. |
ProjectID={!PROJECT.PROJECTID!} |
|
Sheet=Project Details | Project Details is the worksheet we want to display. |
To list the fields available for a Sage Intacct object, you can use the SI.OBJECTDEFINITION function.
Click Next
Select deployment options
In the Label field of the Select deployment options form, we'll enter the text we want to appear for the link.
Likewise, in the Smart link ID field, we'll provide the text that Sage Intacct will use for the Smart Link's official name (or use auto-fill to do it automatically).
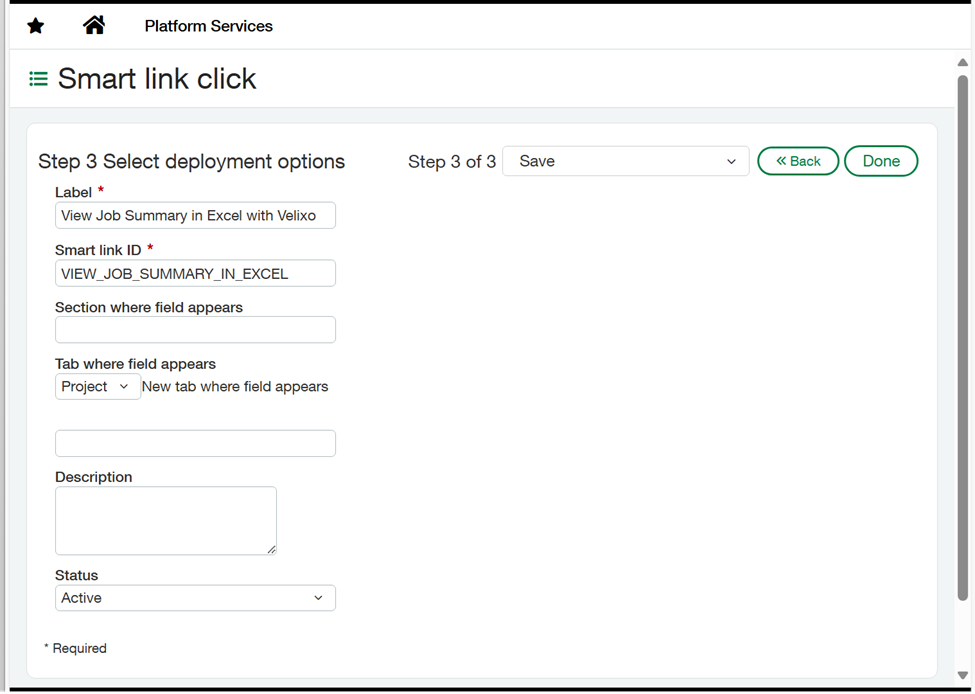
Click Done
4 - Viewing the Report
Our new Smart Link is now available on the Project Information screen:
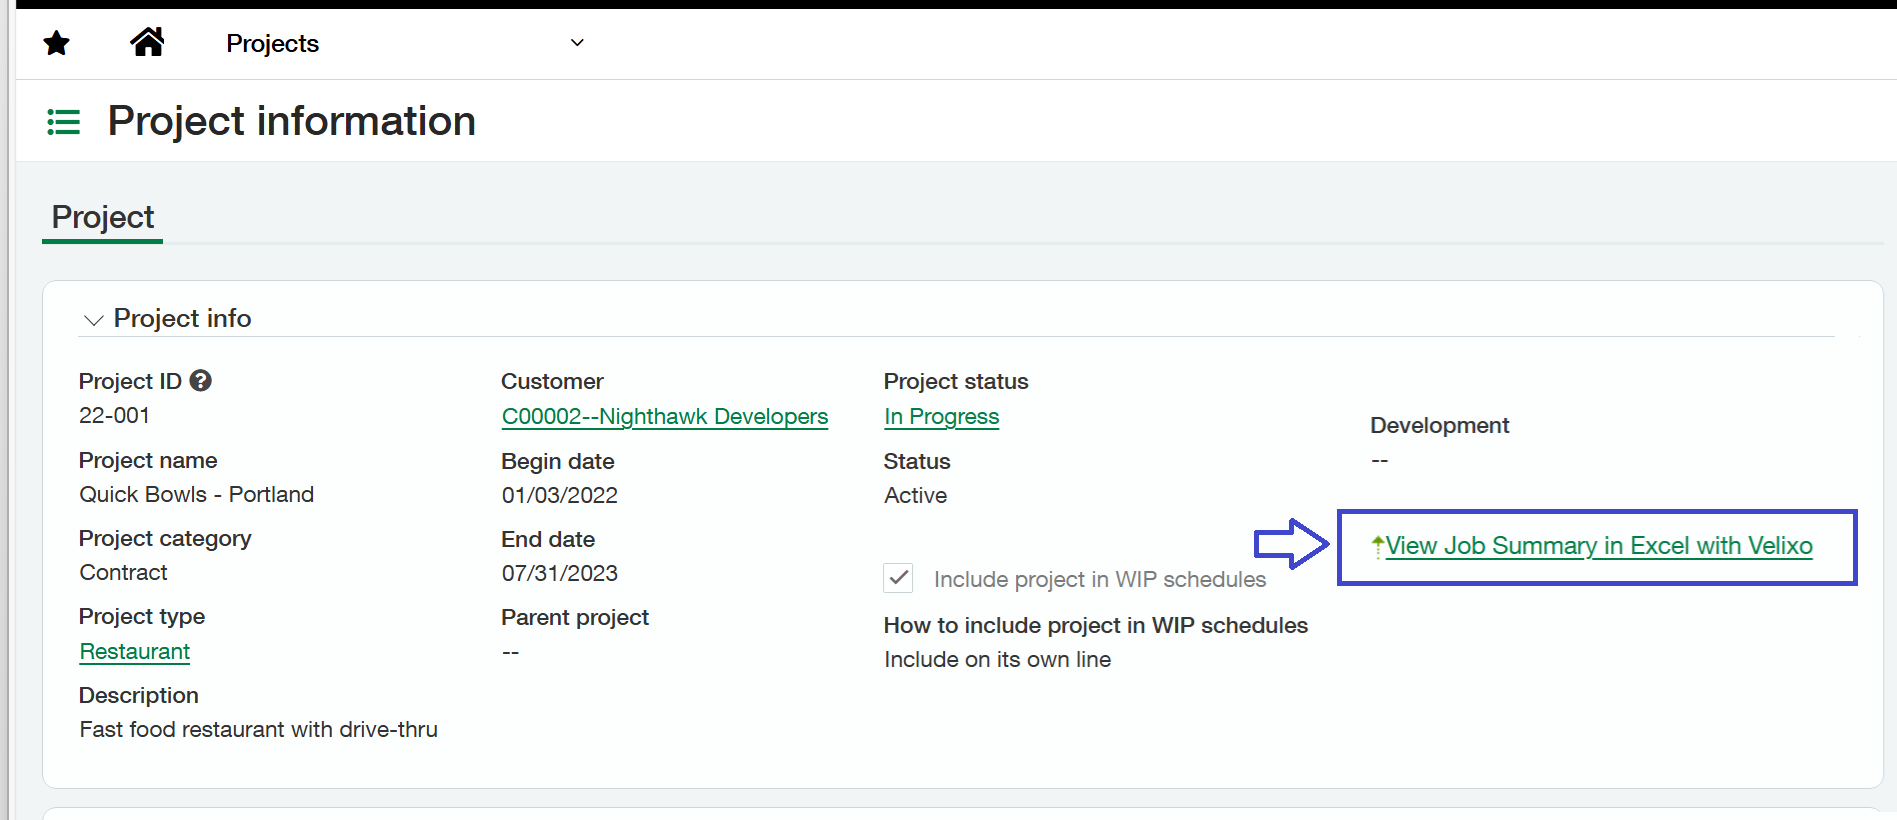
When we click on that link, Excel will be launched with the Velixo Job Summary Report, and the ProjectID named cell will be populated with the ID from the project being displayed in Sage Intacct:
