Overview
This Velixo feature only works with reports that contain a single worksheet. It cannot distribute multiple worksheets and it may fail if your workbook contains other worksheets with Velixo functions (because Excel may take too long to recalculate those sheets and disrupt the Distribution process).
Therefore, we strongly advise not to use other sheets with Velixo functions in your workbook.
Once a single-sheet report is written and configured to use specific user-defined parameters, it may be useful to create multiple new worksheets based on that original worksheet, so data determined by different parameters can be easily compared.
Solution
For this example, let's assume that we have a Profit and Loss report that includes a parameter for Branch and another parameter for Financial Period.
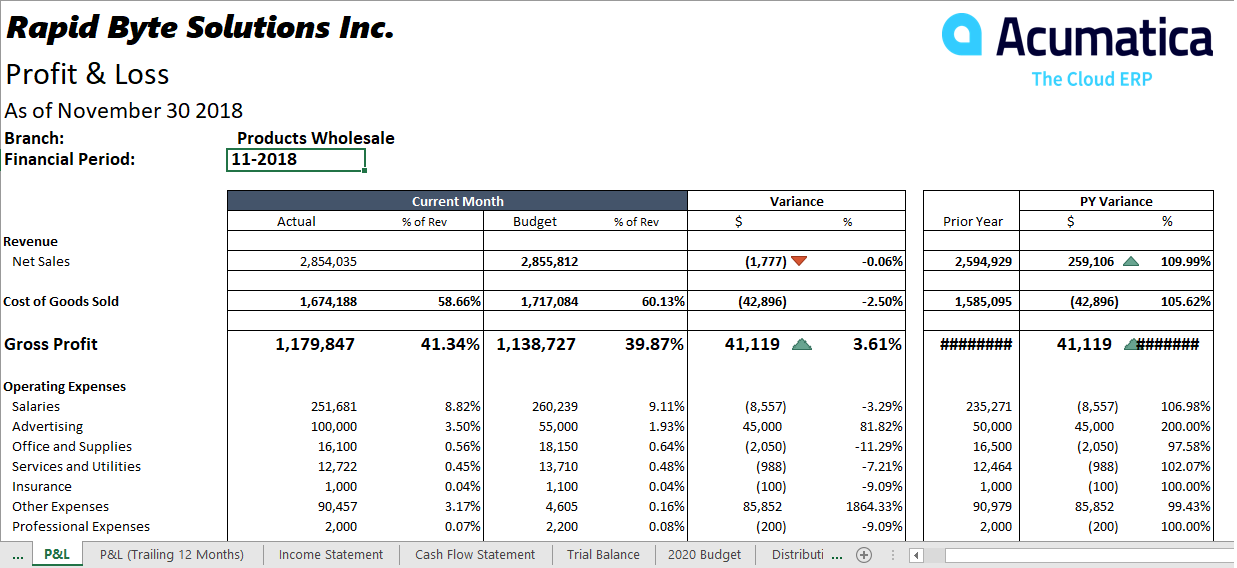
Our goal is to produce a single workbook containing worksheets for two Branches ("Products Retail" and "Products Wholesale") for each of our twelve financial periods (01 through 12).
We could, of course, create 23 copies of the original worksheet and then change the parameters on each, but then we would need to do that any time we wanted to change which branches or financial periods we wanted to examine.
Alternatively, we could create a Velixo Distribution List to create 24 separate workbooks, each containing one of the desired worksheets. However, having the worksheets in separate workbooks would not make it as easy to compare the worksheets.
Let's look at how to create all the sheets we want within a single workbook using Velixo's "Blueprint" feature.
Watch the Video
Follow along as one of our Velixo Professionals walks you through the process:
Step-by-Step
1 - Name the Parameters
First, we want to give names to our parameters.
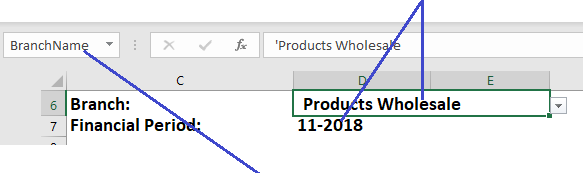
But we do *not* want to use the Excel name box (since we're going to have multiple copies of this name, we need it to be specific to each copy).
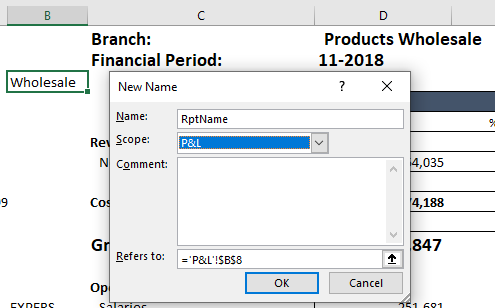
To do that, we'll select the cell and click Define Name from Excel's Formulas ribbon:
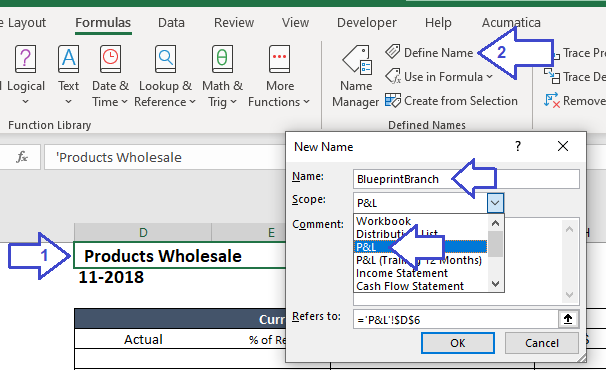
We'll then give the cell a new name and we'll select the specific sheet name from the Scope list.
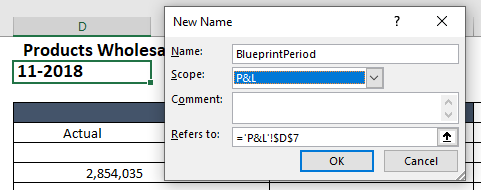
We then repeat this for each of our parameters:
2 - Create a new Distribution List
Now we create a New List from the Velixo ribbon:

(We only need one line in our Distribution List, so we'll delete the extras)

3 - Add the new parameter names
At the end of the columns in the Distribution List, we'll add new columns with the new parameter names as headings:

4 - Add the parameters
Now we need to list all the possible parameters. Each cell will contain a list with the values separated by the # ("hash" or "number" sign):

In this case, we've typed the two Branch names, by hand, and used the Velixo FINANCIALPERIODLIST function and Excel's TEXTJOIN function to create our list of Financial Periods.
5 - Fill in the rest of the Distribution List
Fill in the Distribution List
Now the process is very similar to using a regular Distribution List. We specify the Format for our new file, the File Name we want to use, the name of the worksheet we want to include in the new file, and the Folder Path where we want to save the file.
The only difference is that we need to reference our new parameters in the Tab Selection column:

We've listed the name of the worksheet (in this case "P&L") and then we listed our new parameters – separated by commas and enclosed in square brackets.
The Tab Selection can contain ONLY a single worksheet name. This feature is not able to distribute multiple worksheets.
6 - Distribute the report
Distribute
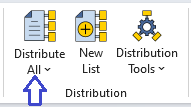
Now we just need to click Distribute All on the Velixo ribbon:
And our new report is created:
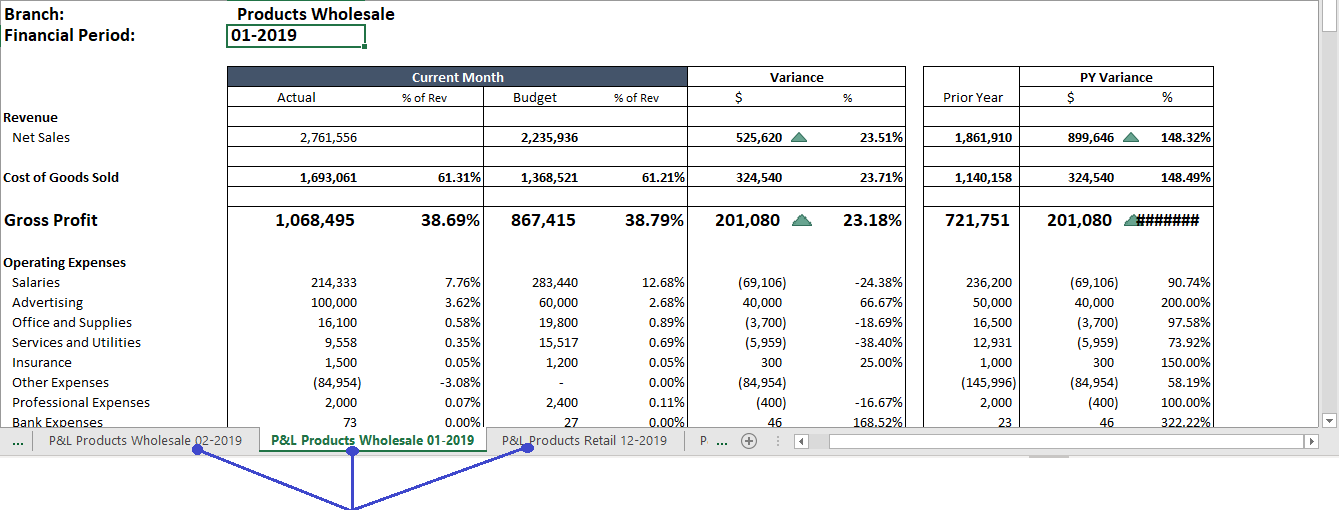
With one worksheet for each of our parameter combinations. Using just six simple steps, we've created a report containing exactly the data we needed.
Alternate Worksheet Names
If desired, we can use other names for our worksheets (as long as each sheet's name is unique).
As an example, even though our original worksheet is name "P&L", we will drop the words "P&L" from each sheet that we create and use a different name for those sheets.
We start by placing the name we want to use in a new cell and then giving that cell a worksheet-specific name (just as we did earlier):
(in this case, we simply used Excel text manipulation functions to extract the last word of the Branch name)
Then, in the Tab Selection column of the Distribution List sheet, we introduce a second set of [square brackets] and reference the named cells we want by using {curly braces}:
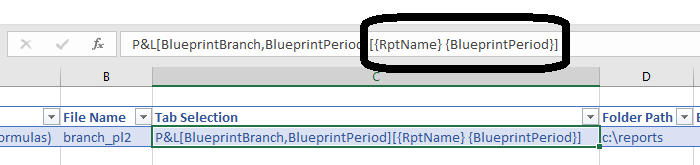
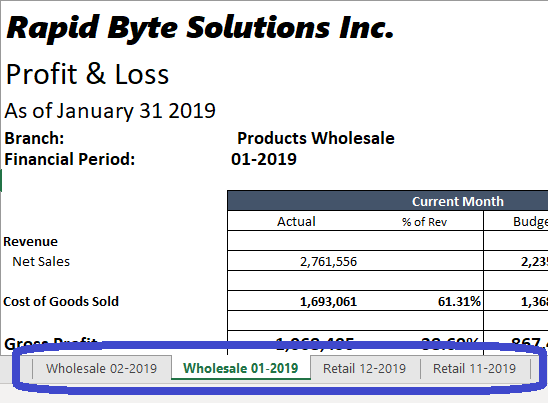
Our sheet names will now be composed of the last word of the Branch name (residing in cell named RptName) followed by the financial period (residing in the cell named BlueprintPeriod).
When we Distribute, we see:
We can use any combination of hand-typed text and curly-braced parameter names. For example, if we replaced the Tab Section with:
P&L[BlueprintBranch,BlueprintPeriod][Report for {RptName} {BlueprintPeriod}]
our sheet names would be:
... | Report for Wholesales 01-2019 | Report for Retail 12-2019 | ...