This feature is only available in ERPs based on Acumatica version 2019R2 and later and requires installing the Velixo Customization Package within the ERP.
Overview
System administrators can configure your ERP to support single sign-on (SSO) with a variety of identity providers, such as Google or Azure Active Directory. It is also possible to set up two-factor authentication with these services, or with your ERP directly.
In this topic, we'll look at:
-
Configuring an OAuth2* (aka "single sign-on") connection with Velixo Classic or Velixo NX
-
Single sign-on (SSO) with username and password only
-
Easy configuration with a Customization Package
-
Importing and publishing the required customization project
OAuth 2.0 is the industry-standard protocol for multi-factor authorization.
Required Package
Velixo provides a Customization Package to facilitate the configuration process for system administrators. For more information on how to do this, see Installing the Acumatica customization package.
Configuring a single sign-on connection with Velixo
ERPs based on Acumatica 2019 R2 (and newer) support single sign-on with a variety of identity providers, as well as two-factor authentication with these services or with the ERP directly.
If you enable two-factor authentication, you will not be able to login from Excel using only the Velixo username and password. Instead, you'll need to authenticate using a procedure that is much like other Internet services which permit you to login using your Azure or Google account.
Users of supported ERPs can configure external applications such as Velixo to work with single sign-on.
Step by Step
Follow these steps to configure a connection to an ERP account that authenticates with single sign-on:
-
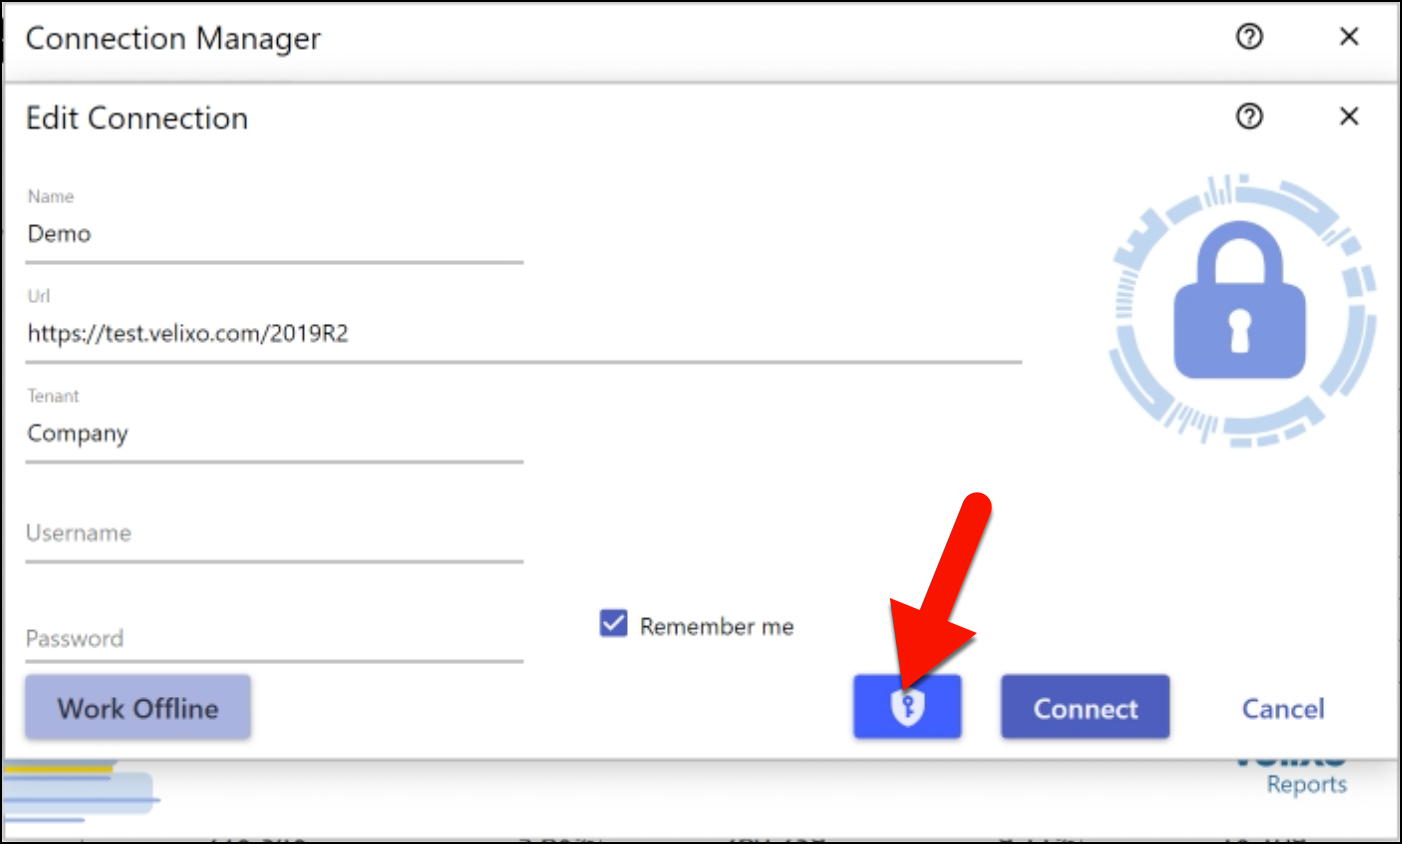
In the Velixo Classic Connection Manager window, once you have specified the URL and Tenant name for which SSO has been configured within the ERP, click the small Key button:
In the Velixo NX Connection Manager, once you have selected the type of ERP, also specify the sign-in method you would like to use:
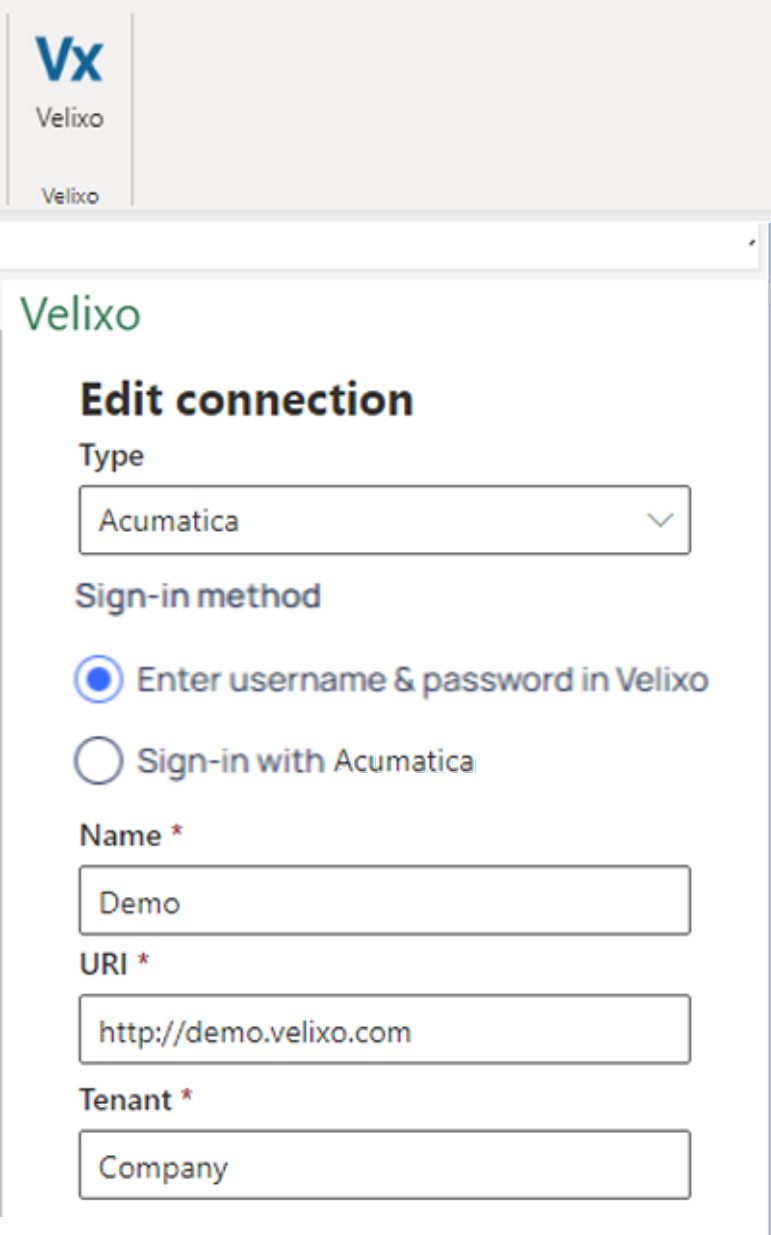
(see Let this app access your info if you receive that message)
-
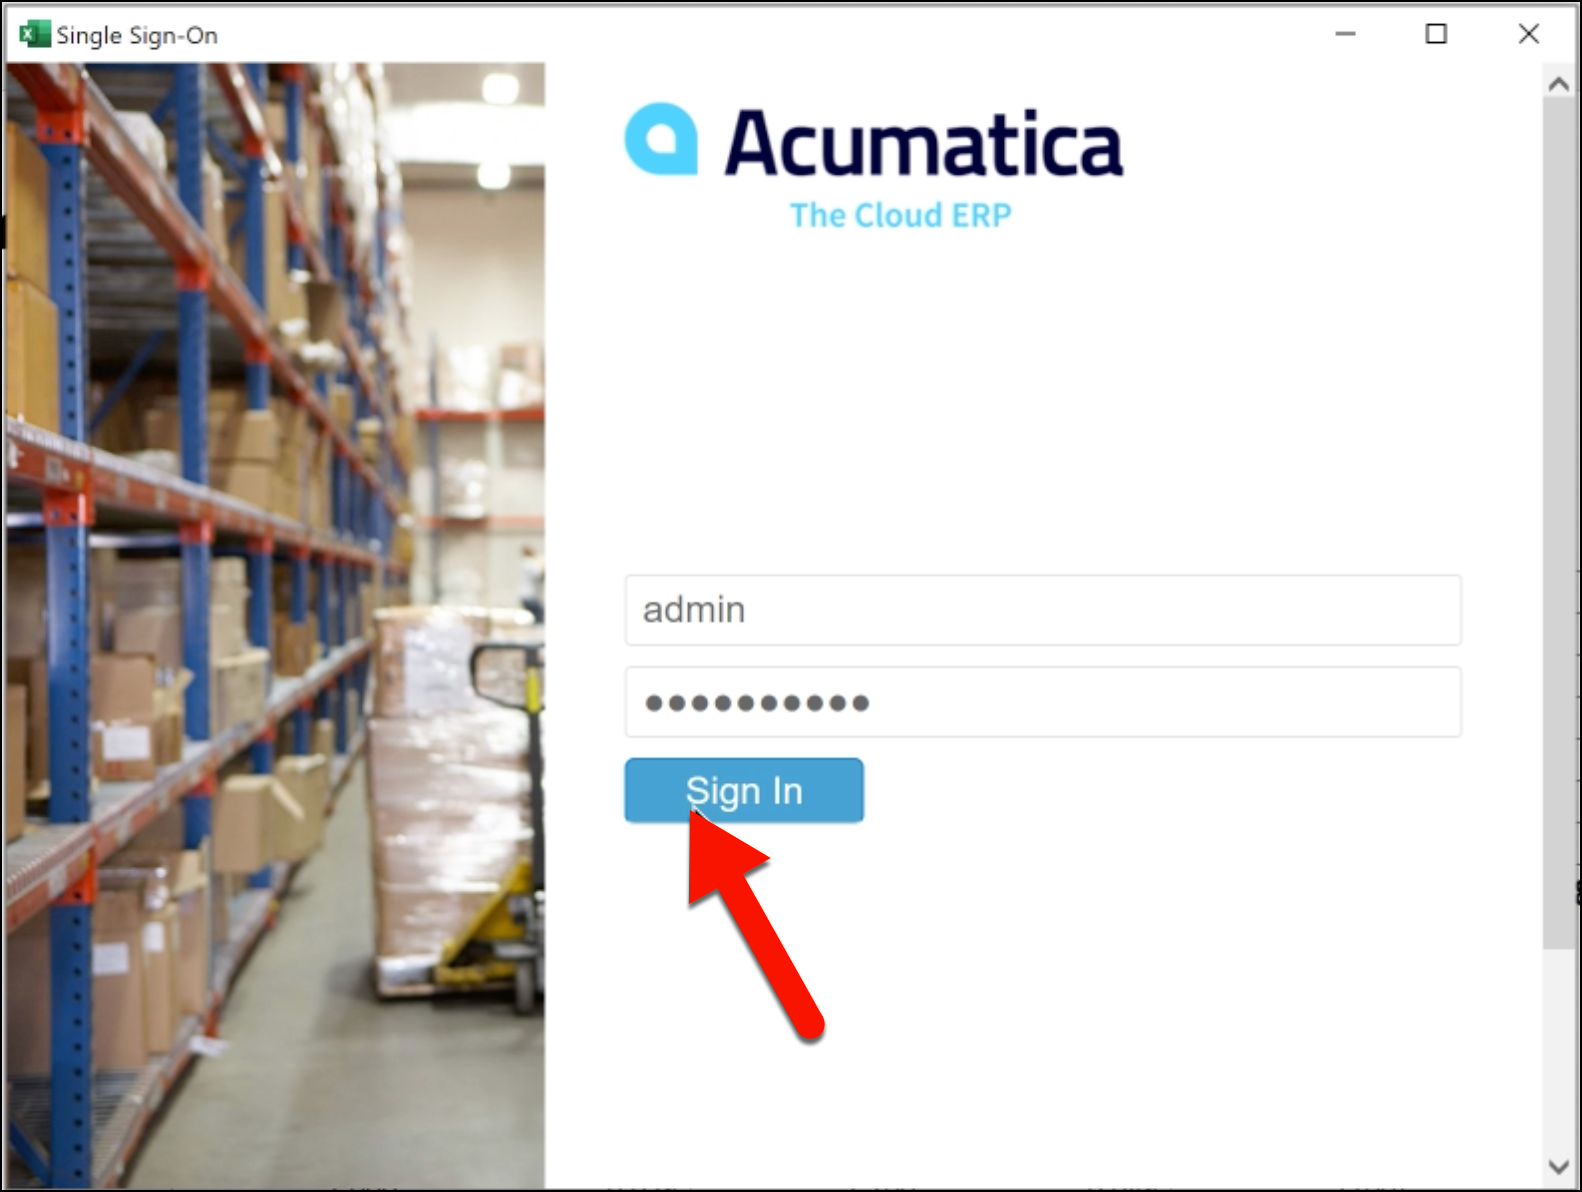
A popup window will appear to prompt you to sign into your ERP (unless you are already signed in).
-
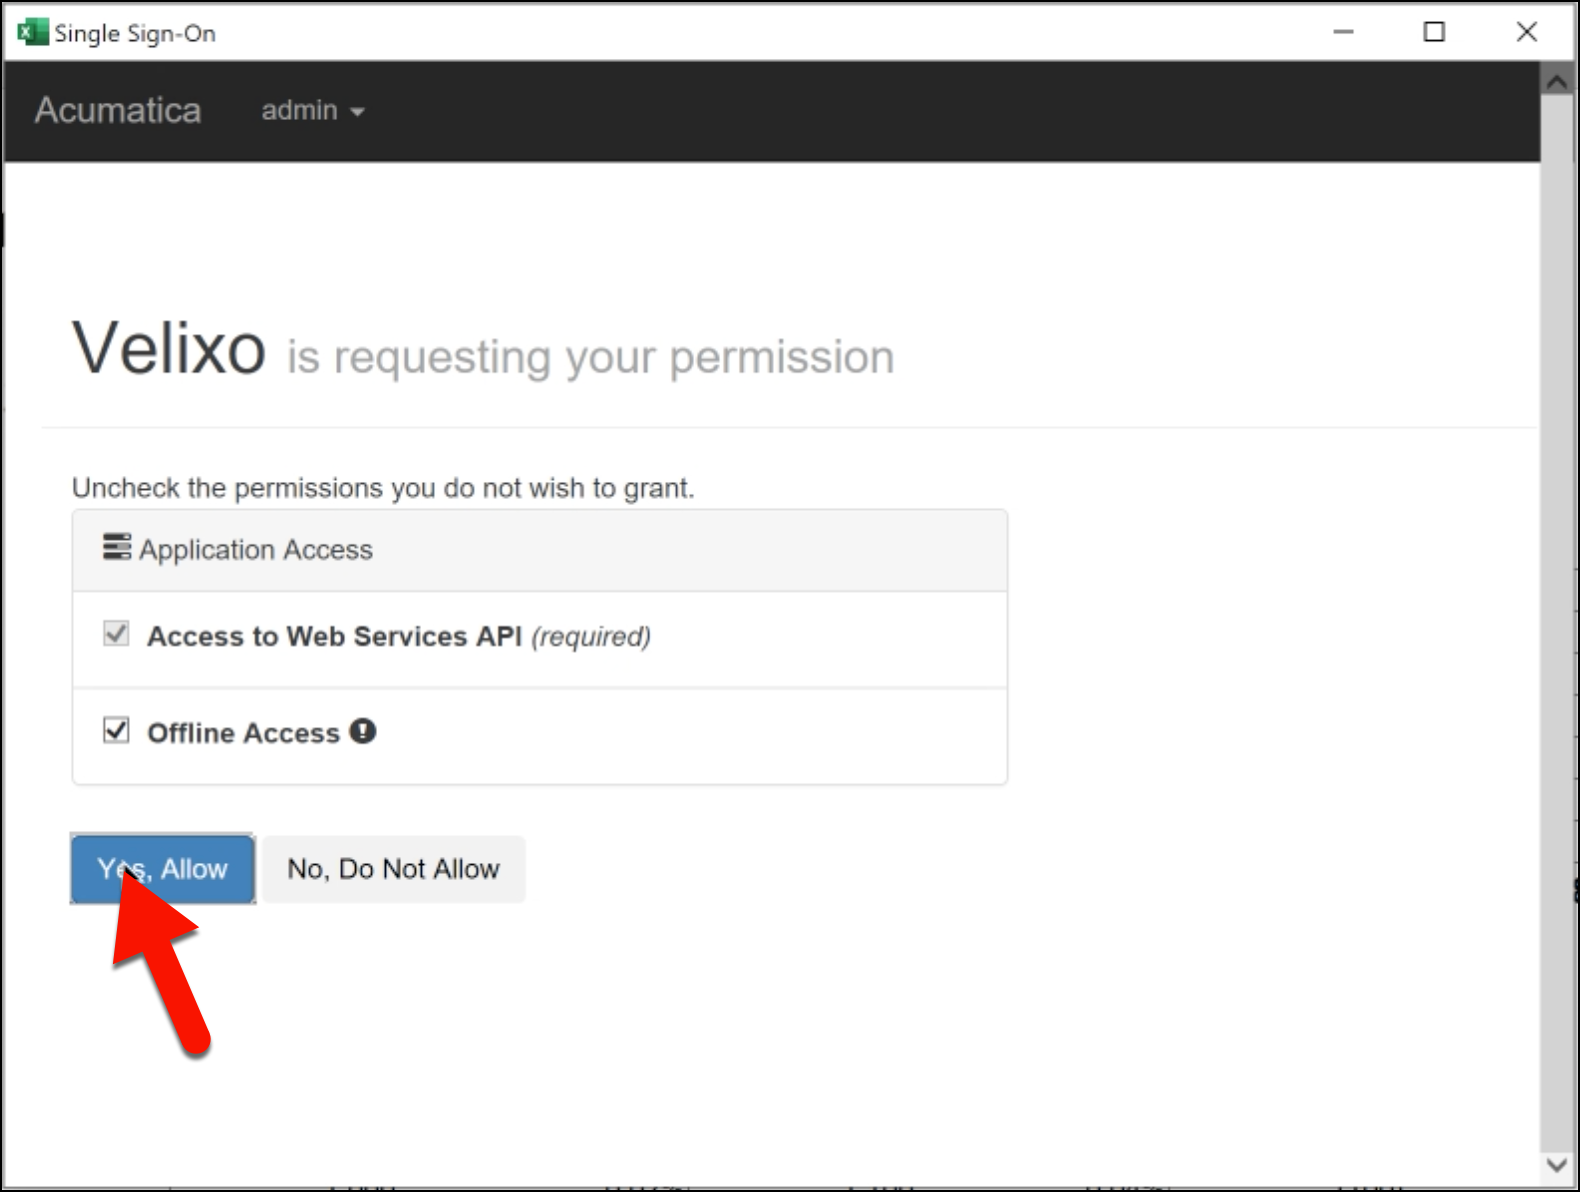
From the displayed web page, you have access to every authentication mechanism supported by your ERP (e.g., username/password, two-factor authentication) as well as any single sign-on service that has been configured in your ERP. Be sure to leave all options checked so that you will continue to have access to the connection for the full time allowed by your system's configuration.
-
On some systems, the windows in steps 2 and 3 will open in your default web browser. If this is the case for you, in order for your browser to return you to Velixo, you'll have to give permission for that to happen:
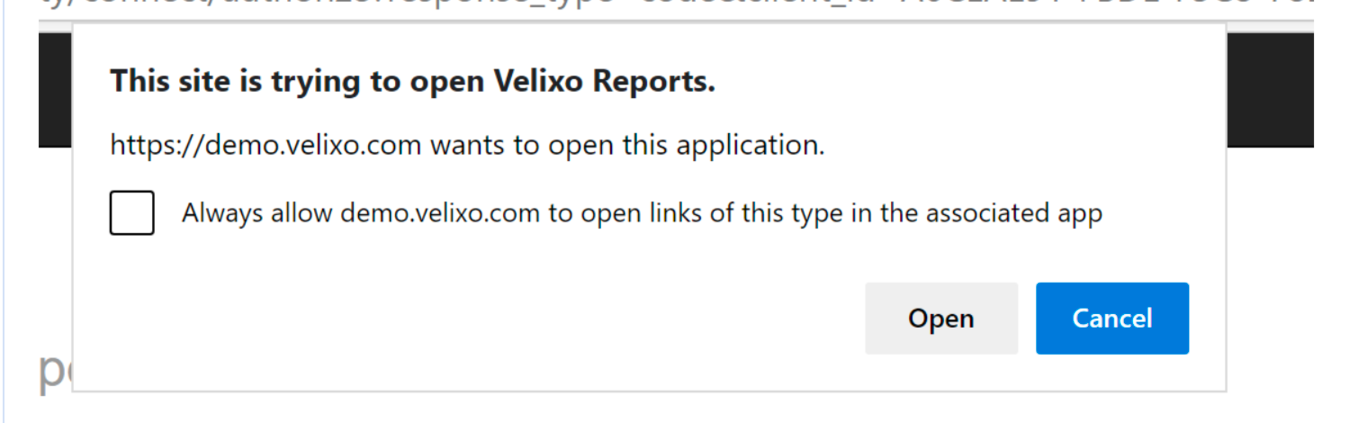
To avoid having to click Open every time you log in through Velixo, you can check the "Always allow..." checkbox.
Troubleshooting
Under some conditions, when the windows are opened in your web browser, your browser may not close the SSO Permissions window:

If this occurs and you click Yes, Allow a second time, nothing happens, or a message appears letting you know you can simply close the window and return to Velixo. You can simply close the browser window.
Easy configuration with the Customization Package
Inside Excel, we have programmed this feature to be as unobtrusive as possible. If you have not performed the necessary configuration for Velixo single sign-on (or your ERP version does not support it) then you won't see the Connect with Single Sign-On button.
Duration of SSO Authorization
Upon going through the process of configuring Velixo to utilize your ERP's Single Sign-on (SSO) capabilities, your computer system will be authorized to use those capabilities for a pre-determined period of time. A piece of software (referred to as an "Authorization Token") is established for your system. The amount of time for which the token is valid can vary based on your ERP and network configuration.
Depending on your organization's configuration, the duration can be anywhere from the current session to one hour to a week.
Once that period of time has passed (i.e., the token has "expired") and you attempt to connect to your ERP through Velixo, you will once again be prompted to renew the token by repeating the process and re-authorize the connection.