Configuring Velixo NX for Acumatica, MYOB, Cegid

Created by Damien Zwillinger, Modified on Mon, 7 Oct at 11:46 AM by Harry Lewis

Applies to

  • Velixo NX
  • Acumatica, MYOB Acumatica, Cegid XRP Flex, Haufe x360, JAMIS Prime.


Overview


How to create a new connection to Acumatica, Cegid XRP Flex, Haufe x360, JAMIS Prime, or MYOB Acumatica.


IMPORTANT:  There are a series of inquiries that need to be installed within the ERP prior to being able to retrieve data.  See Installing the Customization Package for more details


Configuration steps


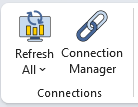
  1. From the Velixo NX ribbon, click Connection Manager:


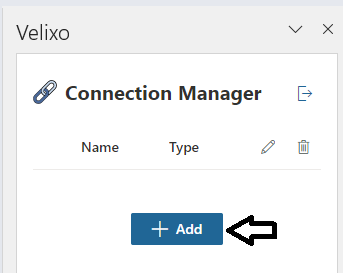
  2. In the Connection Manager side panel, click the + Add button

     
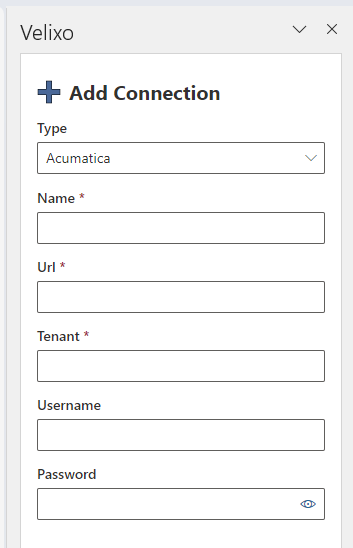
  3. When adding a connection for Acumatica, Cegid XRP Flex, JAMIS Prime, MYOB Acumatica, or Haufe X360, the side panel includes the following:
  • Name: This is a friendly name for the connection, which must be unique (case does not matter).  This name will be used later when building formulas that refer to it.


  • URI: The base URL to your ERP website. This must include the protocol (http:// or https://) and subfolder (if any).

    Example: https://mycompany.com/erp


    NOTE: only the root address should be entered; if you copy-paste from your web browser address bar, do not include Frames/Login.aspx?ReturnUrl=%2f

  • Tenant: The tenant to which you want to connect (Velixo NX only supports multi-tenant ERP instances).

  • Username/Password: The username and password that are used to connect to your ERP account.

  • Remember Password: Check this box to save the password.  If you decide to save the password for the connection, the password will not be saved within the Instead the password is saved to your Velixo user profile and encrypted with the Windows Data Protection API (DPAPI).


  • Connect: Click this button to attempt the connection and save it if successful.


Info: if connecting returns Error "504" or Error: "Load Failed", please visit: Site accessibility & firewall considerations


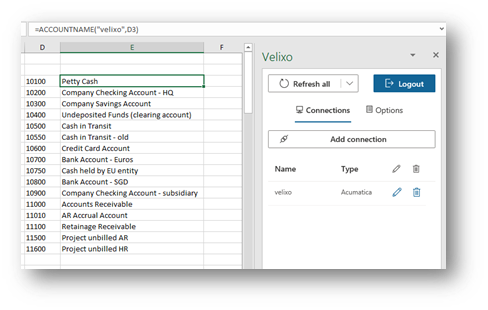
Once Velixo NX has been added to your Excel 365 and you have established a connection to your ERP, you are ready to create your first reports.
NX_install8.png


Was this article helpful?

That’s Great!

Thank you for your feedback

Sorry! We couldn't be helpful

Thank you for your feedback

Let us know how can we improve this article!

Select at least one of the reasons
CAPTCHA verification is required.

Feedback sent

We appreciate your effort and will try to fix the article